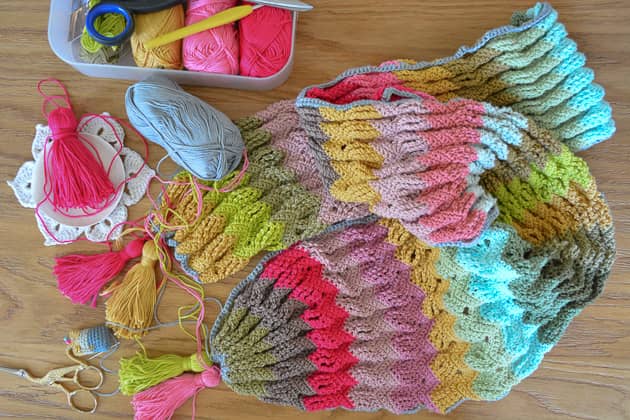
Hi everyone! I have waited to share this Fun Ripple scarf project with you more than 3 weeks. Today I’ll share everything about this ‘multi fun’ colourful project + a new DIY kit that I’ve created to go along. It’s meant for those of you that are planning to crochet the exact same colour sequence. The information regarding repeat, size and colours will be given along the post and at the end of it.
 Lots has been happening here these past few weeks. Few new projects are on the go, working to come up with few new patterns for my workshops girls and my Etsy shop, hosting workshops and also teaching. Beside all these activities we spend as much time as we can next to E’s fathers bad. I prey for him everyday. Summer school break is over now and kids are back to school. My blessed routine is finally back. After a month of unbearable warm weather, I’m back to my everyday morning walks at the park. 50-60 minutes of a green shower to my eyes and soul with the most wonderful playlist on earth. Beside my super delicious morning walks, my quiet studio hours are back now and my ‘at my dest’ time is here again. So I thought I’d give you guys a glimpse into this scarf working process. I hope you’ll love it.
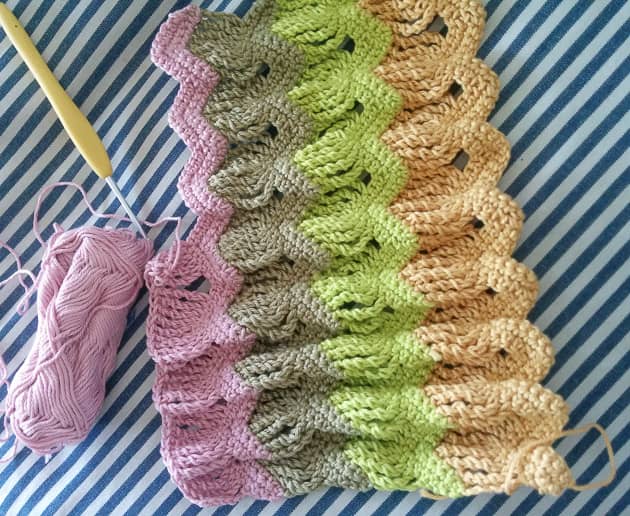 I shared some sneak peeks on Instagram and Facebook, on the go and many really liked it. It is a sweet little project that actually started as a sample I prepared, for one of my students. She wanted to learn how to crochet the Fun Ripple stitch and that’s how I came across this beautiful pattern, made by The Crochet Crowd. Here you’ll find the pattern. They have included a crochet diagram, written instructions and a video tutorial. They even give a left hand video tutorial, which is super. It’s a very easy pattern to crochet if you’re ok with counting up to 4.
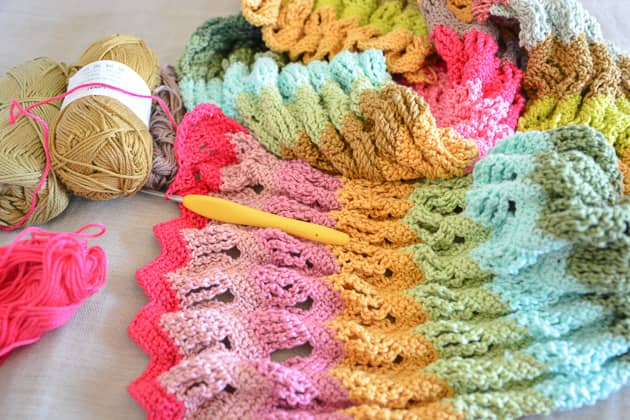
 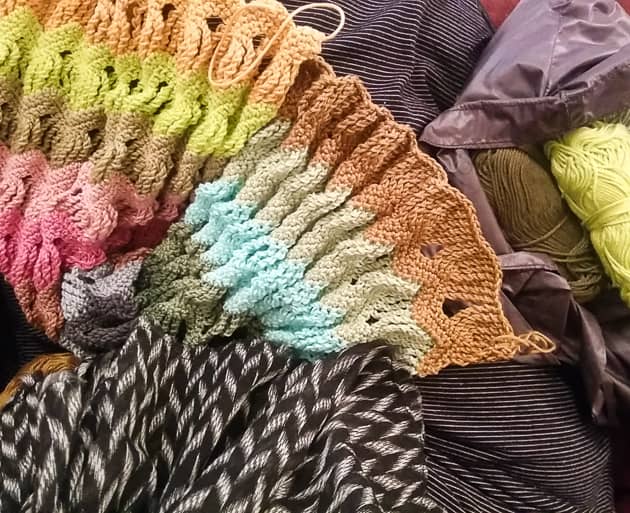 On the picture above you see can me crocheting next to E’s fathers bad, he really likes to watch me making my yarnny creations, he is this kind of person that appreciates hand made projects, what a special soul he has. I love him so much.
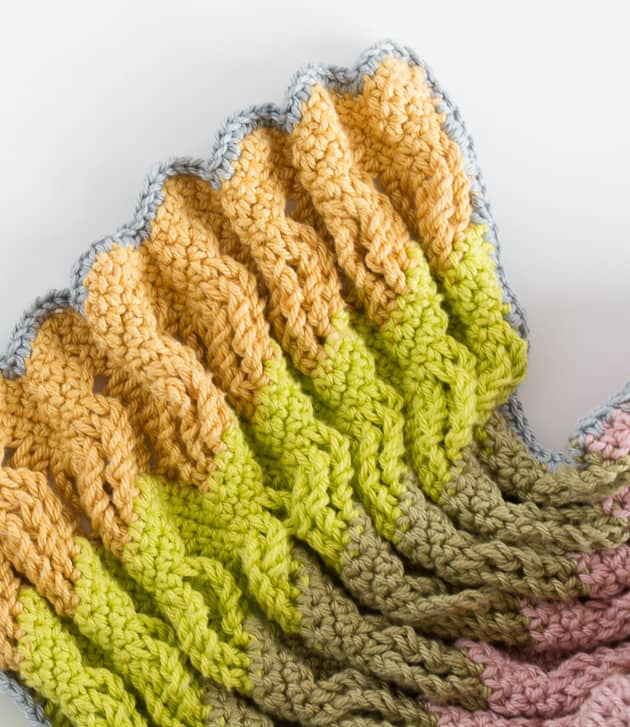
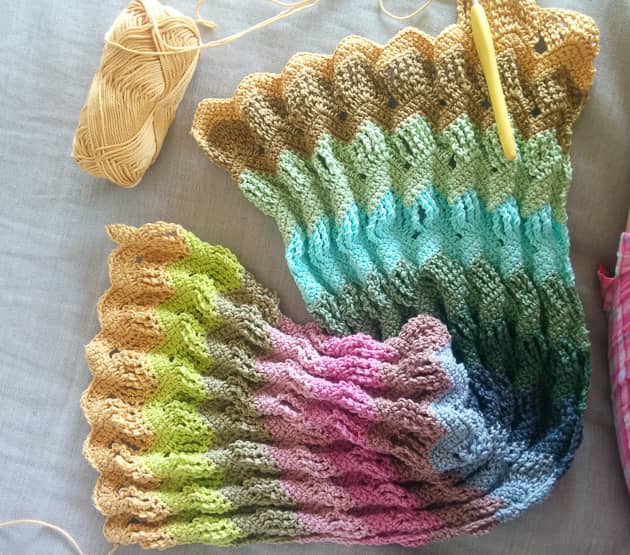 As I crocheted the sample for the One-on-one session with my student, I totally fell in love with it. The way it came out crocheted with my Granny Kit cotton colours – super super delicious. The ripple stripes got this sculptured look, it got pleated and it reminded me the Issey Miyake Pleated collections. Made my heart fly to the sky, I got addicted and I couldn’t stop crocheting. I think I made most of the work in one weekend.
 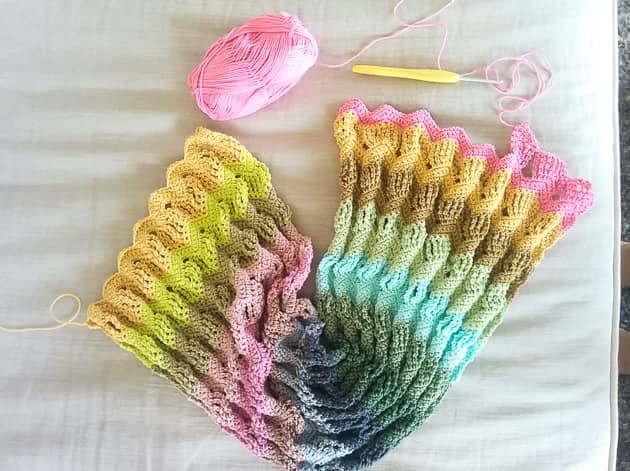 I just crocheted on and on and on and every colour I’ve added made it look even prettier. I really got hooked to it. This pattern is just fun exactly like the name the Crochet Crowd gave it. FUN RIPPLE!! At the above picture, you can see me, on my ‘sofa pose’ crocheting the Rose stripe.
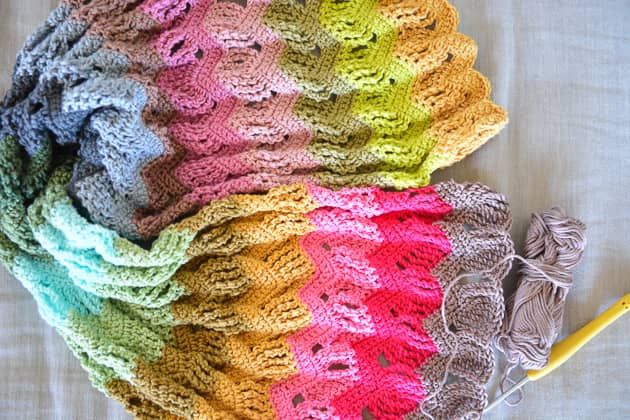 Here I’ve added the Umber stripe which I find works beautifully next to the Framboise.
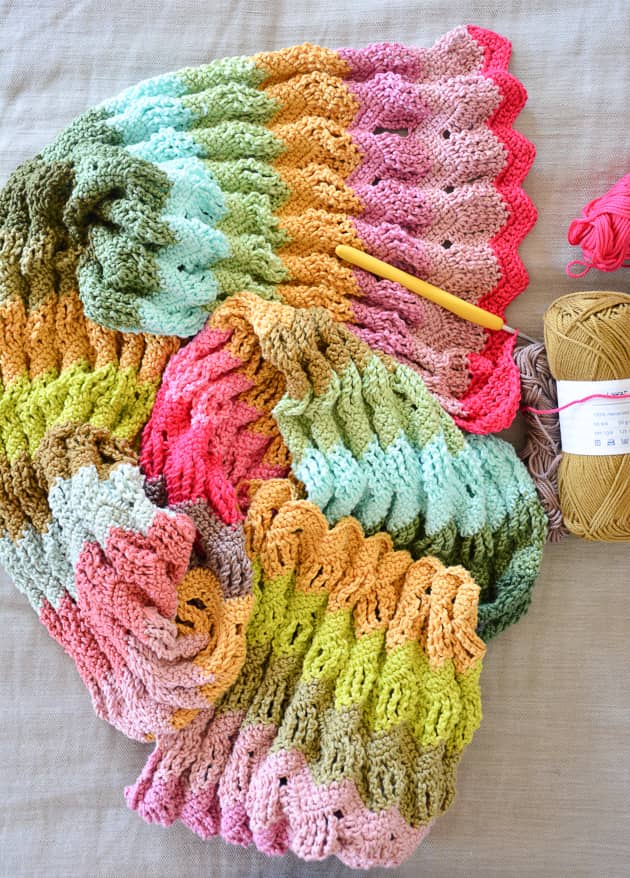
 The second Framboise stripe is getting crocheted and at this point I start to think of framing my scarf and maybe adding few pom pom or tassels.
 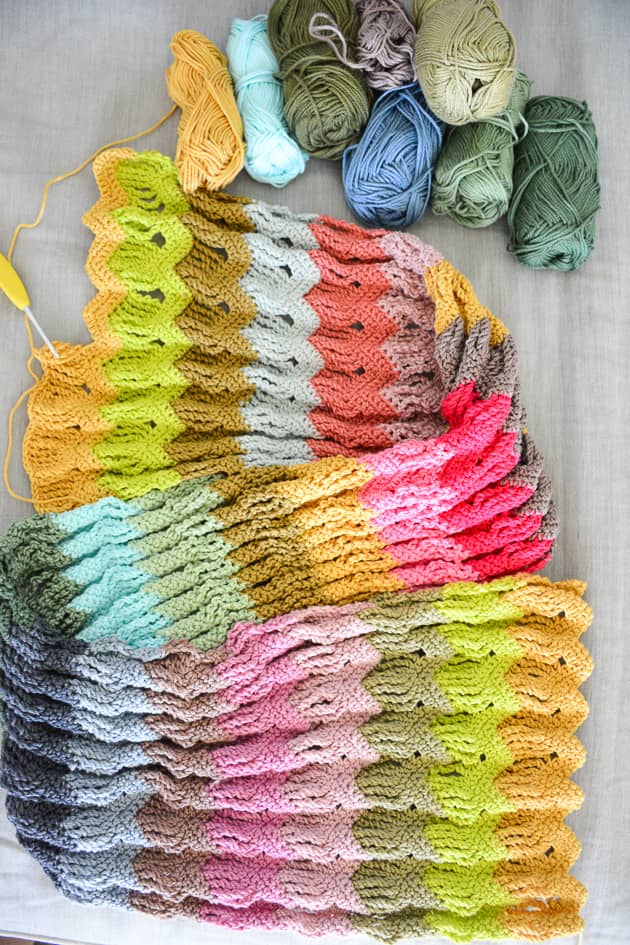 There are 5 Spicy stripes in this Fun Ripple scarf + a Spicy tassel and that’s why I included 2 balls of Spicy colour into the kit.
 There were some stripes that I’ve undo, like this Pine Forest colour – I found it less vibrant within this colour combination. I’ve made few trials and decided not to use it in my Fun Ripple scarf. I worked very spontaneously on this colour sequence, no pre planning on this one. The colour sequence is given at the end of this post and all colours are included in the Fun Ripple scarf kit.
 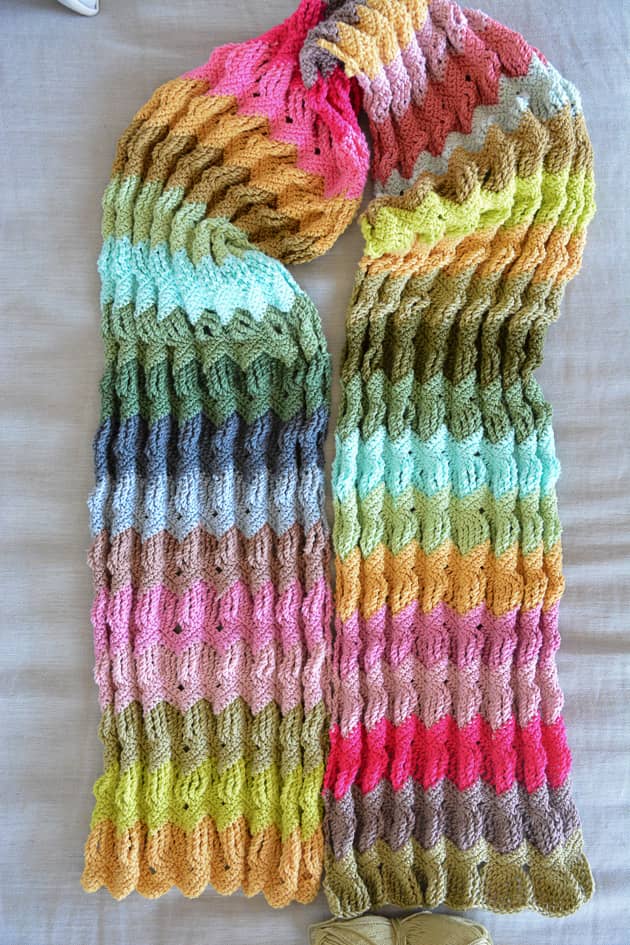 35 stripes done, I was quite happy with the scarf length at this point. I wasn’t that happy though, as I wanted to keep on working forever. I was a little sad to get to the end of this beautiful project.
 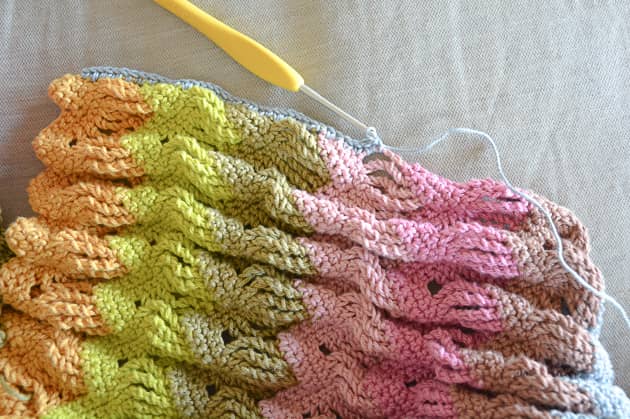 Framing: After I finished crocheting the 35 ripple rows, I crocheted a sc’s round around the scarf just 1 round of sc’s around – made with colour Platinum.
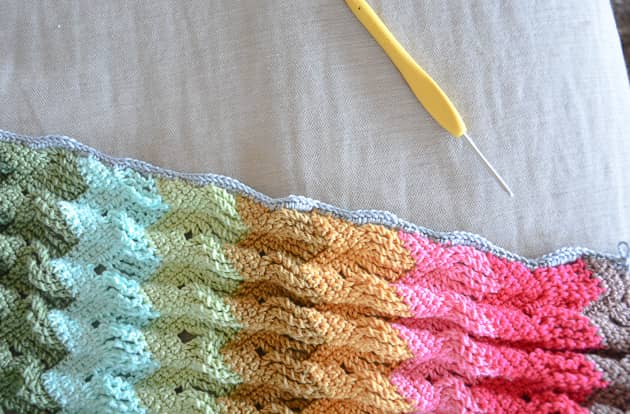
 I made 3 sc’s at each vertex – the highest point of the chevron.
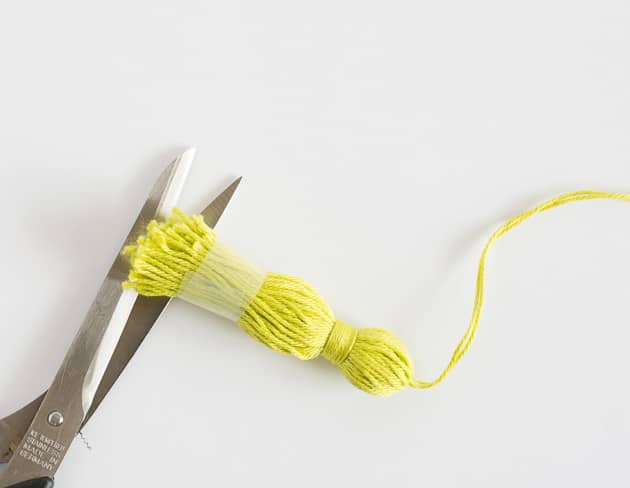
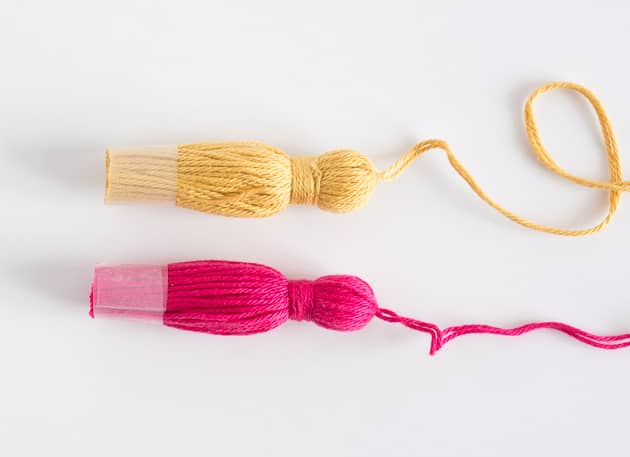 After this sc’s round I started to play with tassels. In this video you can learn how to make these cotton tassels. I just used my Granny Kit cotton colours, same colours I have used making the scarf.
 I’ve played with it quite a lot till I decided how would I make it and I thought this is the best position for my cute cotton tassels.
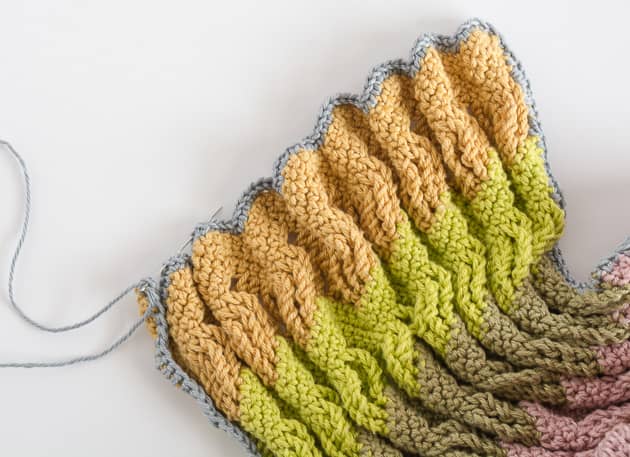 First I wanted to sew all the vertices together. At the above picture you can see how I made it. Using the Platinum colour, I insert my tapestry needle through the highest points on the edge of the scarf and sew them together.
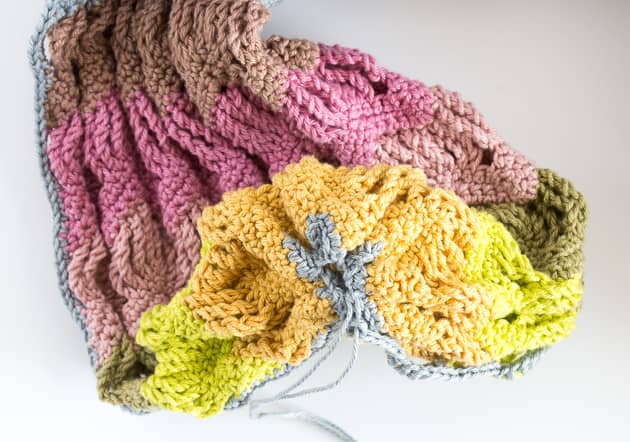
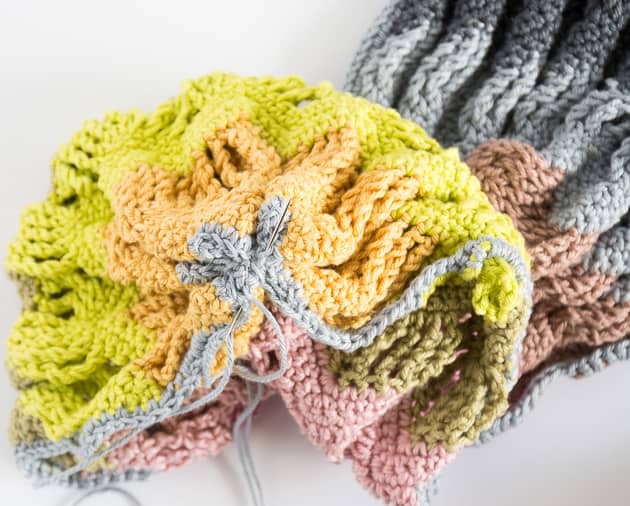 I’ve folded the edges and attached them one to the other. after it was pleated I just hide the yarn tails inside the sts to clean it up from yarn tails.
 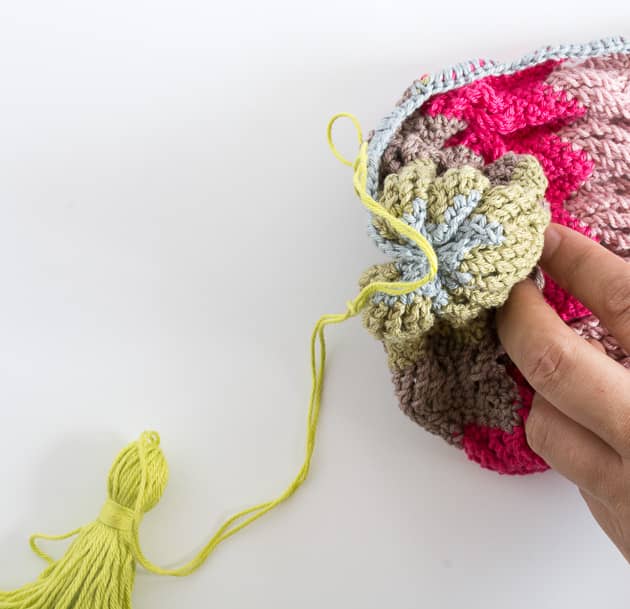 Next step is attaching the tassel onto the folded edge. On the above picture you can see me sewing the Citron tassel.
  Make sure to finish attaching your tassel, taking the yarn in between the yarn tails, as I show on the above picture, to make it part of your yarnny tassel. An elegant way to hide your yarn tails.
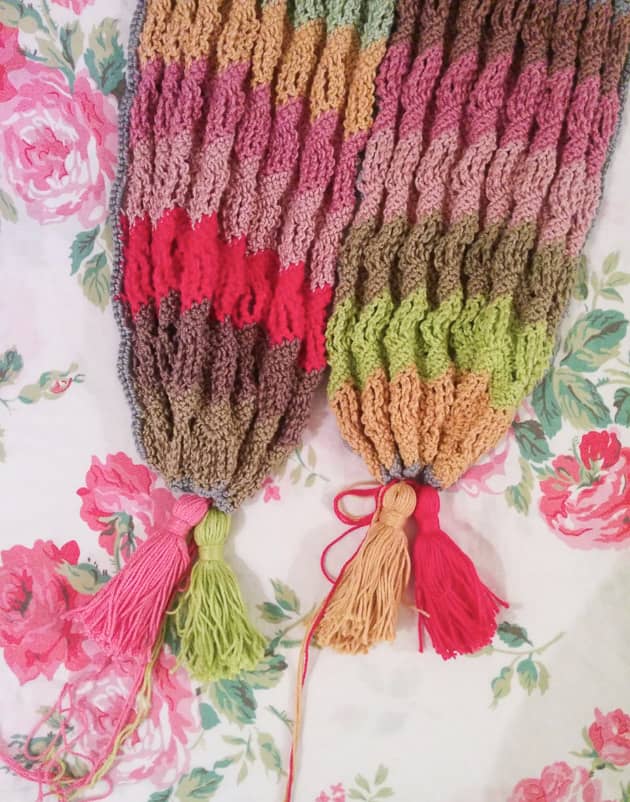
 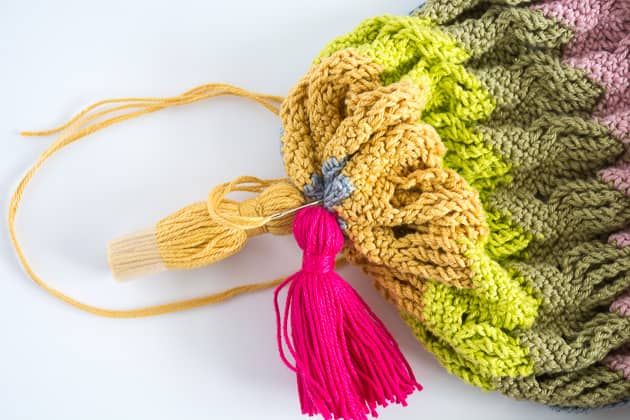 At the other side of my Fun Ripple scarf I’ve attached 2 tassels, Spicy & Framboise. This tassel addition is chic, love it.
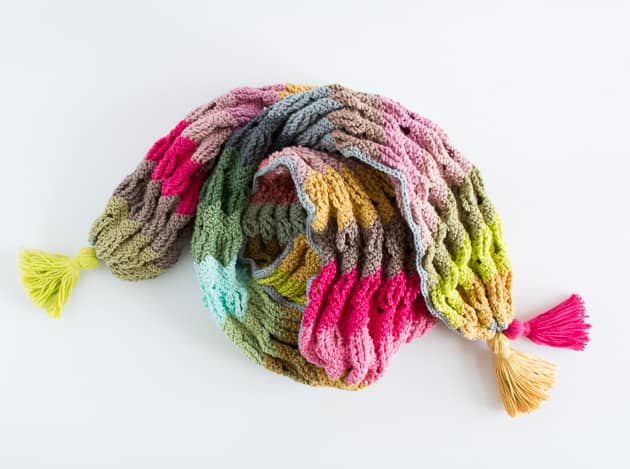
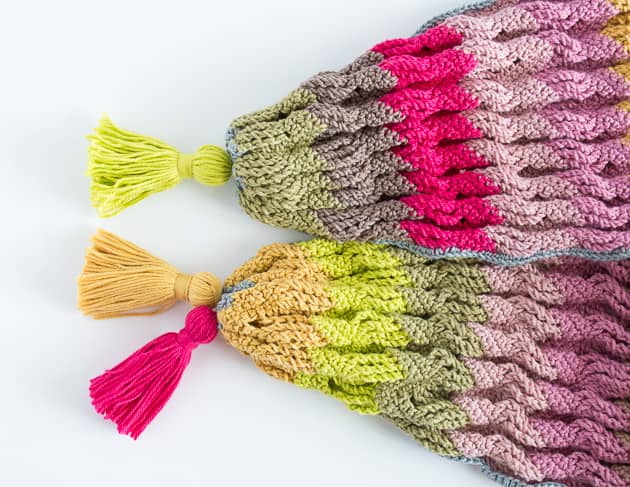 And here is my Fun Ripple Scarf with these colourful tassels. 35 colourful ripple stripes with 1 round of Platinum sc’s to frame it and 3 colourful tassels, hanged at the edges – Love LovVEeeee love this boho chic!!!
OK so now you’re ready for some kit, repeat sizes and colour info right?
The colour sequence: as crocheted in my Fun Ripple scarf: 1.Spicy, 2.Citron, 3.Olive, 4.Cameo, 5.Roseate, 6.Umber, 7.Platinum, 8.Loft, 9.Tropical, 10.Moss, 11.Seafoam, 12.Pistachio, 13.Wheat, 14.Spicy, 15.Rose, 16.Framboise, 17.Umber, 18.Spicy, 19.Cameo, 20.Sienna, 21.Sage, 22.Wheat, 23.Citron, 24.Spicy, 24.Olive, 26.Root, 27.Moss, 28.Seafoam, 29.Pistachio, 30.Spicy, 31.Roseate, 32.Cameo, 33.Framboise, 34.Umber, 35.Olive.
The kit: All these colours – 19 cotton balls – are included in the Fun Ripple scarf kit, which is now ready for you here, on my Etsy shop. Size and repeat: my scarf is about 30 cm’ width and 150 cm’ length, not including the tassels. I made 8 repeats – ch 73 on my foundation ch. The repeat patterns are in multiples of 9 chains, so I made 9X8+1 – as requested on the pattern. Each cotton ball will make 4-5 stripes if you keep this size of 8 repeats on your Fun Ripple scarf.
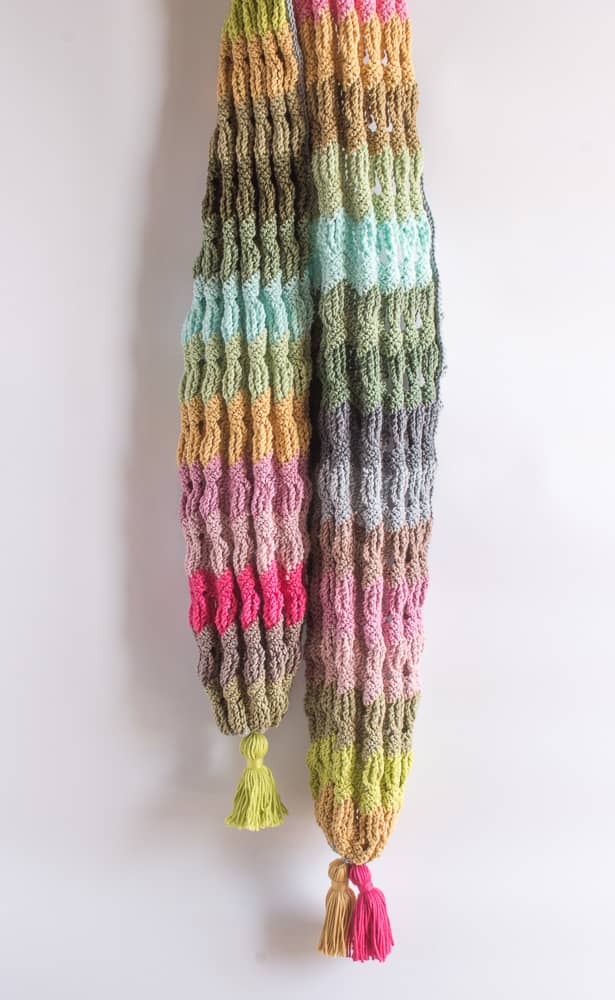
 This Fun Ripple project provided me with many hours of pleasure. Hope you enjoyed following my process. If you give it a go, please share your Fun Ripple creations on IG with #funripple, if you like.
The next week is a workshops week, so I have quite a bit of preparations, I’ll be sharing some workshops inspiring moments, here, on IG and on FB. xoxMo
5 comments on Fun ripple crochet scarf with tassels
Richard barksdale
magnificent!
Irene
This is such a happy colored scarf. Definitely inspired to do this one after I finish at least some of the embarrassing number of works in progress on my hook. Thanks for sharing – and congratulations on this colorful creation.
Mo Malron (author)
Thank you Irene, absolutely understand what you’re talking about 🙂
Carrie H
Gorgeous! I love the way it lays in pleats and the addition of the tassels is adorable! Will definitely be making this one – thanks! 😊
Mo Malron (author)
I think the pleates create the magic here, Thank you Carrie.