Hello crochet enthusiasts!
I’m excited to announce that there are FIVE Chunky Benji crochet video tutorials available on my YouTube channel. YEY! Earlier this week I finally uploaded the fifth video to go along with this Chunky bear pattern. These video tutorials will take you along the crucial steps, ensuring that your final project looks neat. Thanks to you the Chunky Benji pattern is a best seller in my Etsy shop and it makes a super cute and cuddly friend. It is perfect for both beginners and experienced crocheters. With the help of the videos I made you’ll get all the support you need on this joyful making.
°°°
 In the Chunky Benji crochet video tutorials, I will guide you step-by-step through the entire process of making your very own Chunky Benji. From creating the initial chain and starting the body, to adding the arms and legs, creating and attaching nose and eyes, stuffing and closing up your Chunky Benji and finally weaving in ends.
 To make yout own Chunky Benji, you’ll need:
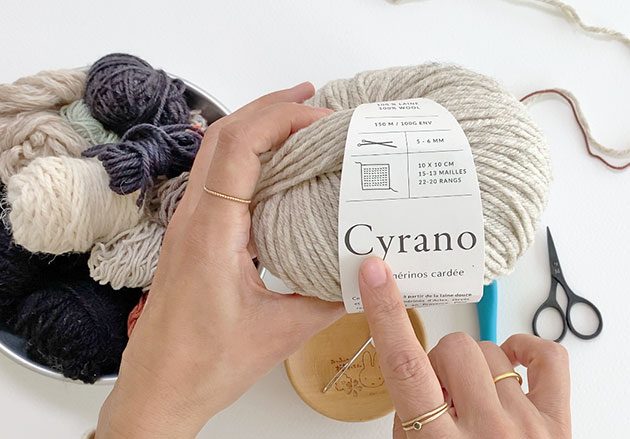
- Approximately 350 yards of Chunky yarn (I used two balls of the yarn you see above)
- About 2 meters of any dark yarn for the center of the nose
- A size 7 / 4.5 mm crochet hook
- A pair of safety eyes 8/10 mm
- Some stuffing material
- A stitch marker
- Tapestry needle
- Scissors
 Once you have your materials ready, simply grab yourself the Chunki Benji pattern, follow along with the video tutorials and you’ll be on your way to making a new soft friend for yourself or for a loved one. You can read a lot more information in this blog post.
°°°
The first video covers how to create the foundation chain and work the first 3 rounds around it. This will give you a solid foundation to build on as you work through the rest of the pattern.
°°°
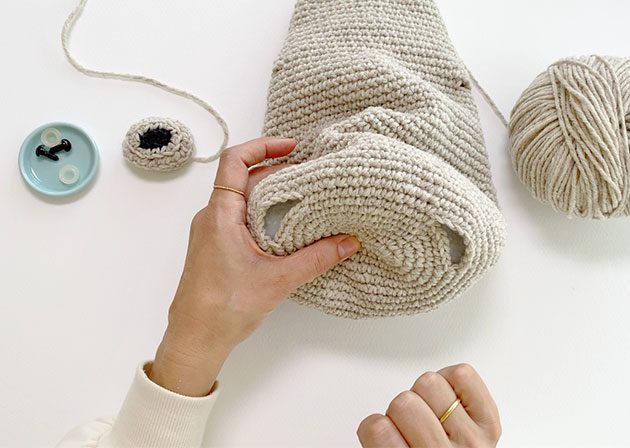
The second video tutorial covers how to prepare holes for the legs, including the round that comes after. This is where the majority of the base will be done and you’ll clearly see the oval shape and the place where legs will be made later.
°°°
In the third video I show how to crochet the nose from the very first step up to the very last. Once you have the nose ready you’ll leave it aside till it’s time for it to be attached. On my written Chunky Benji pattern I recommend that you start with the nose making.
°°°
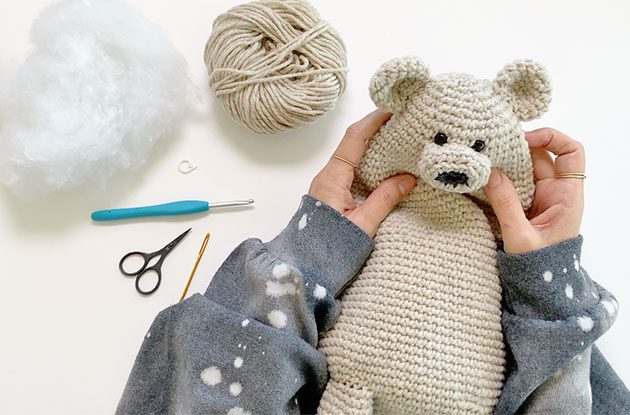
The forth video tutorial covers how to attach the nose and the eyes to Benji’s face. This is a crucial step in giving your Chunky Benji it’s signature look, so be sure to pay close attention to the details.
°°°
Finally, the fifth video tutorial covers how to crochet the leg using the stitches around the holes that we created previously. This is where you can really feel how cuddly is your own Chunky Benji friend.
Each of these videos is easy to follow along with, so you can pause and rewind as needed to ensure you are on the right track. And if you ever get stuck, you can always leave a comment on the video and I will be happy to help you out. You can find the pattern on my Etsy and Ravelry shops.
°°°
The Chunky Benji crochet video tutorials are all linked in the pattern file for your convenience. If you’re still in need of some last-minute holiday gifts, this is the perfect project to try out. I hope you enjoy making your own Chunky Benji with the help of these video tutorials. Don’t forget to share your finished creations with me on social media – I can’t wait to see your adorable Benji friends! Happy making, xxMo.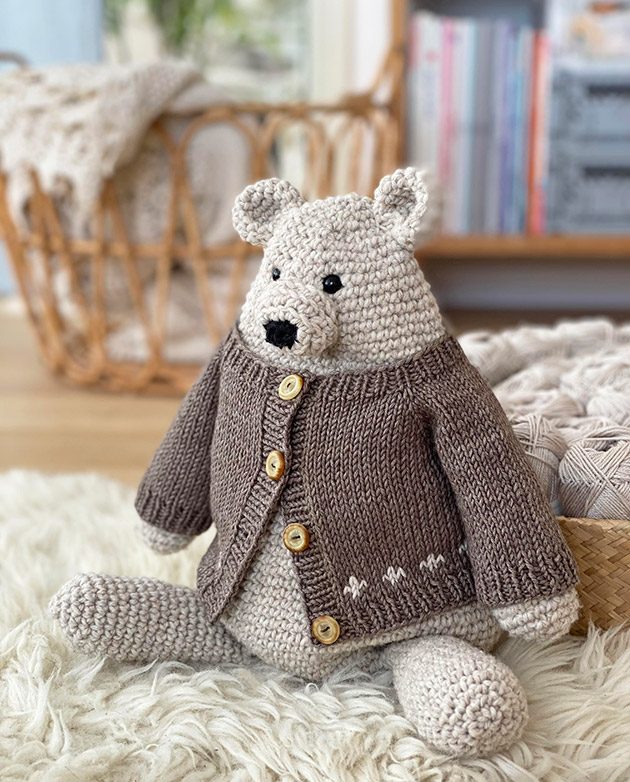 P.S
P.S
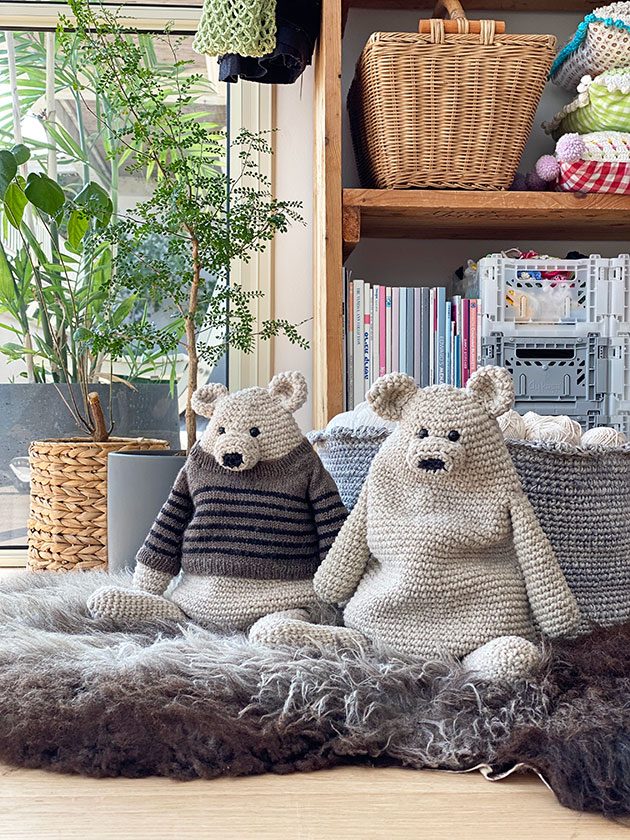
In case you like to dress him up check out the two sweaters knitting patterns that I designed to keep him warm.
- A cardigan pattern and blog post
- The Raglan sweater pattern and blog post
- The Chunky Benji pattern pack (knitting and crochet patterns).
17 comments on Chunky Benji crochet video tutorials
Cathy benfey
Is the written pattern free? It was under the free patterns in your menu.
Mo Malron (author)
Hi, the pattern is available in my Etsy shop
https://www.etsy.com/uk/shop/CrochetObjet?ref=si_shop
Susan G.
Do you have an knitting pattern for Chunky Benji?
Mo Malron (author)
I only have a crochet pattern for Chunky Benji
Mo Malron (author)
Here’s the Grandpa Slipover crochet pattern
https://crochetobjet.etsy.com/listing/1858047061
Deb
Do you have any crochet cardigan patterns for Benji
Sharon mcarthur
Is the pattern available for the benji all in one jumper in stead of doing the jumper separate thanks
Mo Malron (author)
Yes the pattern is for Benji with a strip-y shirt
Cindy
I am on creat hole for arms round one in the (42std+2xch5) what does that mean i followed instructions before that and it worked put but not sure what () means
Mo Malron (author)
It means that this is the number of sts you have at the end of this rnd. Happy making!
Lesley hastings
I have purchased the benji pattern but still have not received it
Mo Malron (author)
Etsy download
Hi and thank you for your order.
Here’s how you download your files on Etsy
Please use desktop because it’s not always working on mobile.
https://help.etsy.com/hc/en-us/articles/115013328108-How-to-Download-a-Digital-sItem
Please let me know if it works for you and if not I’ll be happy to help.
Happy making
Moran
Yes
Please send me an email to
momalron@crochetobjet.com
I’ll email you back the pattern.
Thank you
Moran
Karin Kübler-Seelking
Ich habedie Anleitung bei Etsy gekauft,aber sie ist nur auf englisch…ich hätte sie gerne in Deutsch.
Karin Kübler-Seelking
Habe die Anleitung gekauft, sie ist in englisch,hätte sie gerne in Deutsch
Mo Malron (author)
Thank you so much for purchasing my pattern. As written in the description, all of my patterns are currently available in English only. I truly appreciate your understanding.
Valerie
I am curious. Would it work to add the legs before you stuff the lower part of the body? I am thinking that doing it that way would allow me to adjust the stuffing, so I can make sure Benji can sit. Any Pros and Cons to this idea would be appreciated.
I am in the process of making 3 of these bears for my grandchildren. I am enjoying the process of making them and find your pattern easy to follow and the videos very helpful.
Mo Malron (author)
I think you should try and see 🙂