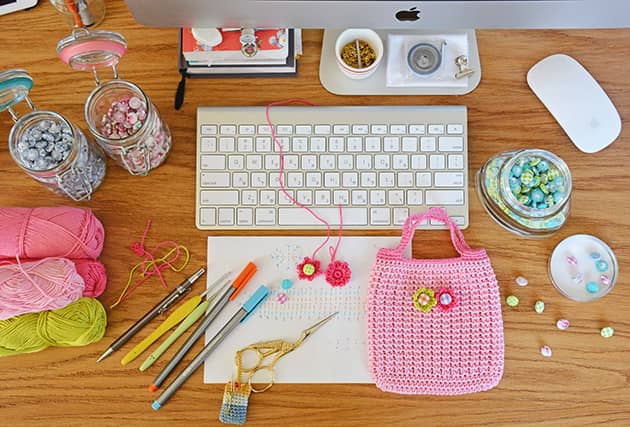
Here I am… at my little blog corner, which I just LOVE more and more as the days go by… It feels very good to have my little special place, and I learned I love blogging….. yes I do!!! Love beeing here with you and love writing down new patterns for you. So, lets make something pretty today.
After a week of doing all kind of inventory works, rearranging my cottons, putting some missing colours back in stock, counting and organizing all the colours back in place + creating these excel files (me?? excel??)… with just little time for crochet – I’m so happy to be sitting back here and finally write down a sweet bag pattern for you. This Hili bag pattern can be done in so many different sizes and colours and most of all it can be a delicious gift for someone you love or someone you want to make happy. Once you get the idea of how to make it you can easily fly with it wherever you like.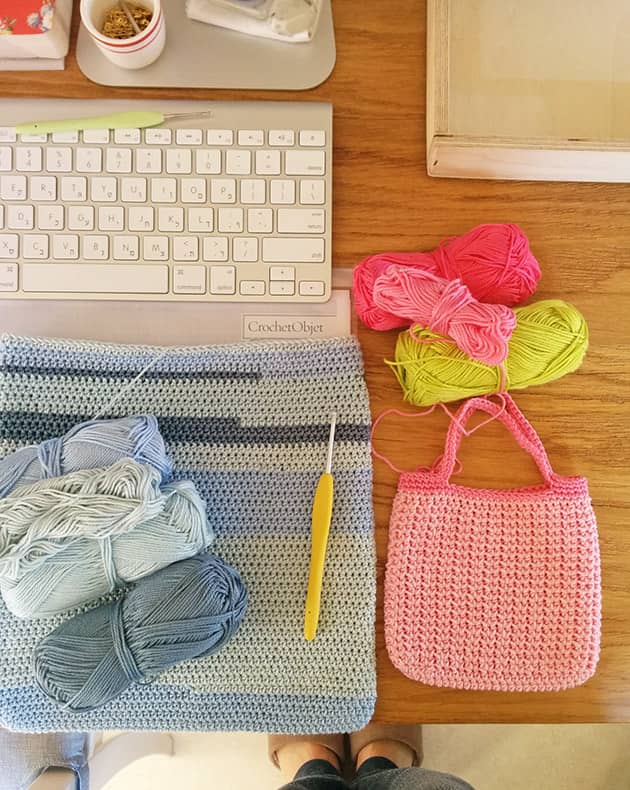 As you can see at the picture above I also crochet this pillow cover for my beloved nephew, this week. My sister just told me he takes his pillow with him everywhere he goes – these kind of stories touch my heart so strongly and as she spoke I was thinking to myself “have to make him a little cotton pillow”. So this pillow is in work now and I hope to finish crocheting it soon. Can’t wait giving it to him, I’m not that sure he will love it as he loves his original one but at least he can choose :)…. Gosh I’m crazy about this sweet little boy, a real deep love.
 During the past few weeks I’ve been asked a lot regarding the pattern for this little bag. I made it, more than a year ago, for Hili, my friend’s, 3 years old daughter, who is not just the sweetest girl ever but the sweetest smile ever.
 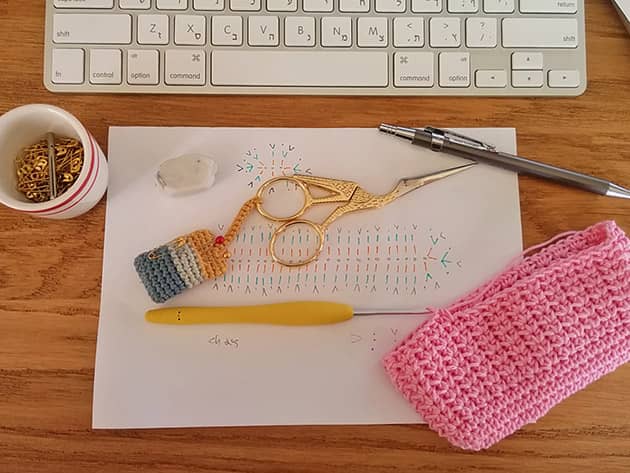 I didn’t have any pattern when I first made it for Hili. I just wanted to give her something that will make her happy, that will make her feel she has something special of her own. So in order to put it down for you, I had to sit and remake it. I remember I used hdc’s to create this kind of texture, at least I remembered that. After making few trials, I have it all written down here for you and we are going to make this pretty bag today. Hope you’re ready for a nice colourful sweet little pattern.
WHAT DO YOU NEED
Yarn: GrannyKit cotton colour: Baby Pink, Rose, Berry, Citron
Crochet hook: 2.75 mm – C
2 tiny little fabric buttons
A pair of crafty scissors
Tapestry needle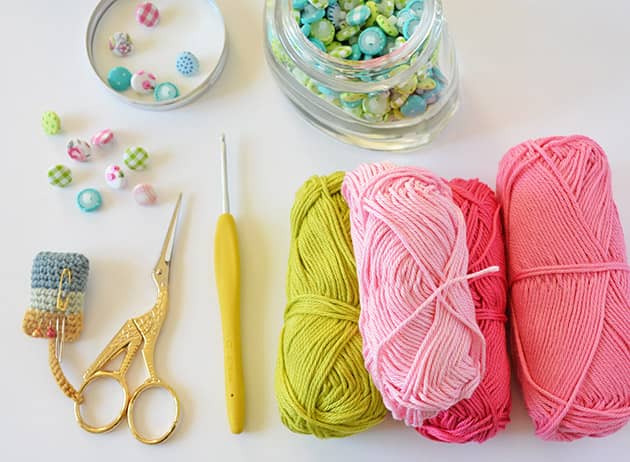
ABREVIATIONS AND STITCHES (US crochet terms)
ch = chain stitch
st(s) = stitch(s)
rnd(s) = round(s)
yo = yarn over
lp(s) = loop(s)
*…* = repeat instructions between ** x times
sl st = slip stitch = insert hook, yo, pull the lp back through the st and through the lp on your hook.
sc = single crochet = insert hook, yo, pull the lp back through the st (2 lps on hook), yo and pull through both lps on hook.
hdc = half double crochet = yo, insert hook, yo, pull the lp back through the st (3 lps on hook), yo and pull through all 3 lps on hook.
dc = double crochet = yo, insert hook, yo, pull the lp back through the st (3 lps on hook), yo and pull through 2 lps on hook (2 lps left on hook), yo and pull through remaining 2 lps.
Start with colour Baby Pink:
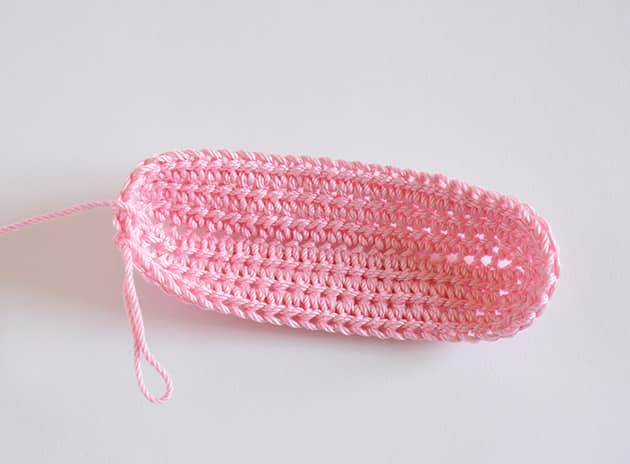
ch 25- we will crochet around this foundation ch to create an oval base.
Rnd 1: hdc into the 3rd ch from hook (the 2 first ch sts will count as our first hdc).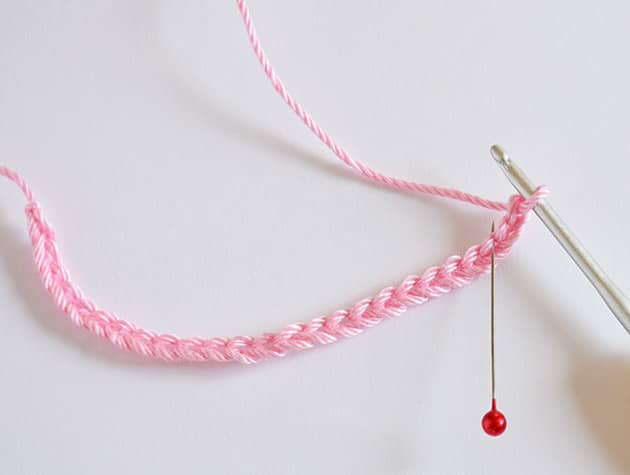 hdc in next 21 ch sts.
Make 3 hdc into the last ch st. Push the yarn tail to close the hole at the last st.
Now work the other side to create an ovel, as follow: (try to work on your yarn tail) hdc in next 21 sts, work 1 more hdc into the first ch st. sl st into the 2nd ch st from your initial hds made (the first 2 ch sts), into the point I show here at the below pic. (48 sts)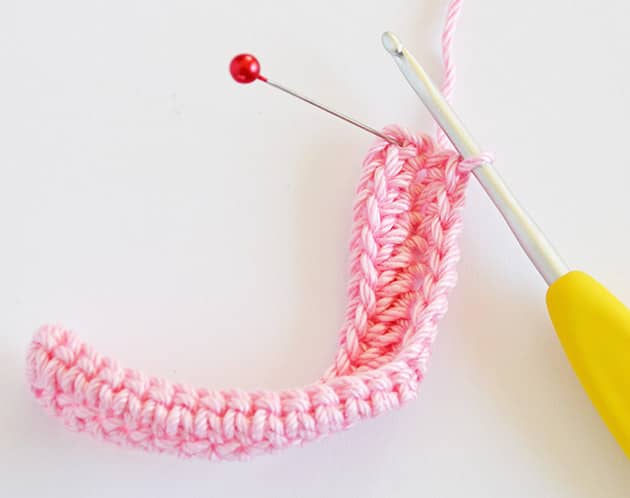 Rnd 2: ch 2 (counts as first dc), hdc into the same st where you just made your sl st.
hdc into the next st, hdc 2 into the next st, hdc into next 19 sts.
hdc 2 in the next, hdc in the next, hdc 3 into the next st, hdc in the next, hdc 2 in the next, hdc in next 19 sts, hdc 2 in next, hdc in next, make 1 more hdc into the first st and sl st into the 2nd ch of your initial ch 2. (56 sts)
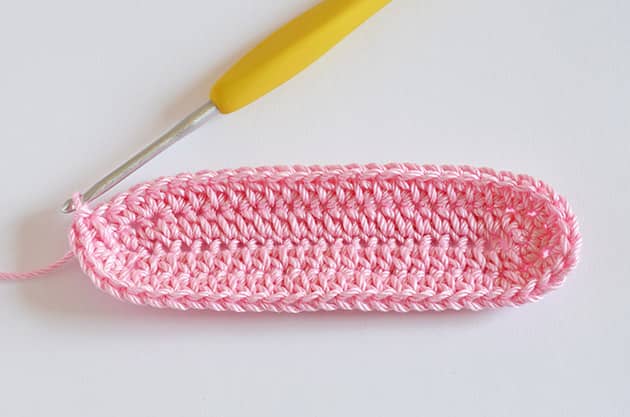 Rnd 3: ch 2 (counts as first hdc), hdc in each st around, sl st into the 2nd ch of your initial ch2. (56 sts)
 Rnd 4: sl st into the next st, ch 2 and hdc into the same st, sk 1 st, *hdc 2 in next, sk 1* repeat between ** around.
At the end of the rnd, when you meet your initial ch2 again, sl st between the ch 2 and the hdc, where I show here with my sewing pin. You have 28 2hdc couples around. (56 sts)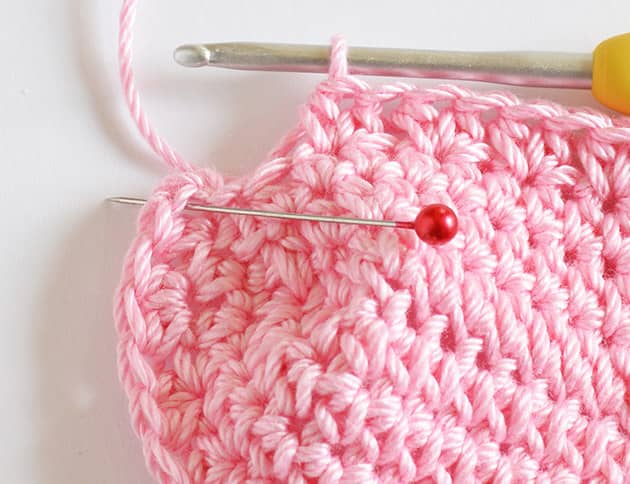 Rnd 5-22: (18 rnds) ch 2 and hdc into the same point, sk 1. *hdc 2 between the next hdc 2, sk 1* repeat between ** around.
At the end of the rnd, when you meet your initial ch2 again, sl st between the ch 2 and the hdc. Rnd 23: ch 2 (counts as first hdc), hdc in each st around, at the end of the rnd sl st into the 2nd ch of your initial ch2. break the Pink yarn (56 sts)
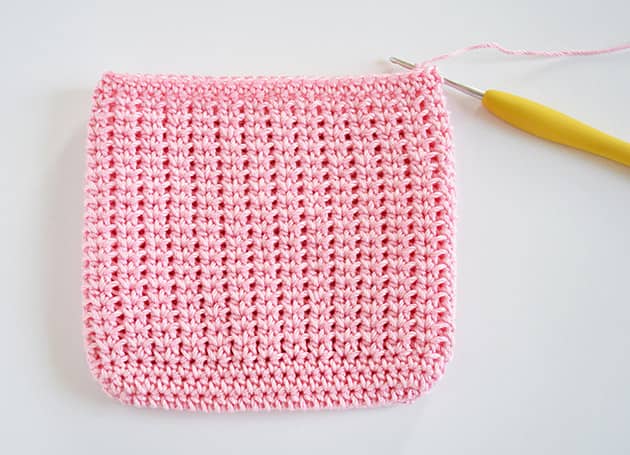 Rnd 24: attach the Rose colour to the same point where you just made your last sl st.
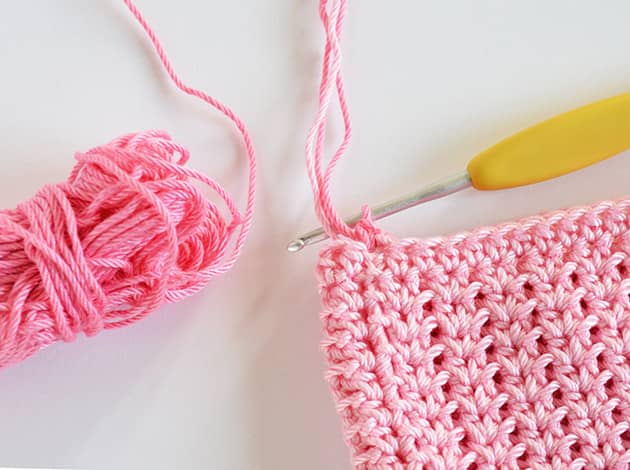 sc in the same st you attached your new colour. sc in each st around, try to work on the yarn tails. sl st to the first sc made. (56 sts)
 Rnd 25: ch 1 (counts as first sc), sc in next 7 sts. ch 30, sk 16 sts, sc in next 12, ch 30, sk 16, sc in next 4 sts, sl st to your initial ch 1.
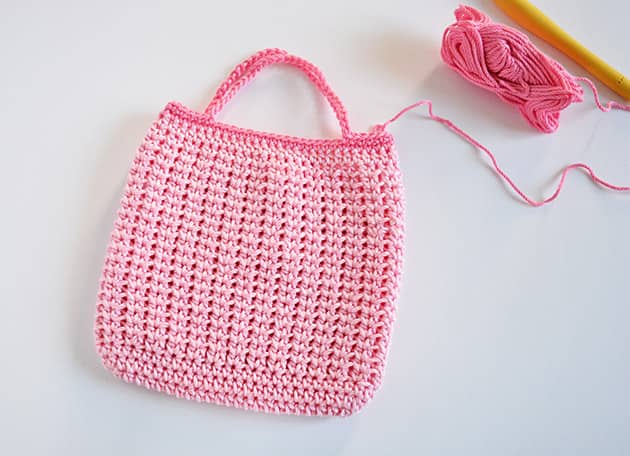 Rnd 26: ch 1 (counts as first sc), sc in next 7 sts, sc in each of the ch 30 sts (insert your hook in each ch st separately), sc in next 12 sts, sc in each of the ch 30 sts, sc in next 4 sts, sl st in your initial ch 1.
Break your yarn and weave in tail.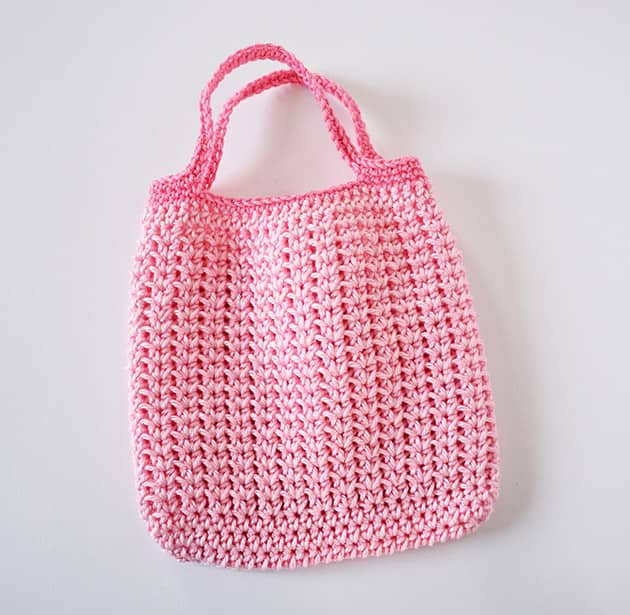 Your sweet little bag is done ~~ YaAaY ~~ I love it!!! Let’s have some colourful flowers fun now.
We will make these 2 rnds flowers and attach a tiny little fabric button to it’s centre. I use these flowers so often. They are just perfect and so easy to make. Adding a tiny fabric button to it’s centre makes it super deliciously unbelievable cute. Let’s get started with some flower making joy…
Flower: make two flowers – one with colour Berry and the other one with colour Citron.
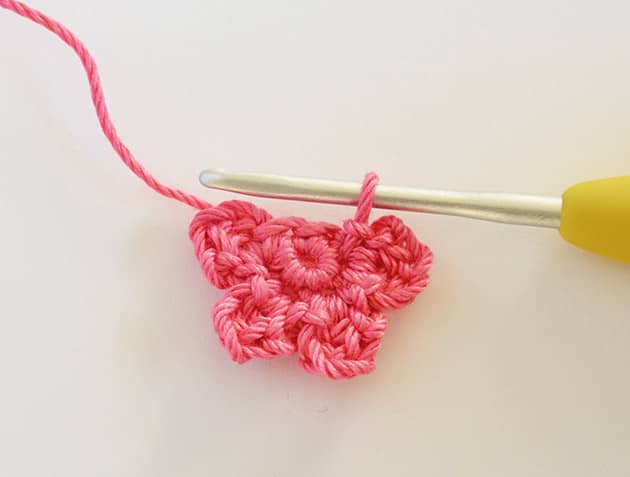
To start make a magic loop.
Rnd 1: Sc 6 into the yarn loop, continue working spiral.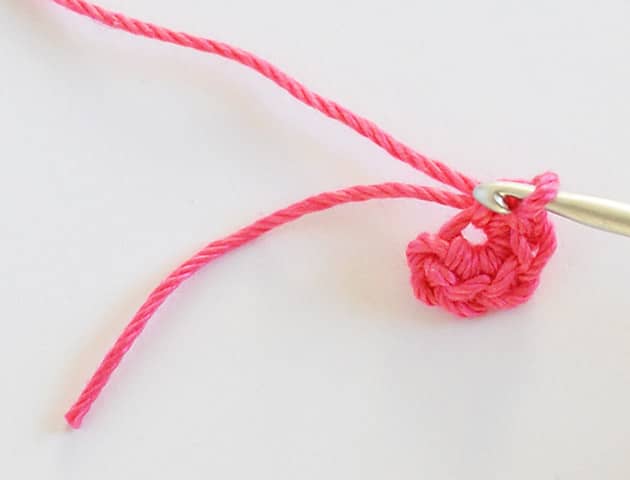 Rnd 2: *into the next st make the following: sl st, ch 3, dc, ch 1, sl tl, all into the same st and after that move to the next st* repeat between ** in each of the 6 sts around till you have 6 pretty petals. To finish sl st into the first st. Try to leave an open hole in the centre, you can open it with your hook if needed.
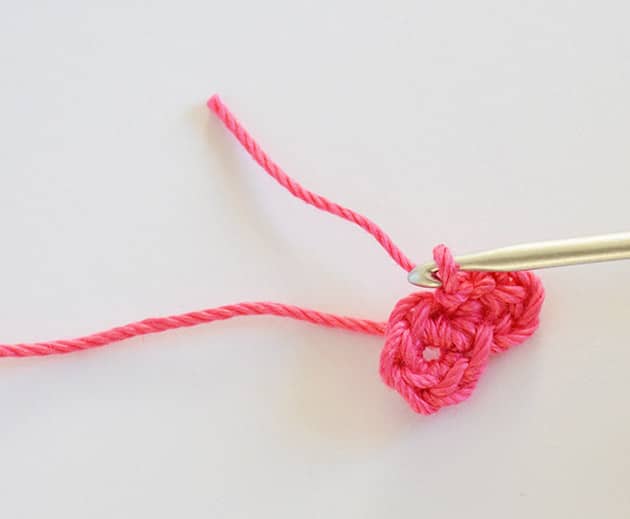
 Break the yarn, leaving a long tails to attach the button to the flower and the flower to the bag.
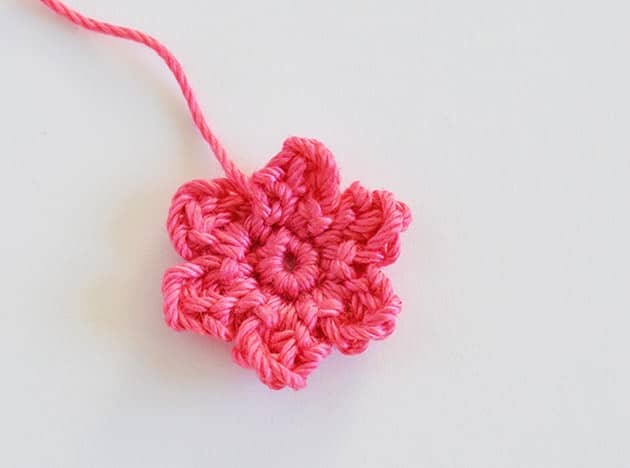 Make the second flower with colour Citron now and there you are, you have two pretty colourful flowers ready. These flowers are gorgeously pretty. I love these 2 rnds tiny flowers and I use them a lot, not just on Hili bag but on many other pretty things as for gift wrap.
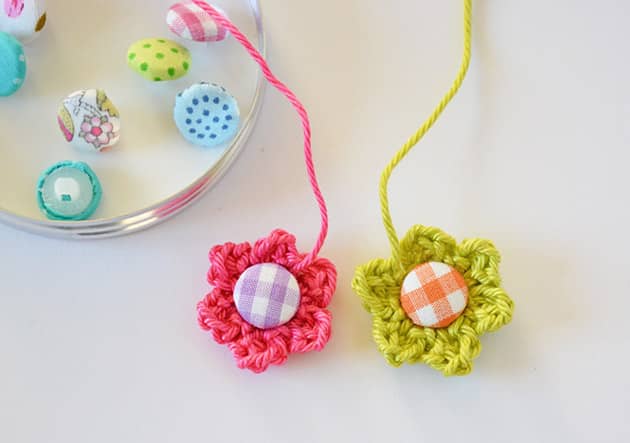
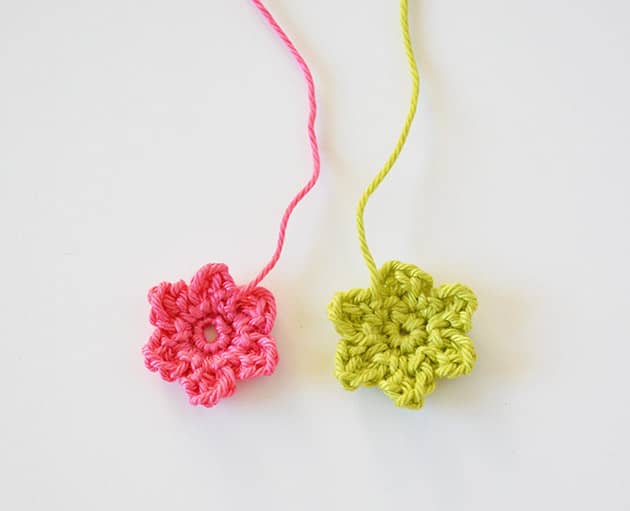 Now when you have both flowers ready, let’s play with these little tiny fabric buttons. This little colourful addition will make your bag the sweetest thing on earth. It will jump out and will create a little story at your Hili bag front. Choose the two fabric buttons you think will make your colour composition pop up. We are going to place them properly now.
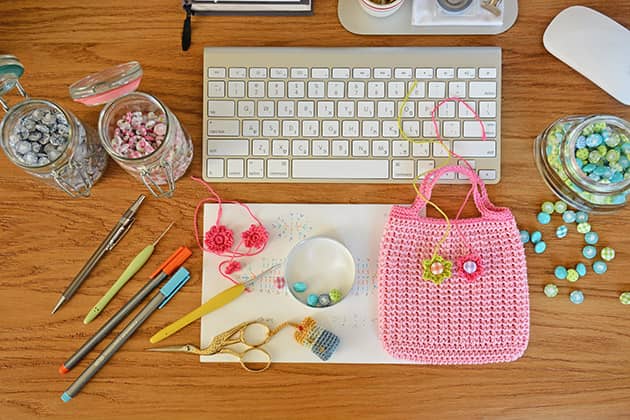 Place the fabric button into the hole at the centre of the flower. Use your hook to make it a little bigger if needed. Sew it using the yarn tail left from the flowers. Insert the yarn into the hole at the back of the fabric button, can you see it?
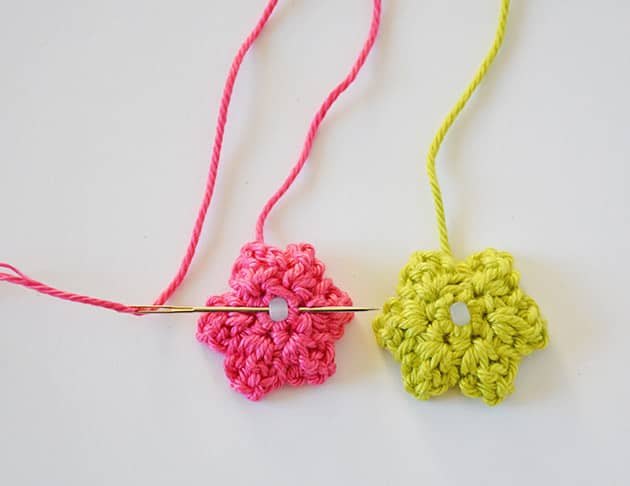
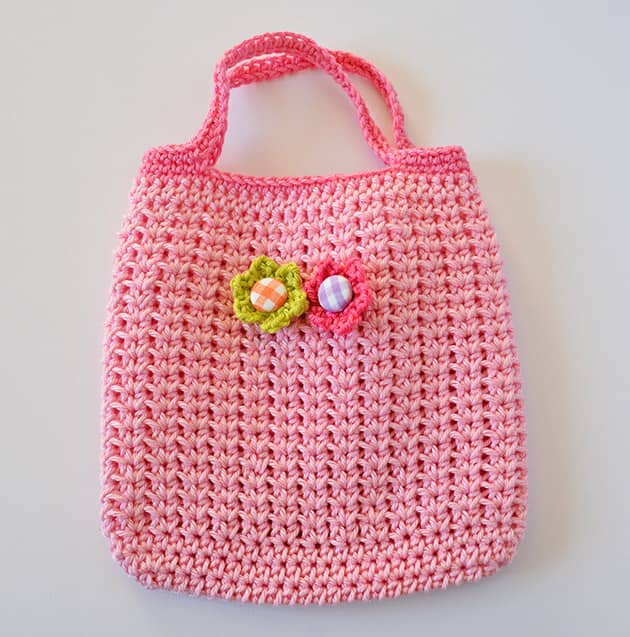
 Place both buttony flowers on the bag front, wherever you like, I placed it at the front upper centre, just like that.
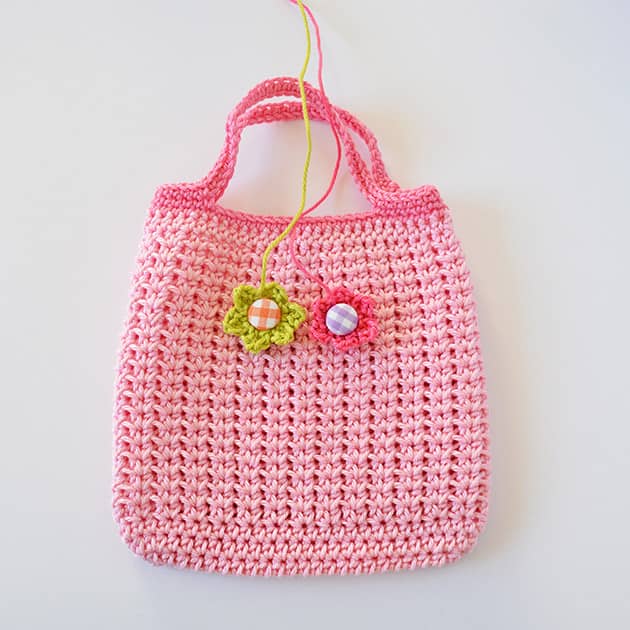 You could make another buttony flower and place the 3 of them as a bouquet.
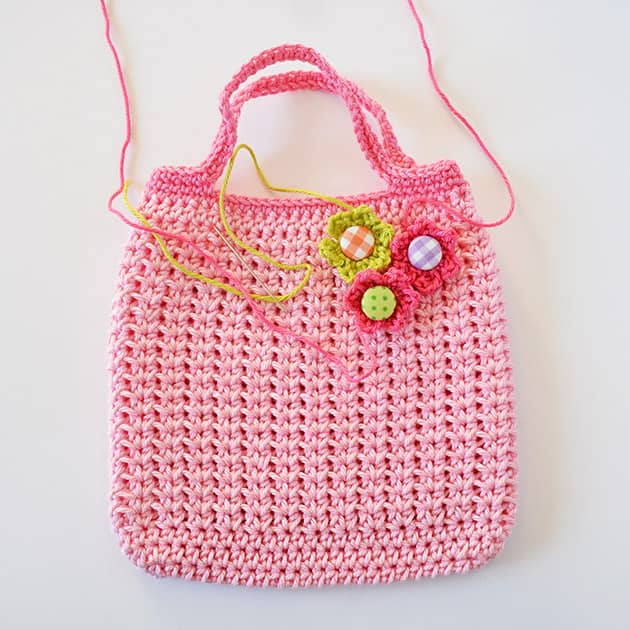 After the buttons are placed, sew the flowers on the bag front, wherever you like. Attach the flowers and try to make it so your sewing sts are not seen. You can see how I usually sew flowers here.
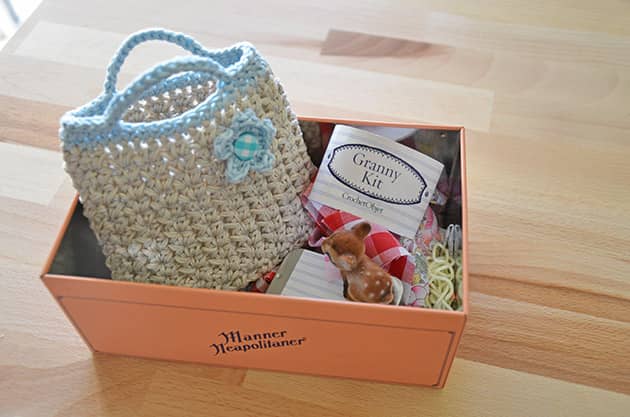
Your Hili bag is here! isn’t that so sweet???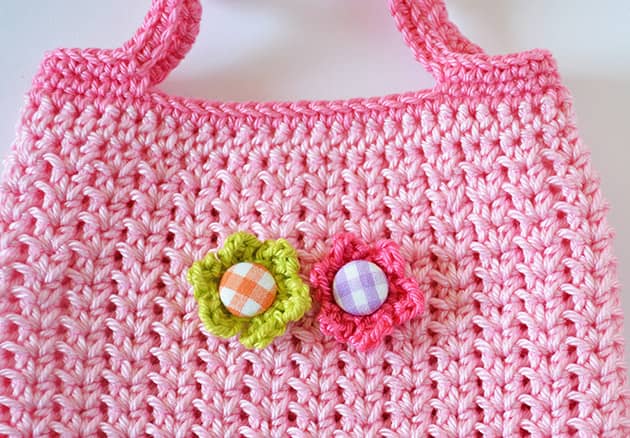
 Well done my lovelies. Now put anything you like in this sweet Hili bag you just made and make it the prettiest gift. Show me a little girl that this gift will not make her happy.
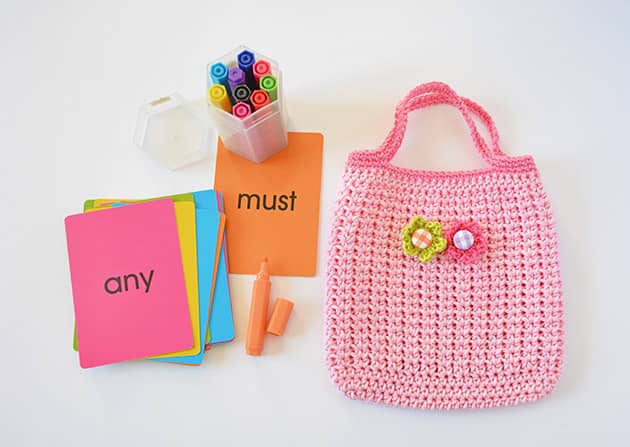 Now after understanding how it works, you can change the size and make it bigger or smaller, as you wish. This Hili bag pattern can work in so many different sizes, imagine how nice it will work in natural colours, not just for sweet little girls but for their mums, and ohh yes it’s even washable, it’s made out of cotton, easy to wash and don’t forget – lay flat to dry.
This Hili bag is such a cute pattern, so glad I’ve wrote it down finally. Hope you’ll give it a try. xoxMo
10 comments on Hili bag
Sandra
It’s just beautiful and would be lovely for both little and big girls!
Mo Malron (author)
Thank you Sandra, I think this pattern will work for both, hope you’ll give it a try!
Patricia
This is beautiful! Thank you for the directions.
Mo Malron (author)
Thank you Patricia, hope you’ll enjoy making it.
Jane Miller
Sweet bag…thanks for the pattern and all the work involved to get it to us! I want to make a bag for my little bunny girl! Wouldn’t that be cute in miniature!
Hope you have a great week!
Mo Malron (author)
I think it will be just perfect for your little bunny! let me know if you did it…
Patricia
I love it! I think I might need to make one for me! Your blog is amazing, always such beautiful pictures and stunning work! You are very talented! Thanks!
Mo Malron (author)
Thank you Patricia I’m still new to blogging but I love it and your comment is very important for me to know I’m doing it right!!
algmiae
Super mignon ce petit sac crocheté ! Et merci beaucoup pour le tuto que je garde précieusement dans un coin et sur mon pinterest.
http://les7joursdhelene.canalblog.com/
Gelene Johnson
I love it
I’ve got to make some for my granddaughters.