But we talk crochet love now. You can find many patterns for dc’s circle, or for roses and leaves, out there on the web, BUT in this tutorial you’ll follow my own patterns, so, put your hands on your hook and follow me. ……………………………………………………………………………………………………………………….
My rose cushion kit
Crochet hook: 3/ 3.25mm & 2.5mm.
Tapestry needle.
40 cm round cushion pad, to fill it up.
round = rnd
loop(s) = lp(s)
yarn over = yo
stitch(es) = st(s)
chain stitch = ch
repeat = rep
space(s) = sp(s)
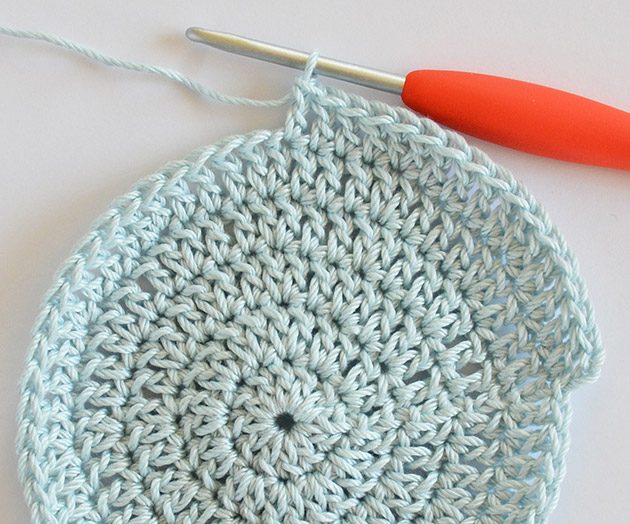
Sl st into the 3rd ch of your initial ch3 (tighten your sl st, it’ll help it look ‘seamless’. Now tighten the yarn tail to close the loop, leave just a small centre hall. (12 sts)
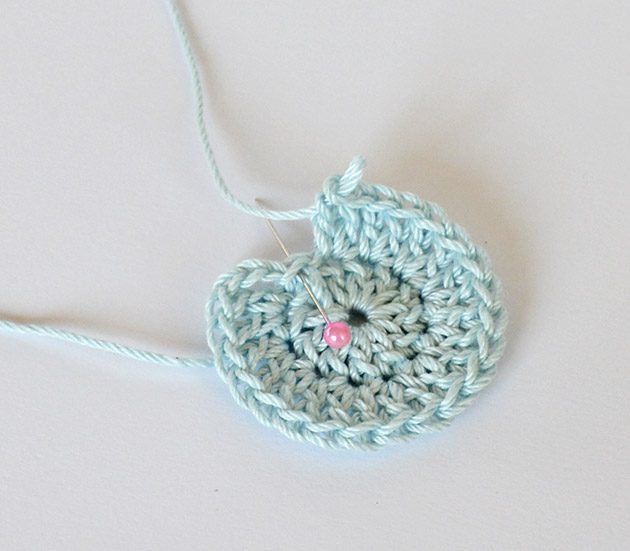 now dc into the same point where your initial ch3 started (the point I show with this needle above)
Sl st into the 3rd ch of your initial ch3 to close. (24 sts)
 rnd 3: ch3, dc in next, *2dc in next, dc in next st* repeat between ** to the end.
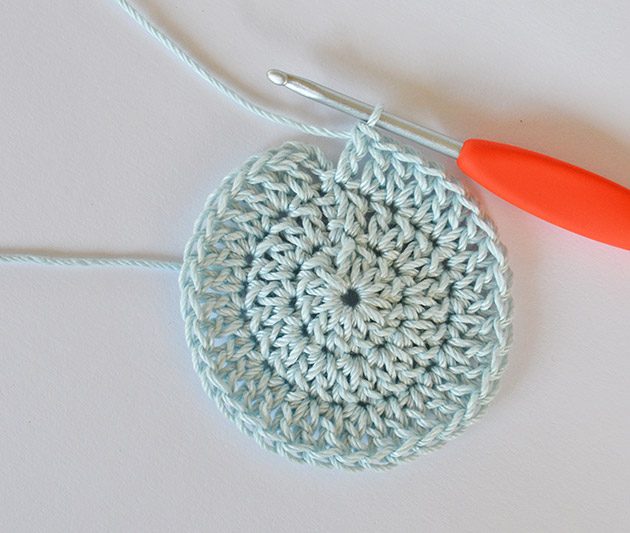 now dc into the same point where your initial ch3 started
sl st into the 3rd ch of your initial ch3. (36 sts)
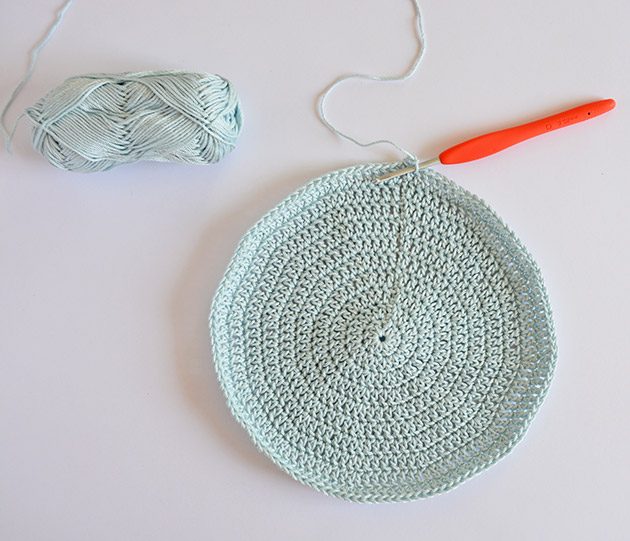 rnd 11: ch3, dc in next 9 sts, *2dc in next, dc in next 9 sts* repeat between ** to the end.
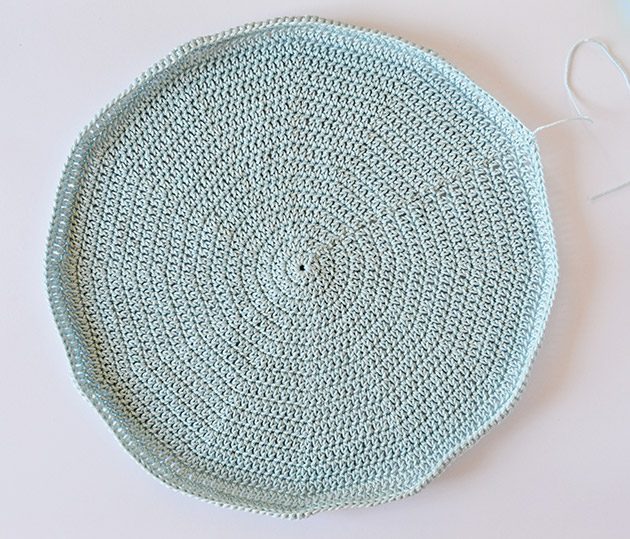
FASTEN OFF and weave in all tails. First circle made.
 Now Make one more flat circle in the same way, so you have front and back.
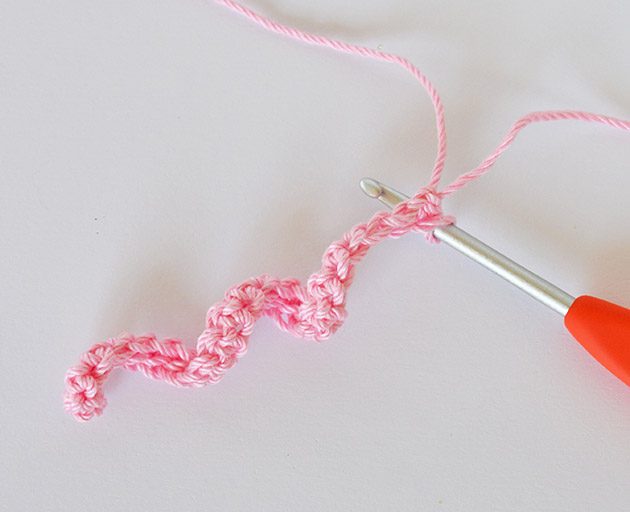 Start with ch 25,
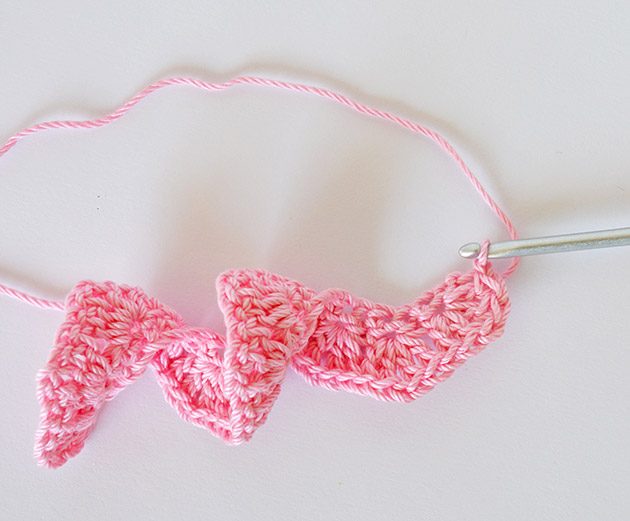
*(2 dc, ch1, 2dc) all in one st, sk 1* repeat between ** to last st. Sl st to last.
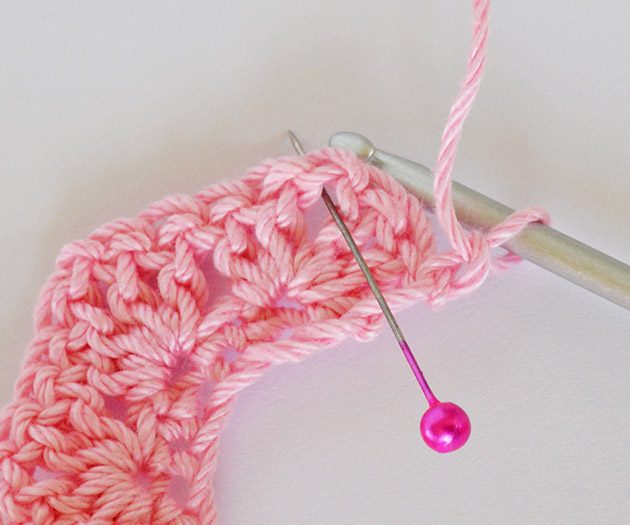
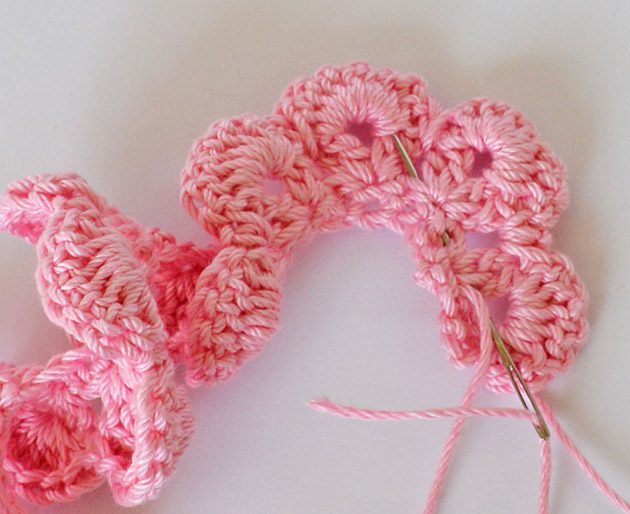
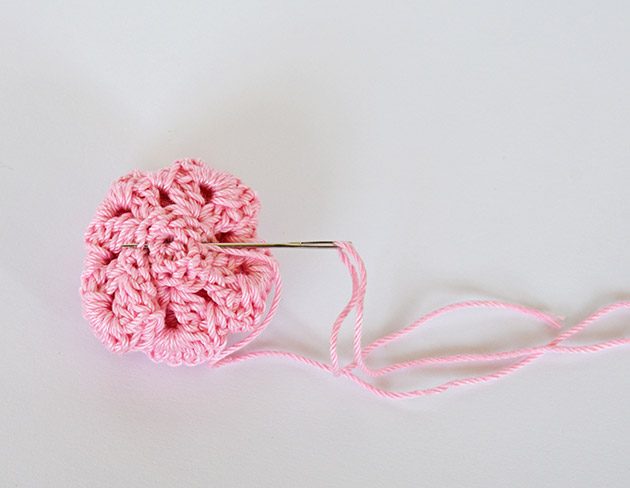
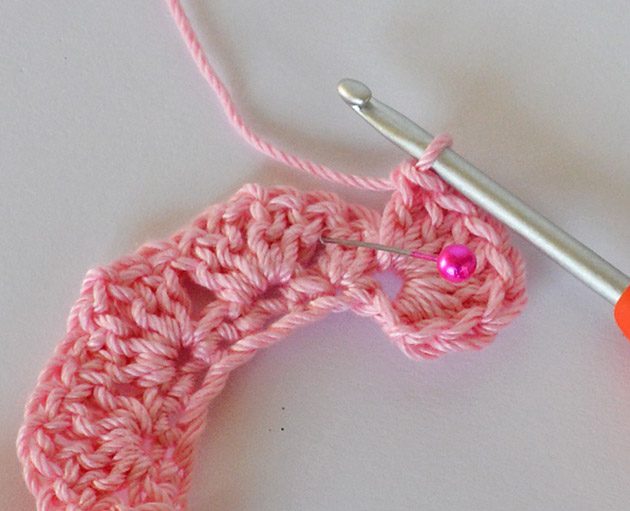 Into the next gap (see above picture, where my sewing pin is) make: sl st, ch1, slst.
 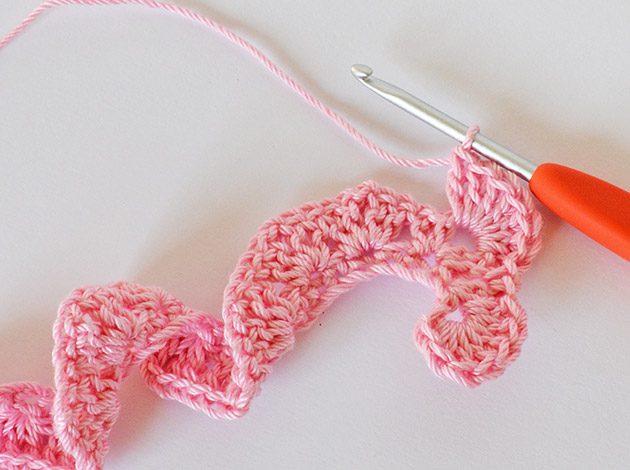 *7dc in next sp, (sl st, ch1, sl st) – all in next gap* repeat between to end.
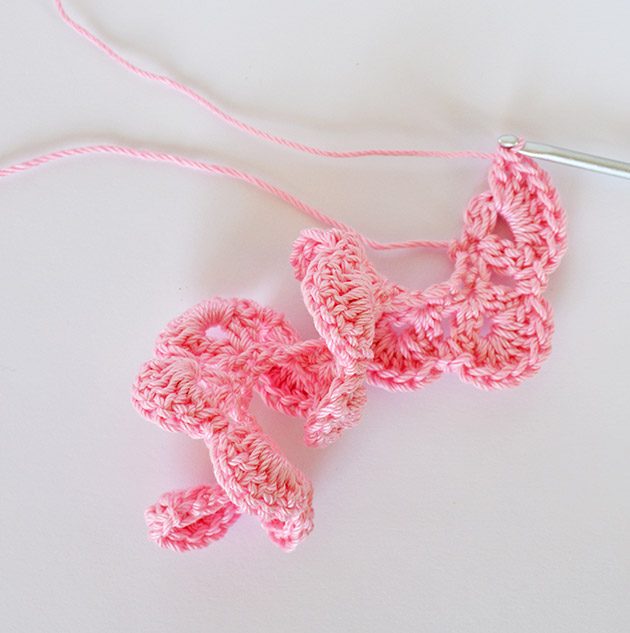
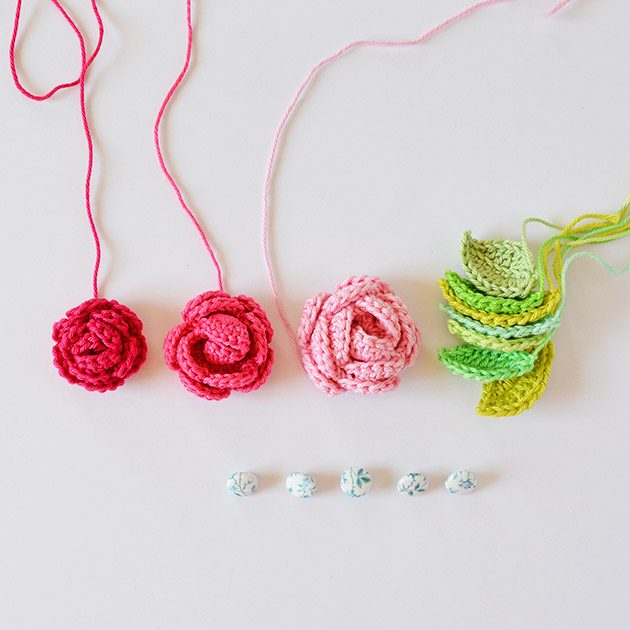
Your first rose is made, do you like it?

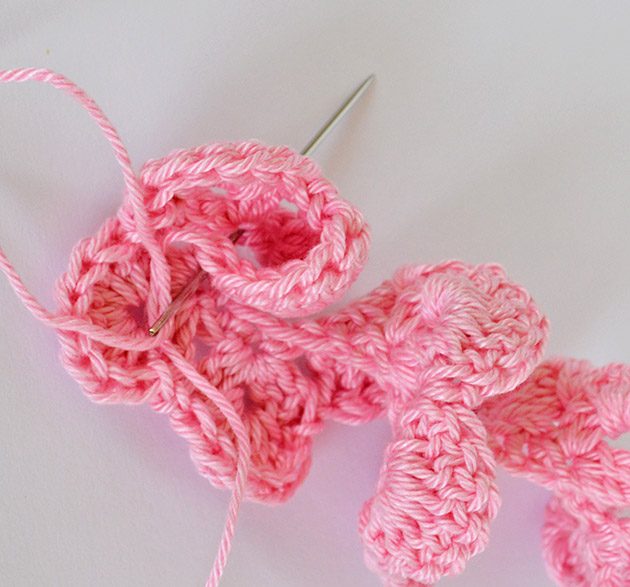
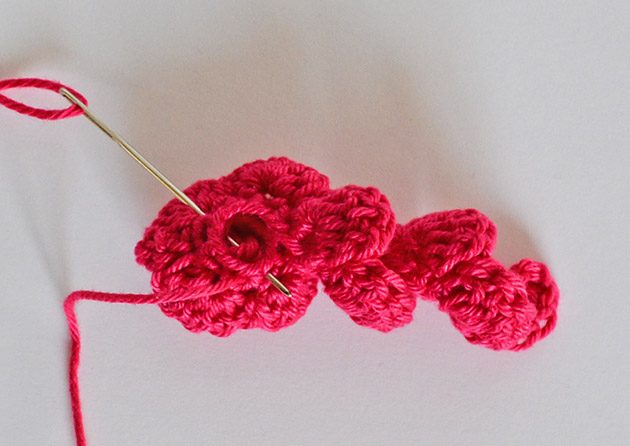
*5dc in next, sl st in next* repeat between to end (13 petals).
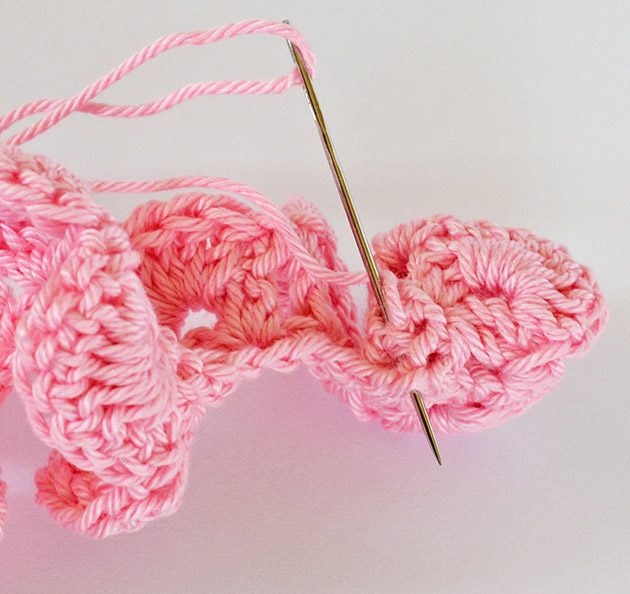
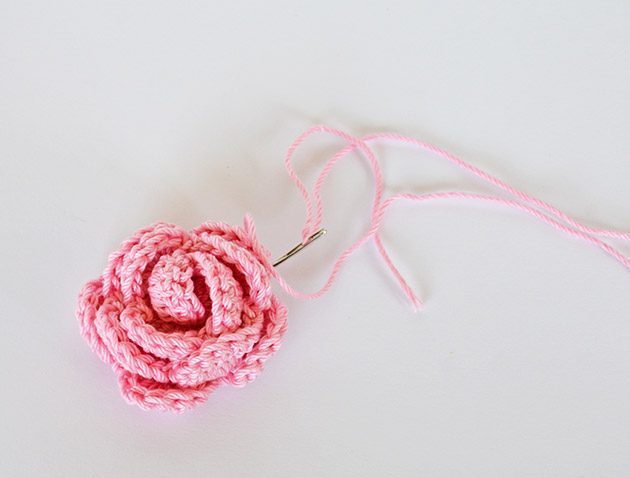
 Now, with the long tail, start curling the petals around in a spiral (as I show in the above picture).
 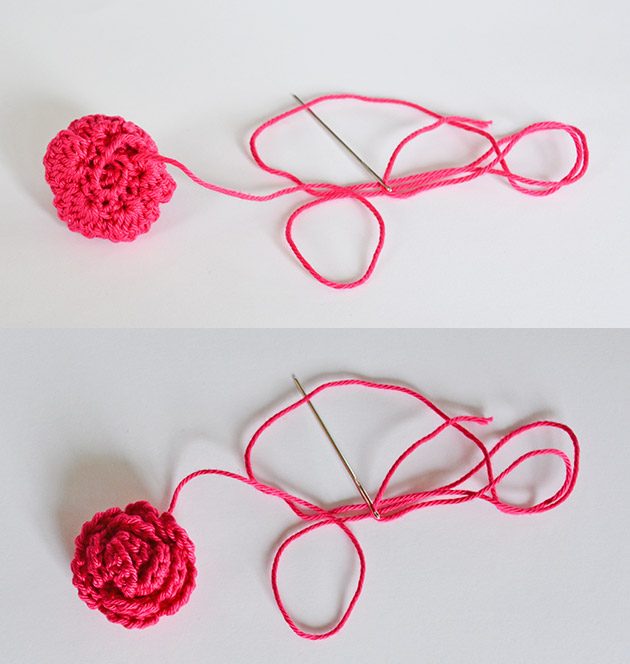 DO NOT CUT THE YARN TAIL, leave the tapestry needle on it, for later.
For this tutorial photos I worked with colour Citron.
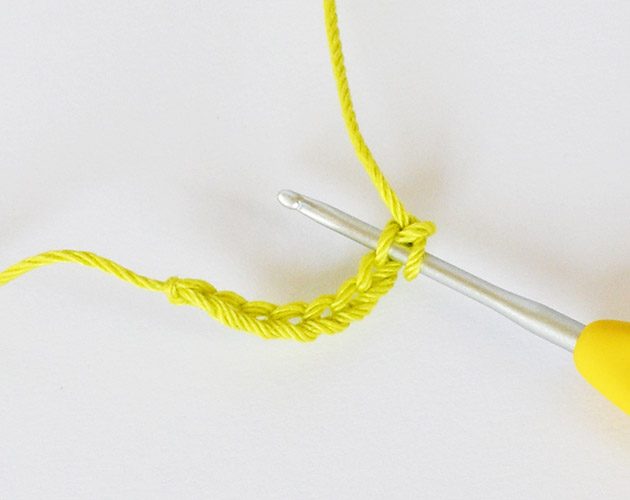 ch 9, start in 2nd ch from hook and work the following: sl st, sc, hdc, dc, 2dc, dc, hdc, at the last st make: sc+ch2+sl st.
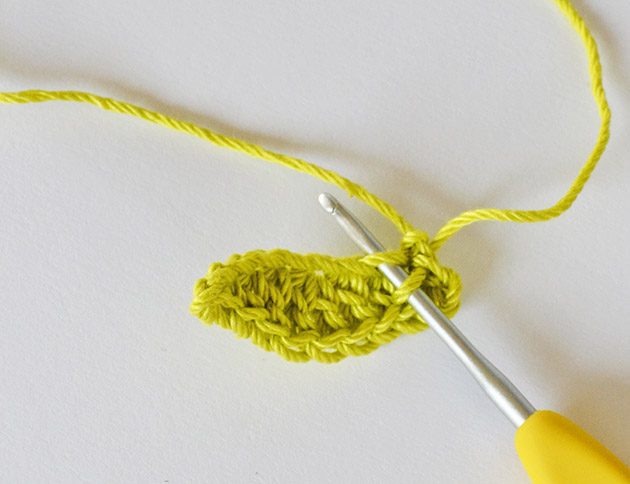 Now work the other side of the leaf,using the opposite side loop of your foundation ch. work as follow: sc, hdc, dc, 2dc, dc, hdc, sc, sl st into the last.
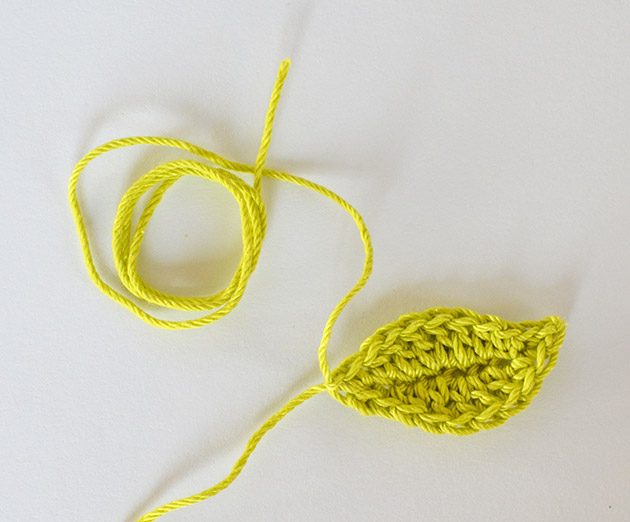 FASTEN OFF leave a long tail end to the stitching, later.
 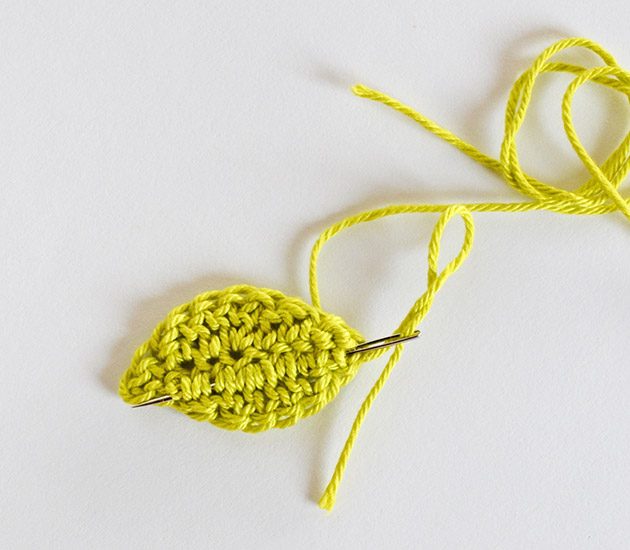 Weave in the short tail.
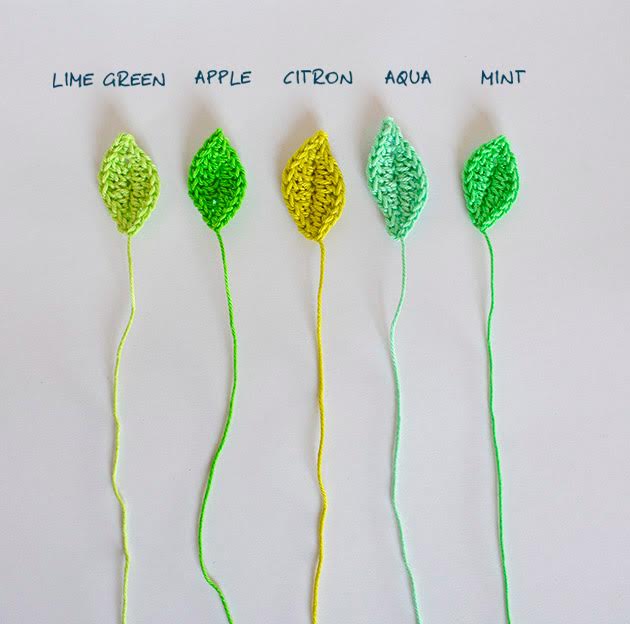
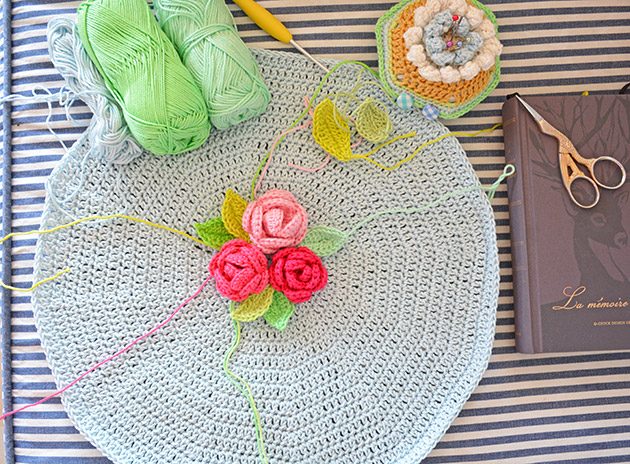 Take one of your flat circles and place your flowers and leaves on the centre of it’s right side, this is the sweetest part of this tutorial. Make your bouquet beautifully positioned.
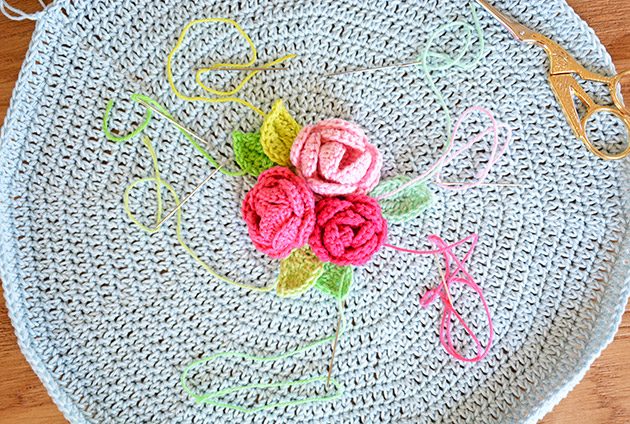 Now we’ll start stitching it up. It’s better to work now on a table so if you’re working on the sofa, like me, it’s time to move to the table. My method to sew this bouquet perfectly, without flattening the flowers is :: first thread a needle into each of your yarn tails, in each flower and each leaf. Than I stitch them all at the same time, a little of each. I sew one of the leaves a little and than stitch one of the flowers and than back to another leaf – in this way I can control the position of each item and the way it gets connected with the others :: hope I’m clear (me and my poor English) look at the pictures I’ll put more of them and talk less….:)
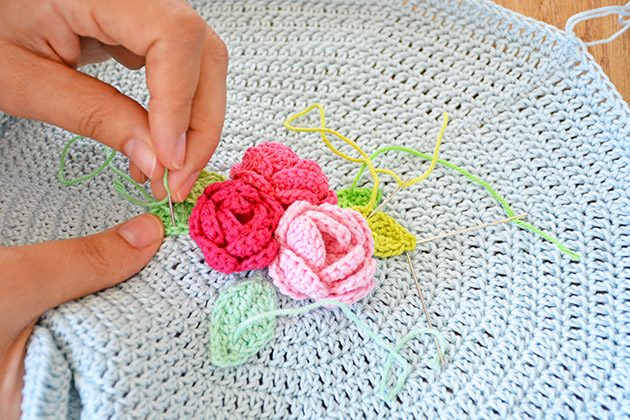
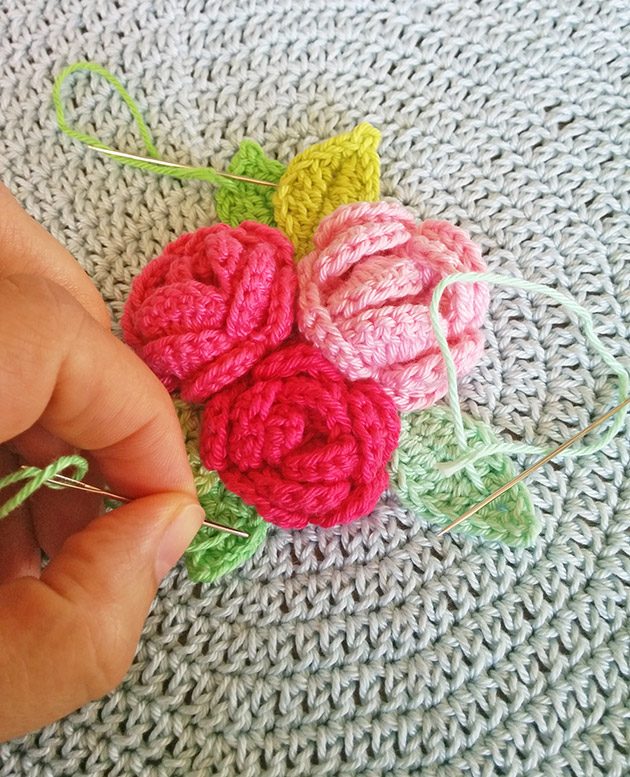
 You actually need to sew them on the front side of the cushion but also to connect them one to the other in a gentle way and try to hide your stitches, and connect them together very carefully. Make sure they sit nicely on the front centre, but at the same time try not to flatten their three-dimensionality.
 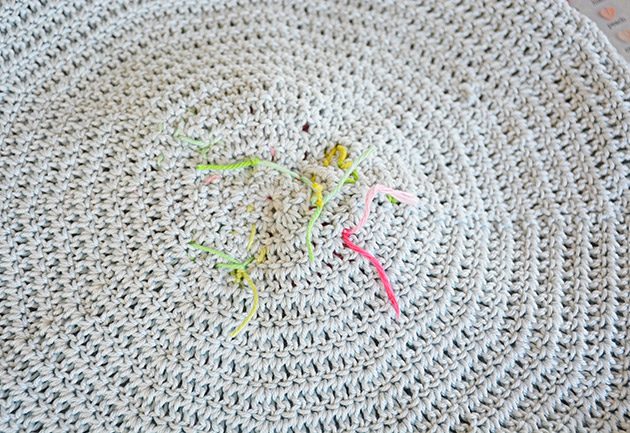 That’s how your back side should look like, when you finish stitching up your bouquet.
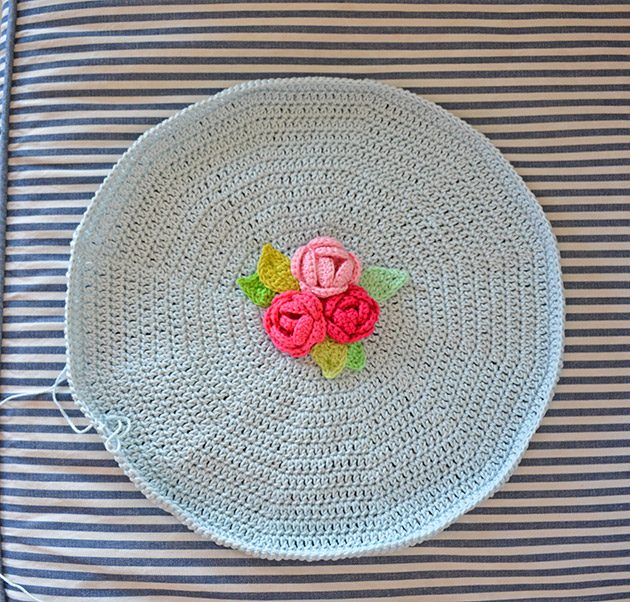
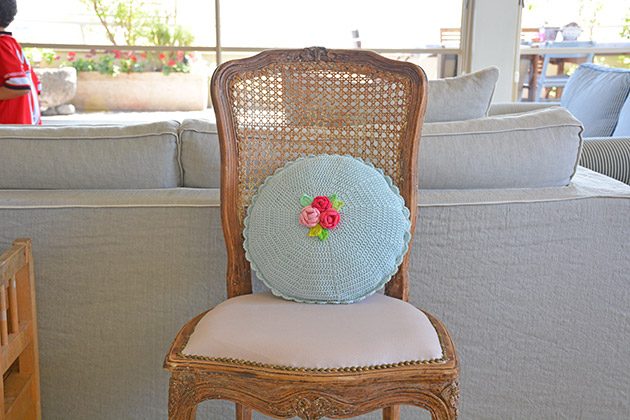
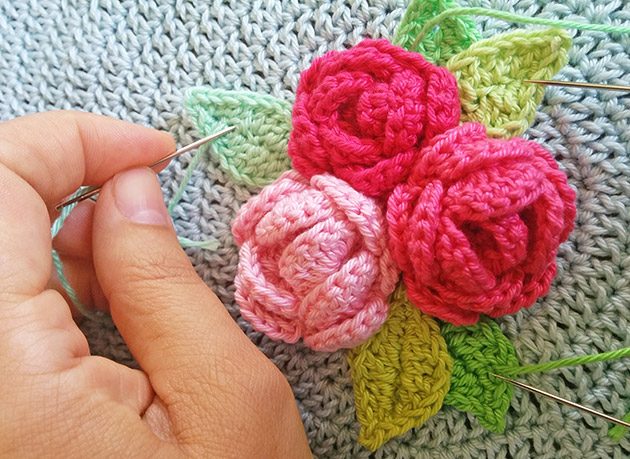
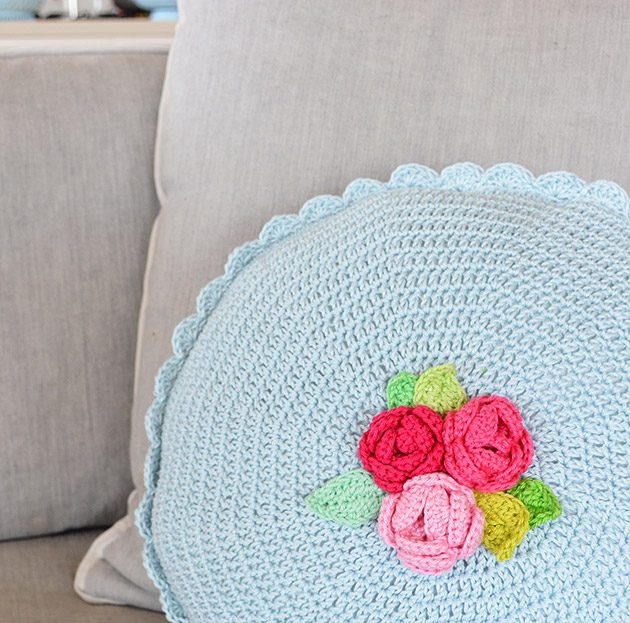 And the front side, as you can see I haven’t completely connected the leaves, I left the top part of them unconnected to allow it’s fresh flowery feel.
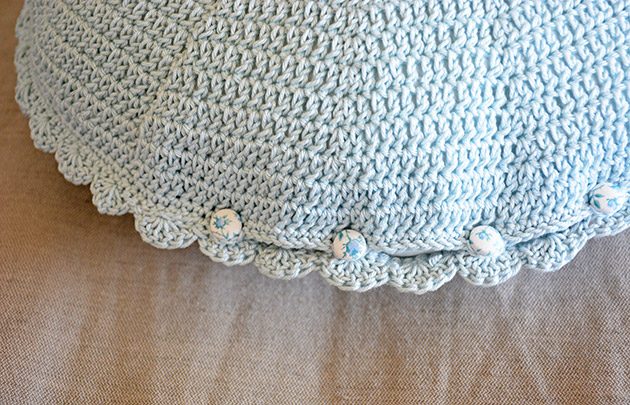 This is all for now lovelies, If you’re still here…… thank you so much for joining my first part tutorials, for my rose cushion. We will meet again on my next blog post with the second part, where I’ll show you how to connect the front and back side of the cushion, with this nice shell edge. We will make a nice opening with these little pretty fabric buttons, which are part of the kit.
 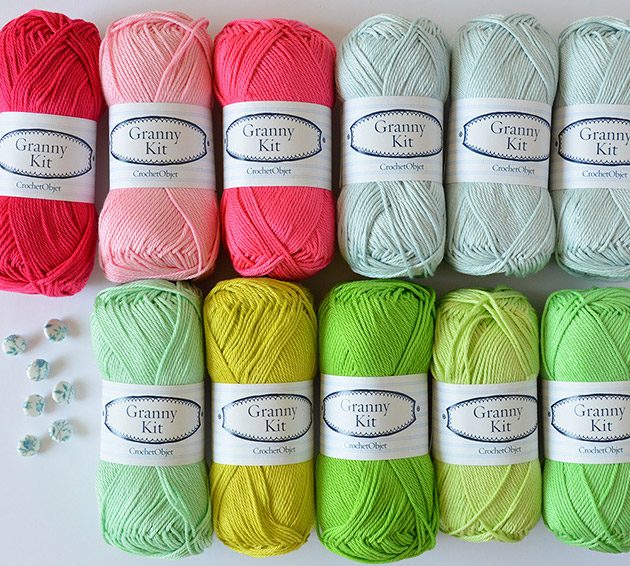 ‘My rose cushion’ kit is available at the shop now. If you are a subscriber to my blog, then you’ll get an email, tomorrow, with a coupon code for 10% off this lovely kit. If you’r not a subscriber yet than hurry up and subscribe today. Within this kit you’ll get 11 balls of GrannyKit cotton in all colours you need for this project, together with 7 tiny little Liberty of London fabric buttons. I hope you enjoyed my tutorial, looking forward to seeing your beautiful roses and leaves on IG with hashtag #myrosecuhion. See you soon, with the second part of the tutorial, xoxMo
14 comments on My Rose Cushion – Part 1
Alessandra
really beautiful!!! Thank you, xxxx Ale
Mo Malron (author)
Enjoy!
Shimrit
I’m speachless, it’s so gorgeous!!
Must hurry up and do it this week, so I’ll be ready for the second part 🙂
Thank you so much for sharing and for writing such a wonderful tutorial.
Mo Malron (author)
Thank you, sweety!!
Dorin Attias
שתהיי בריאה אחותי
כמה מוכשרת את
שיא האסטתיקה
זה יפה בקטע טהור
Mo Malron (author)
אחותי שלי את
Loly Bethencourt Campodarve
Muy bonito, very beautiful, thank you so much for sharing it. I,m very happy 😉 Graciassss.
In this moment I,m with the Granny Chevron Ripple Blanket, at least I,m trying. :)))))
Mo Malron (author)
Thank you, I’m sure you’ll make it.
Beatriz Cortés
Thank you very much…I’ll make one. It’s so nice!
Martina mckenna
This is so lovely
Darbi
This is so lovely, I can’t wait to start. I didn’t see what size hook one should use for the cushion. Did I miss that?
Thanks,
Mo Malron (author)
Thank you Darbi, you can use 2.75 – 3.25mm hook
claudia perez
hola mi nombre es claudia me encanta tu pagina es hermosa y muy luminosa mi consulta es tenes el patron del almohadon en forma de flor sacado de punto cruz en colores blanco rosa me podrias decir gracias saludos desde rio grande tierra del fuego argentina
Mo Malron (author)
Hola, i’m sorry I don’t have the pattern for this one. xxxMo