°°°
°°°
 Because E was positive to Covid, I had to cancel a few weeklies. I wanted to keep all my lovely students 100% safe, obviously. Which left me with some free hours on hand.
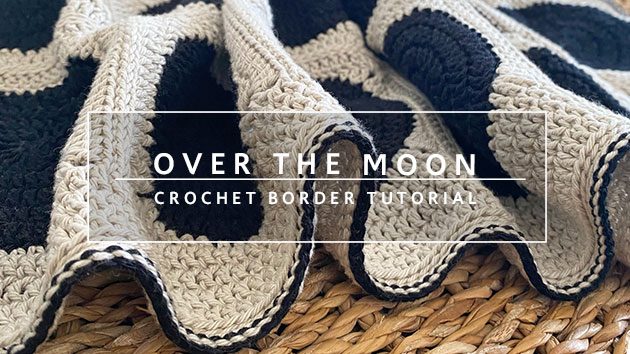
 So I took advantage of this free time and created a new video tutorial for you. In which I teach you step by step, from the first stitch all the way to the last stitch, how to crochet the border on my Over The Moon blanket. I also included a ‘how to weave in ends’ because I know you like to see it.
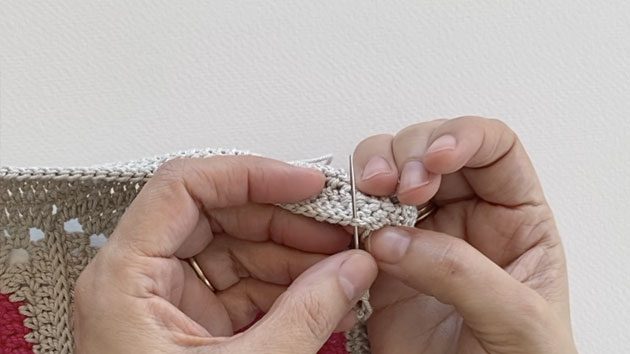
°°°
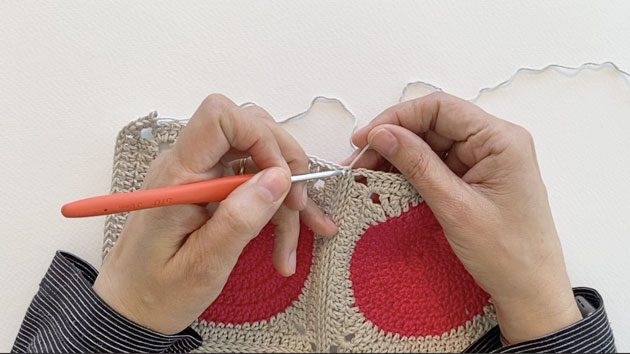
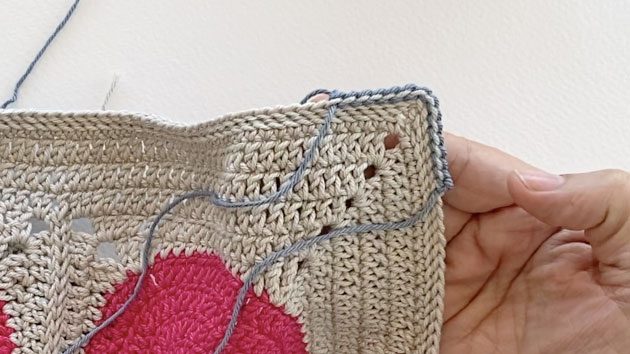 On the first section you’ll work with a 3 mm hook while on the second you’ll change to a 3.5 mm and I wanted to share some important info with you on this specific point.
°°°
The second section of my OTM border is made out of slip stitch which makes it very neat and tight. BUT on the other hand can create an extra tension on the border stitches and I want you to be super minded here. If you are not new to crochet you know that a slip stitch is a tight stitch by its nature and I want you to be aware of it while crocheting the second section on your Over The Moon border.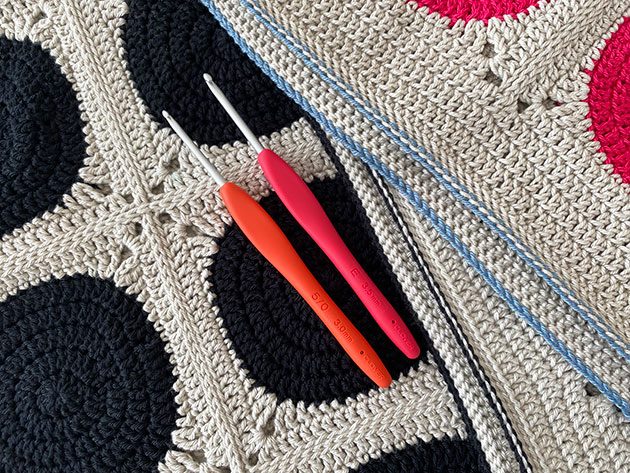
°°°
 The video I made for the border will help you understand it so I think it might be helpful if you watch it before you dive into the border making.
Over The Moon – crochet border tutorial
°°°
I got a review from an Etsy customer saying that she was disappointed that the pattern is not included in the yarn pack. So, after all my explanation about it on last week’s blog I decided to give it another chance. I now added the pattern into the yarn pack. But I don’t feel good about printing the pattern and adding the printed paper onto the yarn pack which can add some extra weight to the package and affect the price. And also not green at all!!! So I’ll send you the pattern via email, after your payment is completed. Let’s see how it works. Flexibility and learning while walking hand by hand with you, my lovely followers. I appreciate you so very much. I also added an option so you can choose if you like to get one yarn pack or two without paying double on the shipping.
°°°
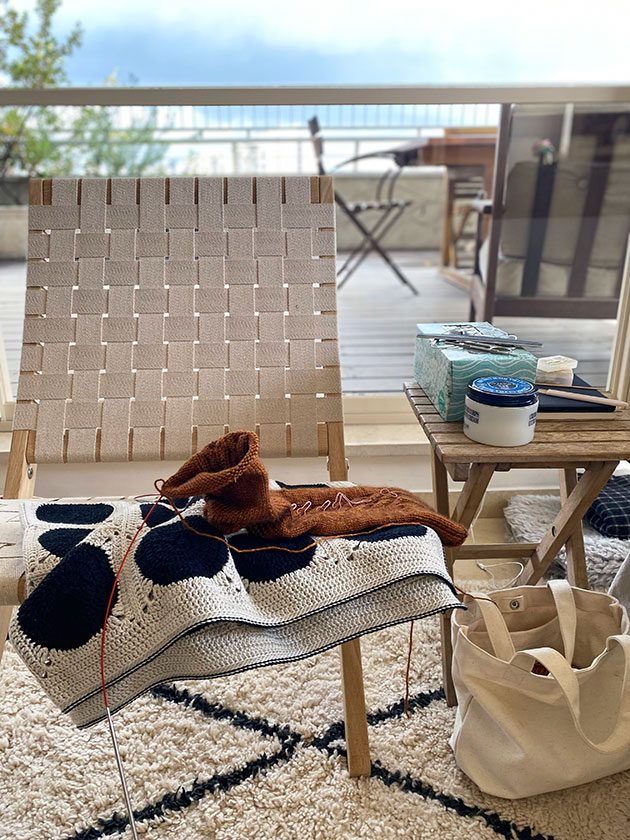 Last weekend I spent some relaxing time with one of my works in progress which was waiting patiently for my attention. This cable socks pattern is one of those projects that has been living in my head for quite a while and I hope to bring to life somewhere in the near future.
 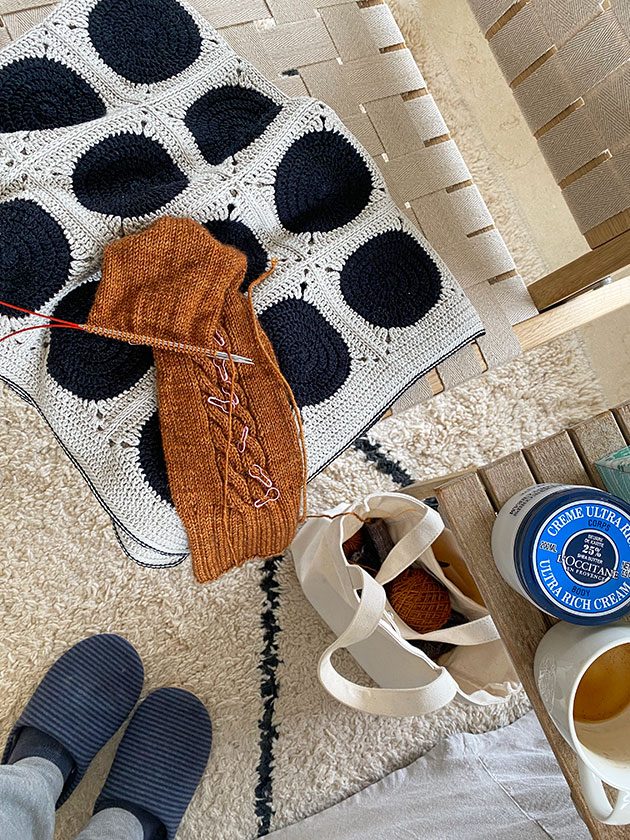 It’s a pair of socks that I have wanted in my life for years. These cozy weekend socks are made out of DK yarn. I use two skeins of DK Yak from lovely Maya of The Wool Barn in a special colour she dyed for CrochetObjet. Knitted on a magic loop with a 3.5 mm circular needle 100 cm long. There are a few more new WIP’s waiting to get some attention. Hope to share them with you soon.
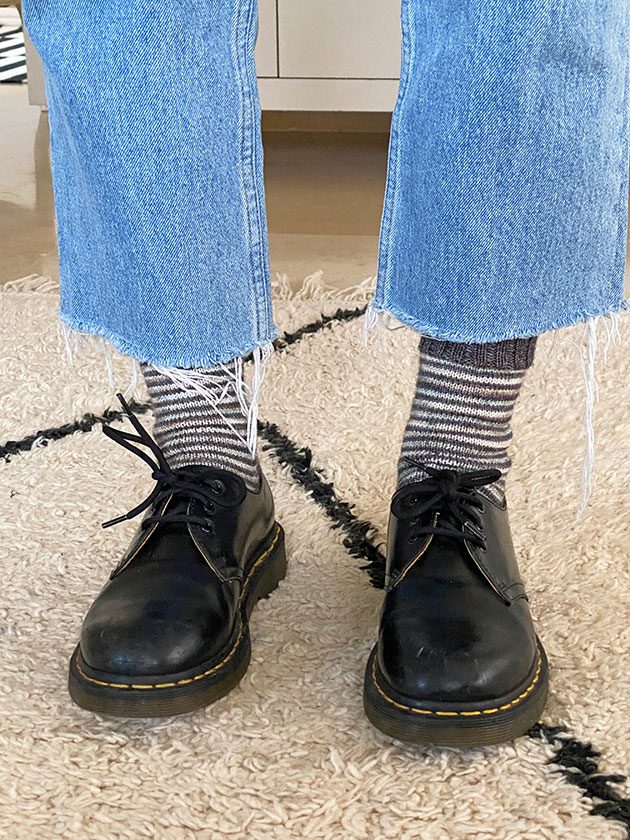 I also finished a pair of stripes socks for Maya (our eldest) who also had Covid #2 and she is happy to be out and about with her new wooly hand knitted pair.
°°°
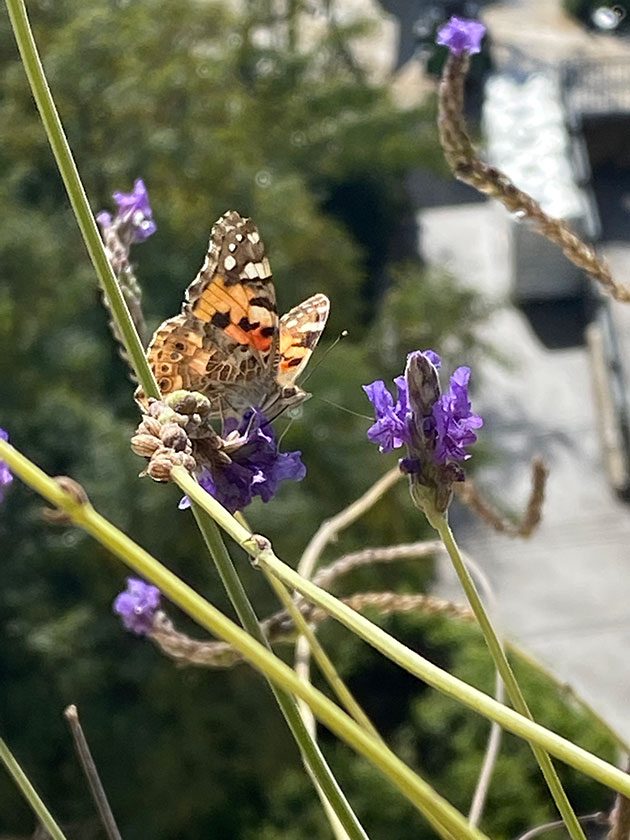 Just couldn’t finish this blog without sharing my lovely visitor with you. Yesterday, after I finished my usual morning tidy up. Which always helps me to get relaxed and ready for my blog writing session. I went to the kitchen to make myself a cup of coffee. It was a rainy and grey morning. But as I took the cup of coffee in my hand, ready to go to the studio to write this post, the rain stopped and the sun came out. I opened the kitchen window to get some ‘fresh after rain sun ray’ on my face and this butterfly came to visit. And it stayed for a few loooooong minutes on our Lavender flowers.
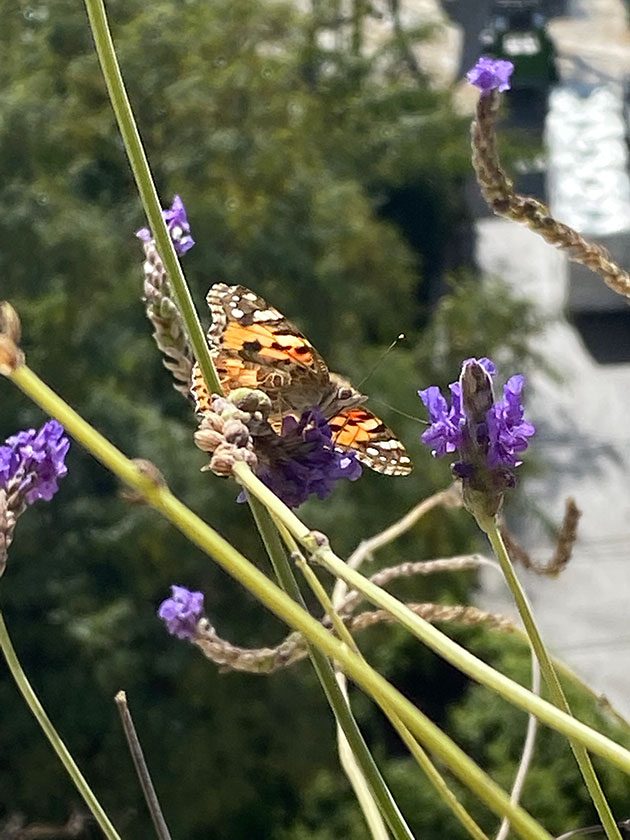
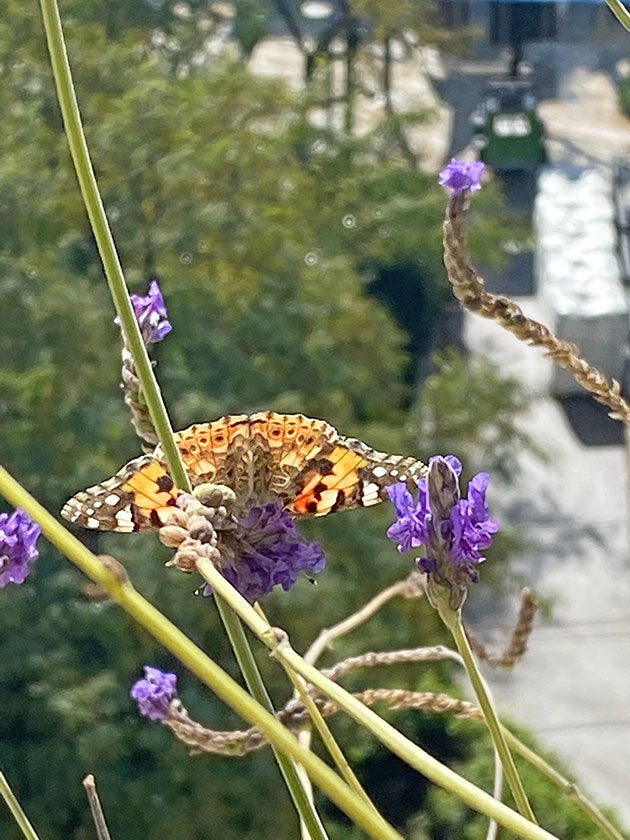
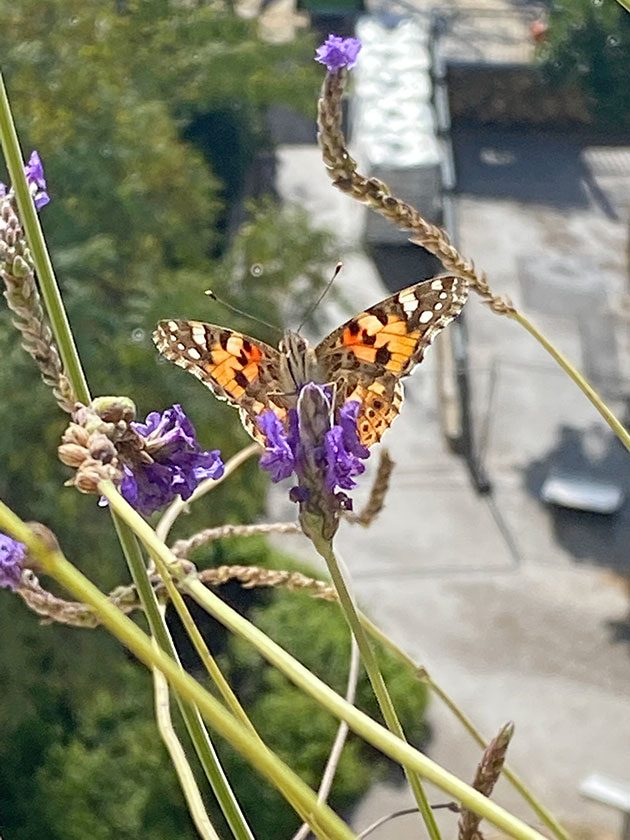 Thankfully (and so excited) I managed to gently take my I phone out of the pocket and get a few pictures and a video. I was OVER THE MOON with this special visit. E told me it’s a Venessa Cardui. I will share the video on my IG and FB stories with you tomorrow. xxMo
2 comments on Over The Moon – crochet border tutorial
Nancy
Well, I bit the bullet this morning and bought the pattern. Now if you will run a super sale on the yarn, I’ll be all set. Just kidding. I’m not ready to start this one yet, so I will keep looking for yarn. Thank you for your keeping us busy during this time of restriction and quarantine. You do such beautiful work…it is a pleasure to read you blog when it comes in.
Nancy from Georgia
Mo Malron (author)
Thank you Nancy, so happy to keep you busy and that you liked the pattern. Unfortunately cotton prices are going high, I wish I could offer a supper sale now. Keep up your visits here and let me know if you found any interesting yarn, xxMo