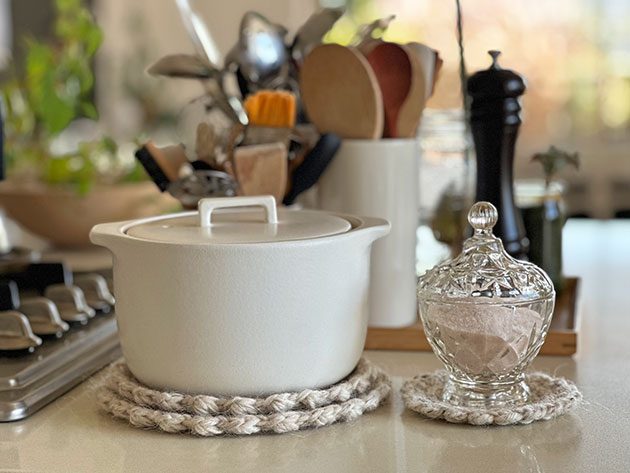
The Light Heather Crochet Coasters is a beginner friendly project. A few weeks ago I shared the first coasters I made on YouTube and though to share a free pattern here with you as well. They are so quick to crochet and make such a fun gift. I just can’t stop making them. The pattern I share here today goes along with a video tutorial for the Puff stitch. So, you’ll have everything you need to know to crochet these simple coasters in any size you like.
We needed coasters
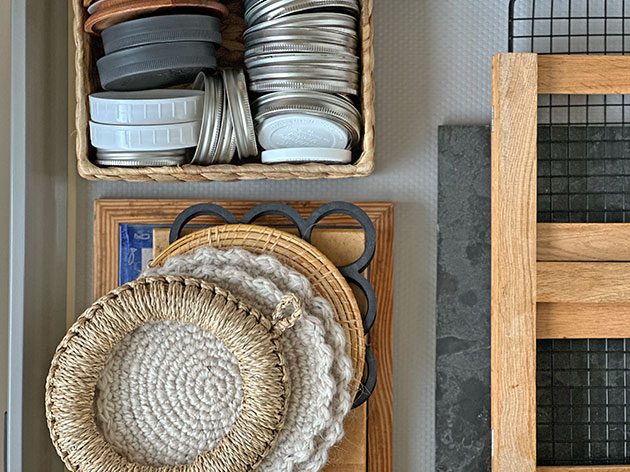 I’ve been trying hard to keep our home, especially the kitchen, well organized. I really like it when everything has a dedicated place and I actually prefer to have a little bit of empty space in each drawer. Because it is clear to see where is what, which makes life a lot easier.
 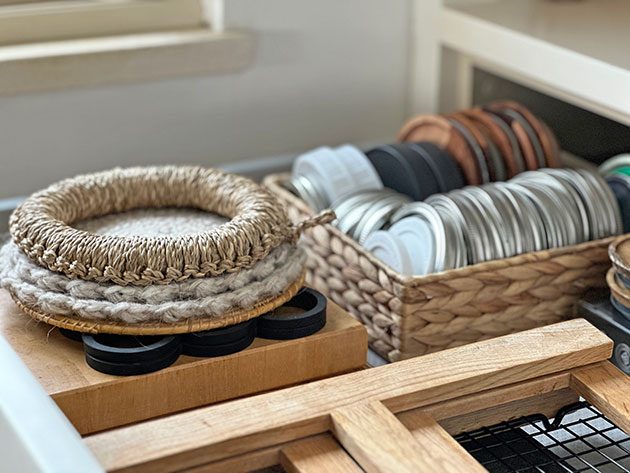 At the end of the day, we don’t need so much stuff…. ok, OK, this is for another blog post. But we REALLY needed a few more coasters / pot holders in our kitchen. At least that’s what my family thought.
Where it started
I came across this video on YouTube the other day where the creator crocheted some lovely coasters. This is what we need, I heard myself saying. I went to the studio, grabbed some yarn that I thought would work nicely with what I imagined. Not long after I had the first Light Heather Crochet Coaster ready.  I was so in love with the result. The yarn combination, the tweed effect, the thickness of the fabric, the style. LOVE everything about it. I loved it so much that I immediately made another one and another one and then shared them on episode 8. Today I’m here to share how I made them in case you need them in you life as well.
Pattern and tutorials
Though it looks like a simple crochet circle, at some point I ‘broke’ the ‘increasing rhythm’ to soften the hexagonal shape. If you have ever crocheted a circle you know what I’m talking about. Don’t get intimidated with those Puff stitches because there’s a video tutorial included. Here is everything you need to know if you like to crochet the Light Heather coasters as I did.
Stitches used in the pattern (US crochet terms)
- st (s) – stitches
- ch – chain stitch
- slst – slip stitch
- sc – single crochet
- yo – yarn over
- sk – skip
- Inc – increase = make 2 sc in the same stitch
- Puff stitch – * yo, insert hook to the st, yo, go back through the st, make sure the loops are a little long in the hight of a double crochet stitch * (3 loops on your hook), rep between ** (5 loops on your hook), yo and go though all the loops on your hook.
How to crochet the Puff stitch
The Yarn I used
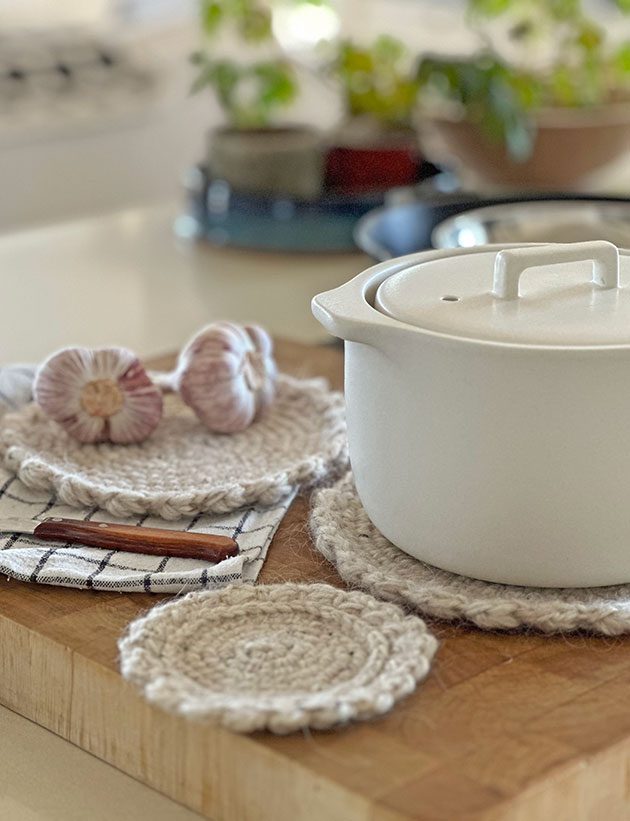
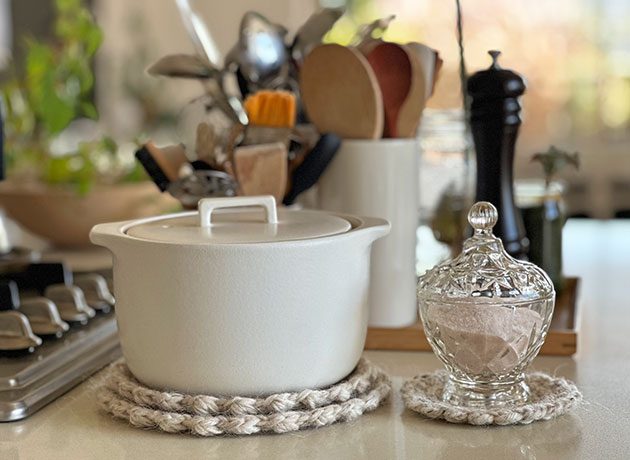
I wanted to make coasters that will be thick enough to hold hot pots on top of them without damaging the wooden table. To achieve this thickness that I was aiming for, I crocheted my coasters holding 3 strands of yarn together. 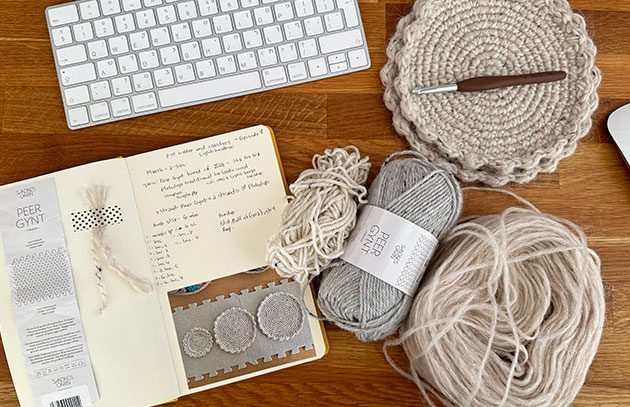 In the picture you can see the yarn I used and here are the names and details of each. I guess this combination makes what you call a chunky yarn?
- Peer Gynt Tweed by Sadnes Garn. 50 g’ and 91 meters in each ball. In the first ones that I made I used color 2523. But now as I write the pattern here for you I use color 1035.
- Plotulopi – Icelandic un-spun single ply in color 0003 Light Beige Heather – 100g and 300 meters per plate.
How I managed the 3 strands
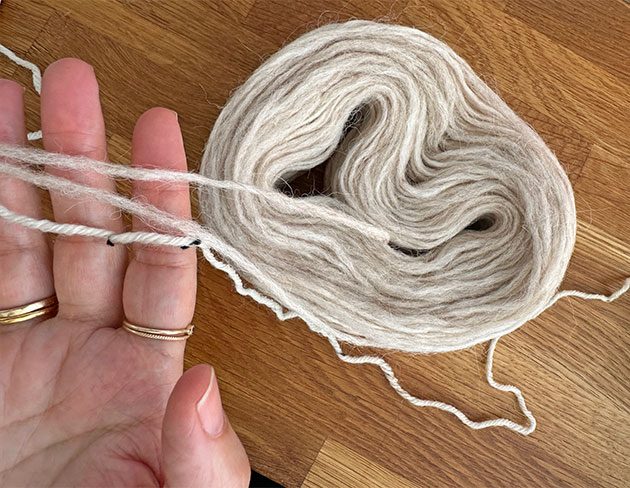
I held 1 strand of the Peer Gynt together with 2 strands of the Plotulopi. I think you’ll need a little less than half the ball (23 g’) from the Peer Gynt. It’s about 40 meters if I do the right math. So, you will need the same length but twice from the Plotulopi as well because you hold it double. I held it double by pulling from the inside and outside of the Plotulopi plate. I used about 30 g’ of the Plotulopi for the large size coaster.
Edit to add
One plate of Plotulopi made 4 large coasters + 2 mug coasters.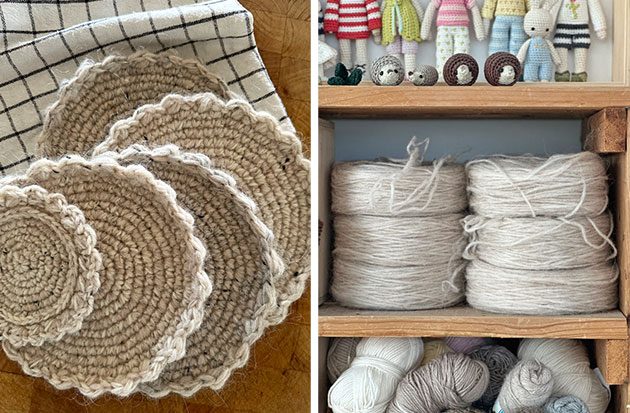
A note about tention
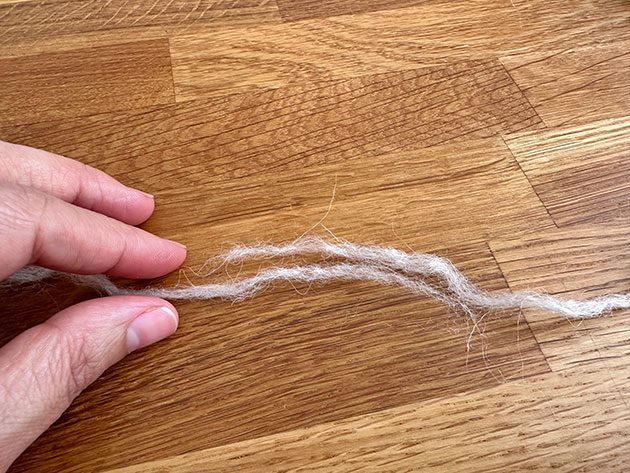 The Plotulopi is an Un spun single ply yarn and therefore it can break quite easily, as you work. Just be aware of it but in any case it is very easy to put it back together. You simply hold the 2 ends one on top of the other and roll them together between your palms until they get attached. You can add some water if you like, you might find it easier that way.
Hook size
At first I started crocheting using a 5.5 mm crochet hook but then I found out that a 6 mm hook creates a better result. The fabric felt more puffy with the larger hook but you’ll try your own yarns and hook I guess. Watch this video to see more of it. 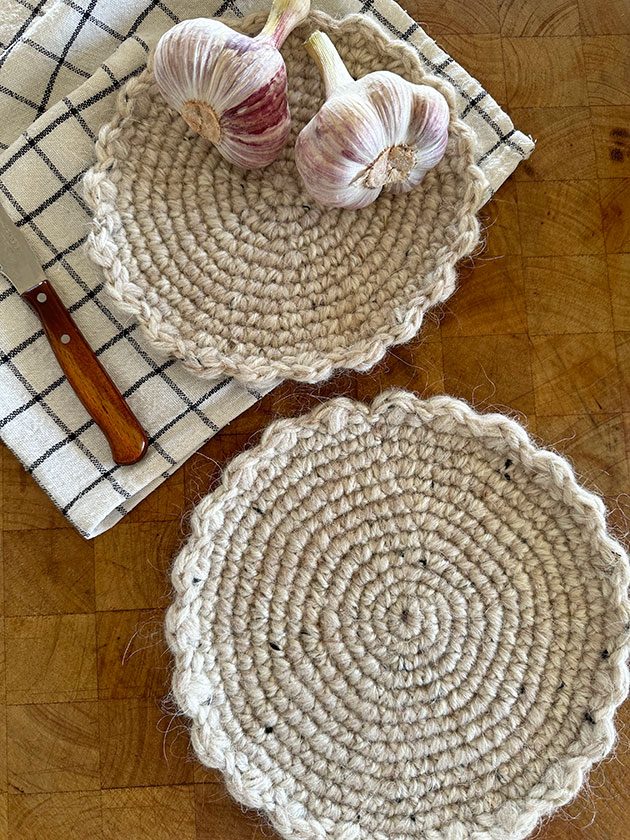
Coasters size
The instructions I share here are for 2 sizes. Once you’ll get the hang of this coaster, you’ll be able to make it any size you like. Let me give you the diameter for the ones you see here:
- Large – aprox 8 inches / 20 cm’.
- Small – aprox 7 inches / 17.5 cm’.
 Instractions

Start with a magic lp OR if you prefer ch 5 and slst into the first ch to form a ring. You will work spiral from here so mark the 1st st in each rnd.
Rnd 1. Sc 6 in the yarn lp and tighten the lp to close the center hole.
Rnd 2. Inc in each st around (12 sts)
Rnd 3. * Inc in next st, sc in next * Rep to end. (18 sts)
Rnd 4. * Inc in next st, sc in next 2 sts * Rep to end. (24 sts)
Rnd 5. * Inc in next st, sc in next 3 sts * Rep to end. (30 sts)
Rnd 6. * Inc in next st, sc in next 4 sts * Rep to end. (36 sts)
Rnd 7. In this round we will start ‘breaking the increasing rhythm. Work as follows: Sc in next 3 sts * Inc in next st, sc in next 5 sts * Rep to last 3 sts. Inc in next st, sc in last 2. (42 sts)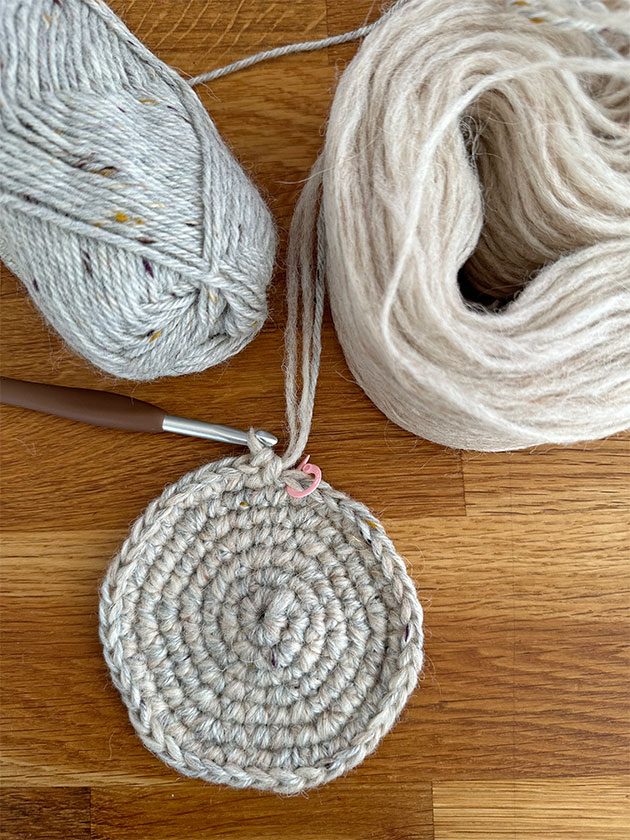 This is how it looks at the end of round 7.
Rnd 8. * Sc in next 6 st, inc in next st * Rep to end. (48 sts)
Rnd 9. Sc in next 4 tst * Inc in next st, sc in next 7 sts * Rep to last 4 sts. Inc in next st, sc in last 3. (54 sts)
Rnd 10. * Inc in next st, sc in next 8 sts * Rep to end. (60 sts)
Rnd 11. * Inc in next st, sc in next 9 sts * Rep to end. (66 sts)
As you can see here, my circle is about 6 inches / 15 cm’ – in diameter at the end of round 11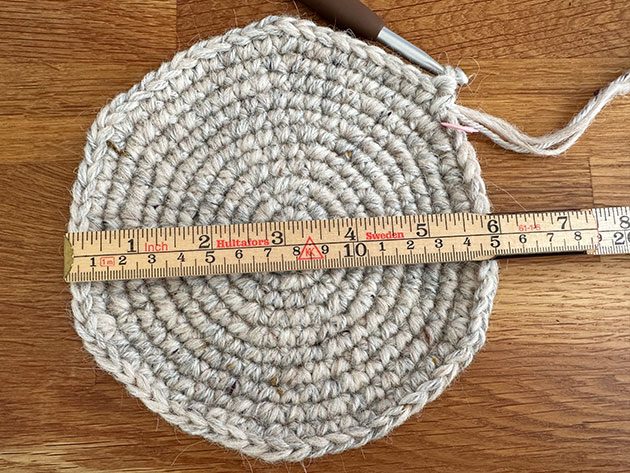
Make small or large
To make the smaller coaster continue to the Puff stitch border now. For the larger one continue crocheting the next round before making the puffy border.
Rnd 12. * Inc in next st, sc in next 10 sts * Rep to end. (72 sts)
And now you’re ready to make this puffy border.
The Puff stitch border
Continue working spiral as follows:
* Slst into the next st, make a puff stitch in the next, sk 1 st * Rep to end.
To close make a slst into the slst where you started this rnd. Weave in all ends and block. And this is it!
Blocking
To block my coasters I simply placed them on a blocking surface and sprayed some water on top of them and lay them flat to dry. Watch me blocking my Light Heather coasters here at the end of this episode.
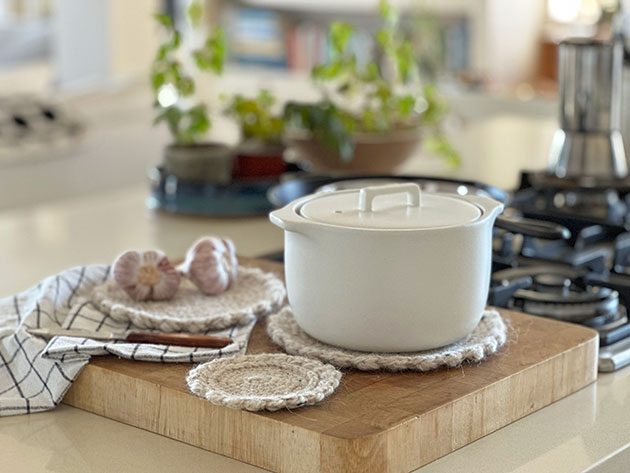
And yes, this is it! Such a fun simple crochet project. Now we have the Light Heather crochet coasters added to the free patterns list here on my blog YAY! I can’t wait for you to make them. I strongly recommend that you use any yarn you like or have in stash. 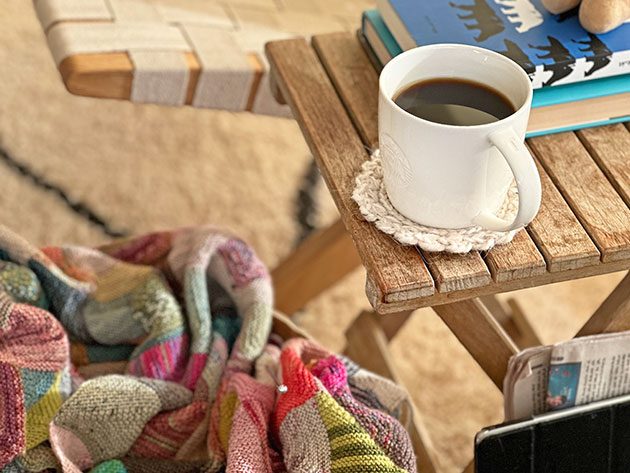 These wooly coasters are exactly what we needed in our kitchen but they also make such a lovely gift and I will probably crochet more of them. Meanwhile I enjoy this one under my coffee mug every morning… Will you try this little crochet project? xxMo
I know you will ask
To make this small coaster that you see under my coffee mug I followed the pattern up to round 5. Then on round 6 made the sc stitches into the bar loop of each stitch. Finally in the border round I added a ch2 before every Puff stitch. Hope this makes sense.
6 comments on Light Heather Crochet Coasters
Dana
These are so beautiful. I plan to make some for gifts. I will use washable yarns to make them easy care. Thank you so much.
MONICA MAGAÑAM
ME ENCANTARON SON HERMOSOS LOS HARE
MONICA MAGAÑA
MONICA MAGAÑA
ME ENCANTARON SON HERMOSOS LOS HARE
MONICA MAGAÑA
Lana
I had some scratchy yarn that needed to be used and remembered these coasters. I just finished a large one and I’m addicted! So fun!
And the best thing is that all that yarn that I bought without realizing that I wouldn’t be able to wear it and didn’t even enjoy knitting with will be put to good use!
Thanks Moran! תודה רבה!
Sue
Thank you so much for this free pattern. I just finished a large coaster and a slightly smaller one that fits inside. I made them with left over yarn. “Blocked” for the first time…let me tell you; it makes a huge difference on the appearance! Love it! I will be making more…it’s a lot of fun!
Mo Malron (author)
Thank you SO much!