A few days before we left for a short family vacation in Greece, I published my new crochet pattern – the Como Bag. I was happy to the sky that I made it, but unfortunately I didn’t have the time to write a detailed blog post about it before we left. It was so pleasing and heart filling to see your positive reaction to my new pattern. Thank you so much to those of you who have already started working on this new fun project. YOU made my heart sing.
Now we are back, after a few dreamy days in the north of Greece, where we (4 families all together) spent our Summer vacation and I’m here finally with a Como Bag blog for you. In case you missed the 20% introductory coupon code that I sent to all blog subscribers, you can now enjoy a 10% off for the entire weekend. No code needed. Shop pattern here. Now let’s get into this pattern deets.
¨
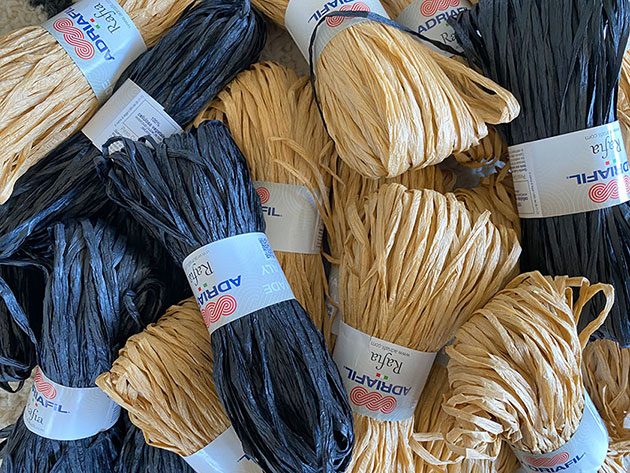
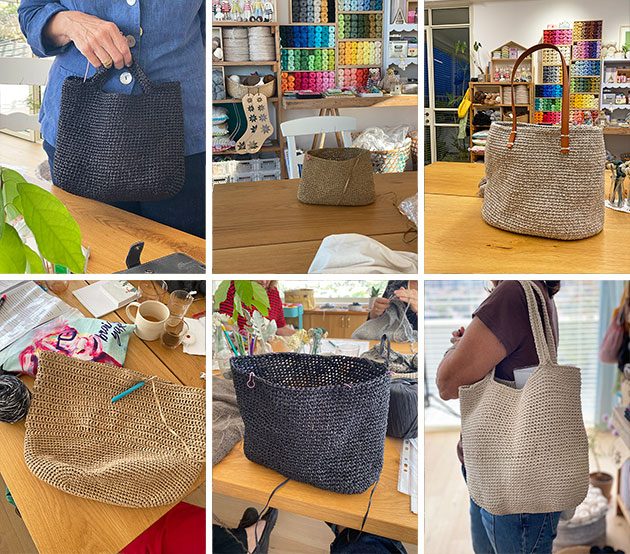
Back in June I was gifted a bag full of this Italian Raffia, by one of my beloved Mondays girls. Same lady that is seen in the Nina bag pattern.
¨
It was during a raffia bags obsession here in our weeklies. We made quite a few different bags lately, using different kinds of raffia yarns. The girls have been joyfully using their new raffia bags and it made me want to crochet myself one as well. By the time they crocheted their bags, I had a new bag pattern slowly cooking inside my head.
¨
And so I started crocheting this bag at the beginning of July. It took a few trials but I had something in mind, meaning I could tell the general shape I was aiming for. Plus I knew I wanted it to be made out of two different crochet textures. AND of course some stripes involved in the bag layout.
Needle and Gauge
With the Adriafil raffia I used a 4.5 mm hook and my gauge is 16 sts X 19 rows = 4″ / 10 cm measured on single crochet st.
One of the knit night girls, Sigal (a huge heart), mistakenly ordered two French market bags kits from PetiteKnit and so she gave me one of them. She thought it might be useful for me with my ongoing new crochet bag pattern. So I had this given lining size which I wanted to fit in my bag. Therefore Como Bag was designed to fit exactly the same size of the lining. I also had two leather straps in the kit, but at this stage I didn’t have a clue of how I’m going to use them.
¨
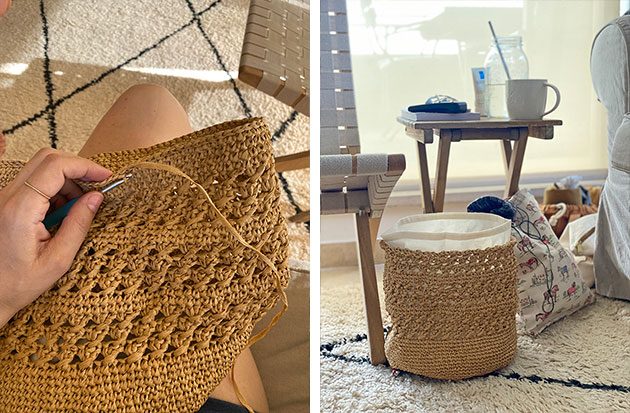
It wasn’t a fast WIP because I was looking for the right stripes proportions between the Single crochet section and the Reversed Double Crochet clusters. I wanted to combine these two sections in nice stylish proportions and still have the given lining to fit inside the bag. So there were quite a few back and forth moves. But it was such a fun design process. This Raffia is a dream to work with and it feels SO soft.
¨
Once I reached the right stitch I was looking for, with the stripes proportions and style I envisioned, I could finally create a video tutorial. In this video I show how to crochet the Reversed Cluster Stitch which will help you along the making.
¨
When I finished crocheting my Como bag I was totally in love and so were my girls, E and everybody else here in my little life. Maya, our eldest, asked me if I can make one for her as well… so you get the idea.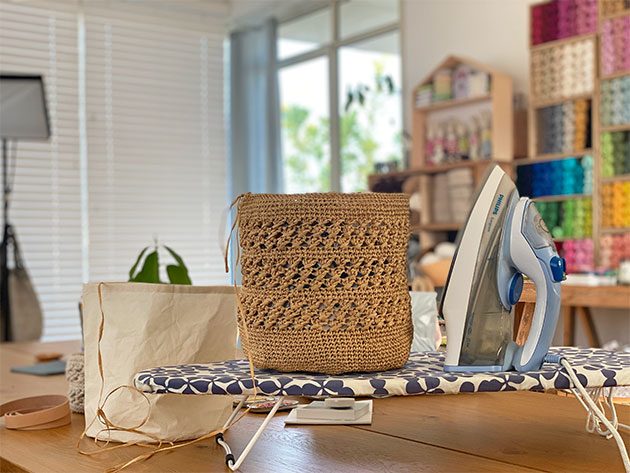
Blocking note
In case you gonna make the Como bag, DO NOT let your iron touch the bag! Keep it about 5 cm’ away. Steam and shape until you get the bag in a sharp round shape and leave it to dry overnight.
Lining
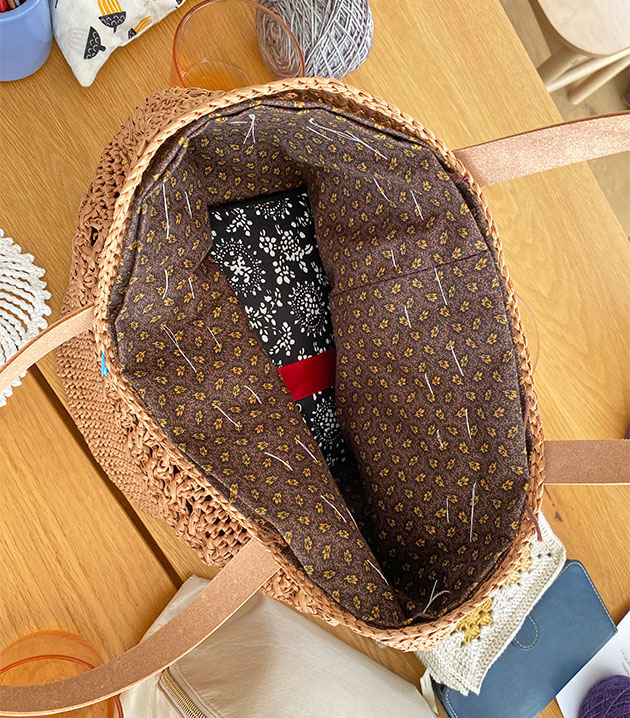
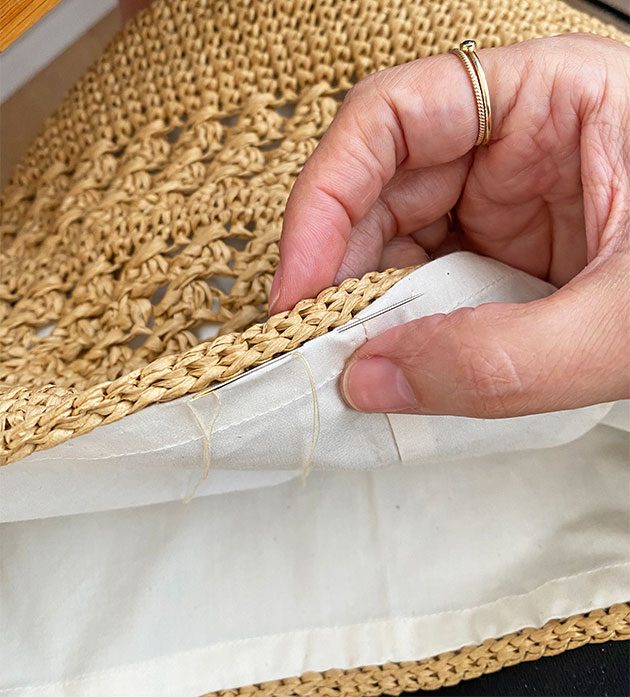
I followed this video by Kimmie Munkholm and sewed the lining into the bag’s upper edge. how satisfied it was to get it exactly fit. If I didn’t have it I would probably use a simple cotton fabric bag to put in my Como Bag. That’s what most of my weekly girls used in their raffia bags. But this one was here and just perfect so I’m very thankful that Sigal gave it to me. If you like to make your own lining, I have included some sizing details in the Como Bag pattern and also linked to a video by Kimmie Munkholm to guide you through.
Como bag strap
And then came the strap/s brainstorming. At first I thought about cutting the leather straps I had from the PetiteKnit kit in half and sew two short straps to my Como Bag using the same Raffia yarn. Which by the way I still think was a good idea and would totally look fab!
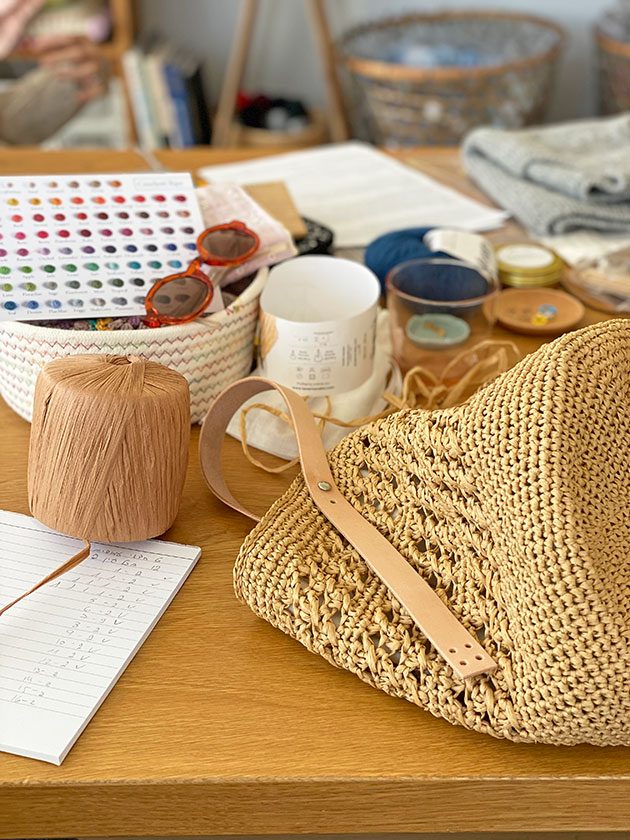
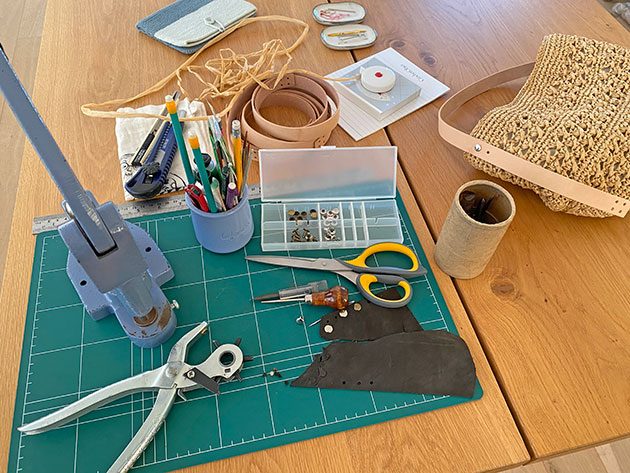
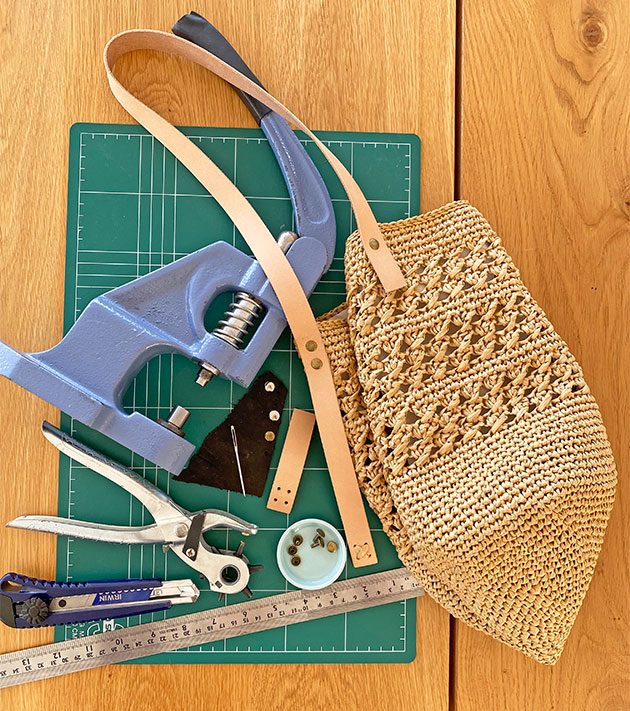
Remember the fabric buttons I used to have in my Etsy shop? The ones my father in law used to make for me? Luckily this fabric button machine can also be used for snaps. PERFECTO!!
¨
After a huge excitement with lots of tears and memories I made a few trials and I decided to attach only one shoulder strap. It was my birthday and we had a table ordered in a nice restaurant the same evening. I wanted to have my new Como Bag ready and to take it out with me to the BD dinner.
So here’s what I did
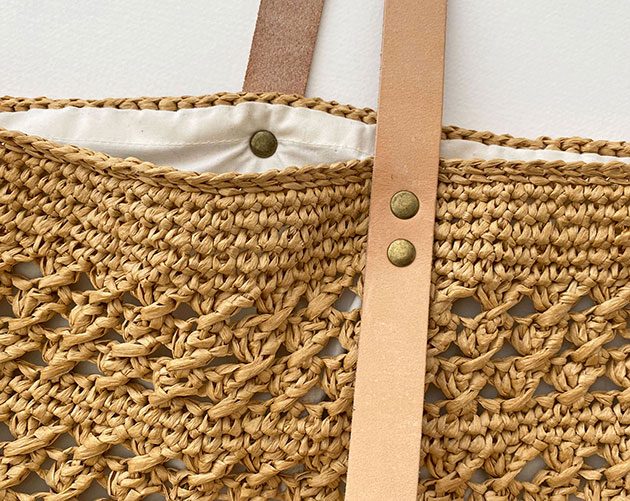
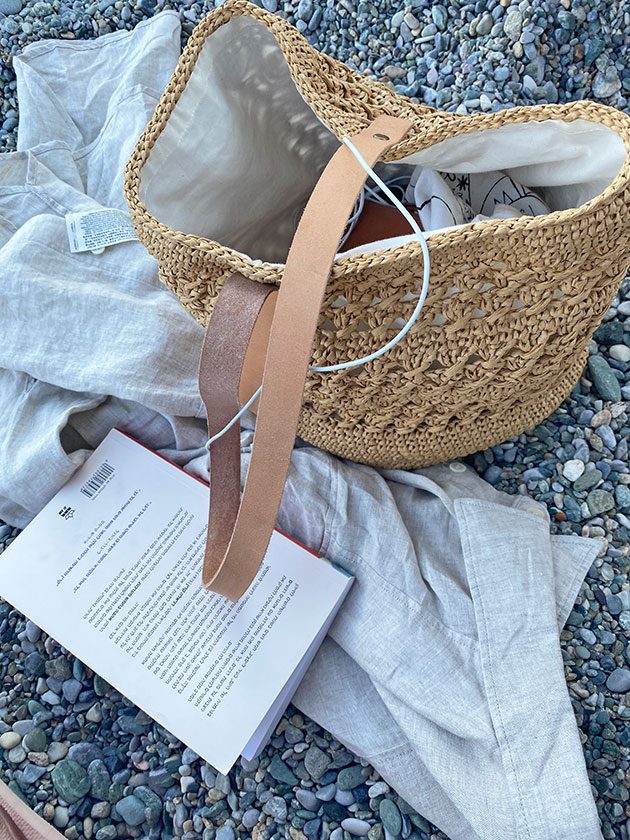
I cut the original strap I had from the French Market bag kit to a 86 cm / 34″ length. Made some new holes and attached it with two snaps on one side, leaving a long tail to hang down. On the other side I placed only one snap and left a short tail under. I placed the snaps through both crochet stitches and lining for a Pros’ look.
Ta Dah
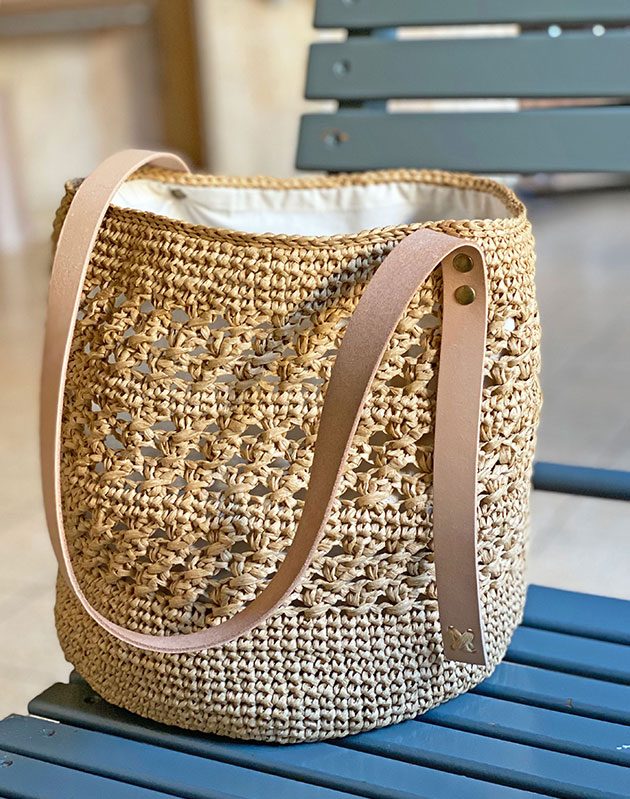
And it was ready to go!!! I took it out with me to my BD dinner and enjoy it EVERYDAY since that day. It is THE perfect bag size / shape / style / everything !!!
¨
I really REALLY think it would be super pretty if you just sew straps onto your Como Bag. So PLEASE don’t get yourself into the snap pressure. Get creative and use whatever is comfortable for you!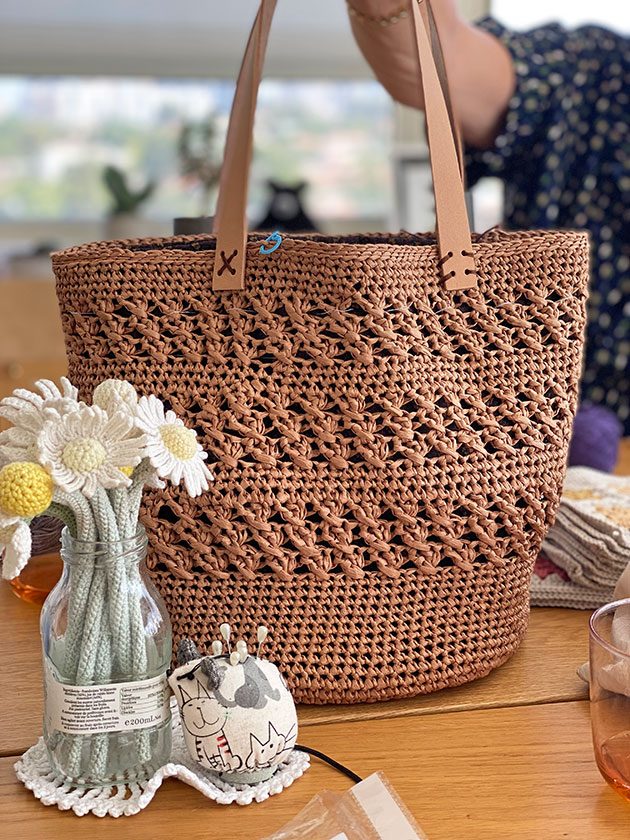
¨
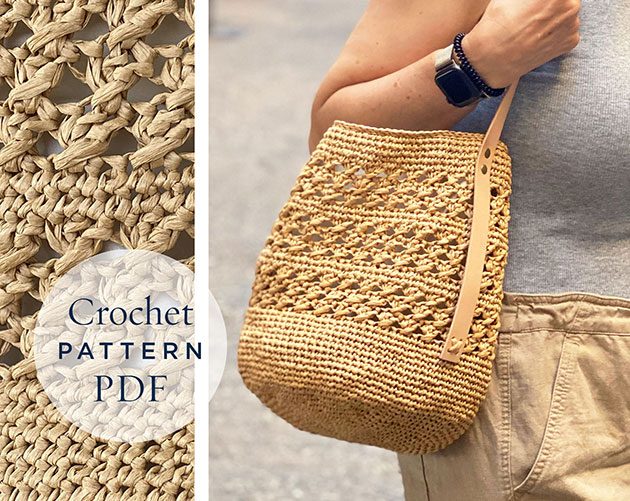
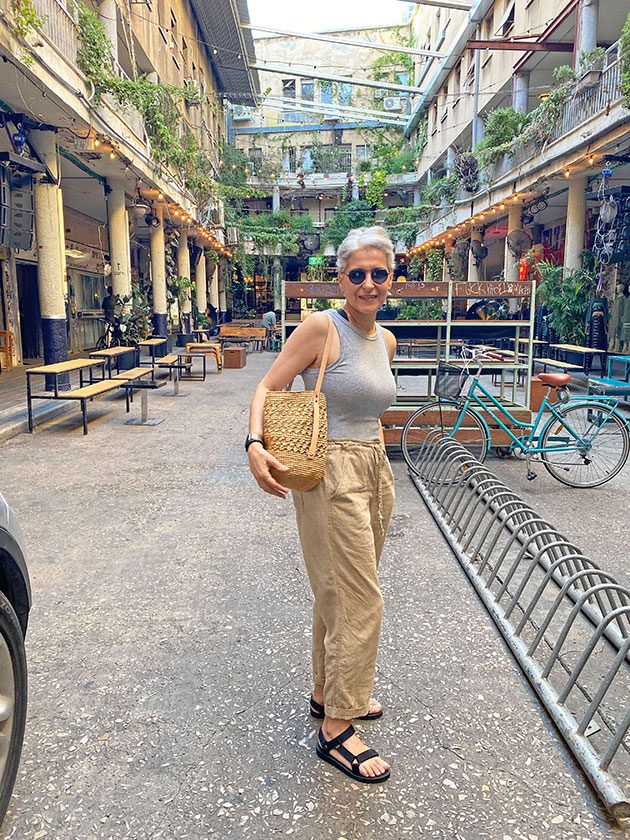
And this is me, standing in front of the restaurant on my 51st BD using my Como Bag for the first time! This picture was taken by my love Maya (our eldest).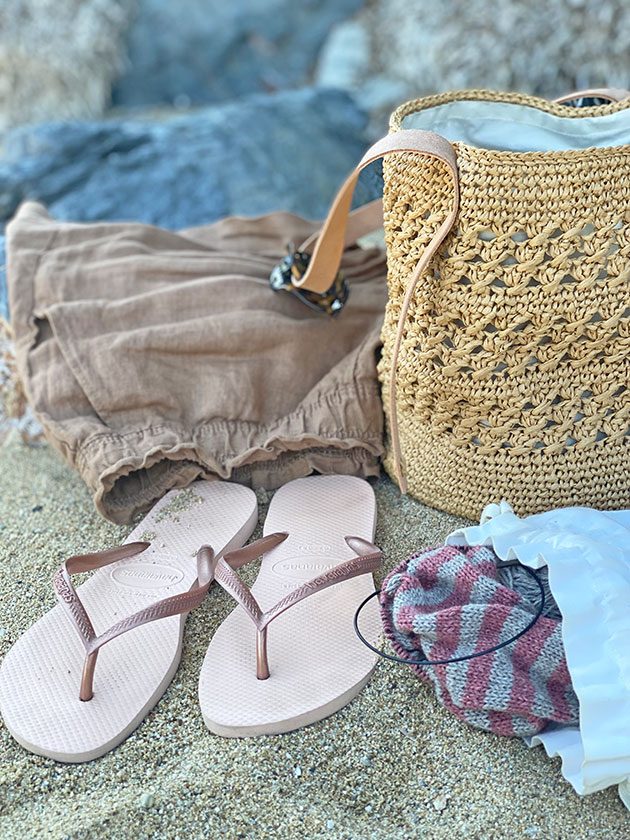
PS
Como Bag crochet pattern will be available in CrochetObjet Ravelry shop in the next few days.




2 comments on Como bag crochet pattern
Aletha
Are you crouching left handed? I can’t make the cluster stitch work. Please help. I looked it up on line and nothing like it exists. Thanks
Mo Malron (author)
Yes I’m a left handed. Please watch the video included in the pattern I think it might help. Please let me know if not and I’ll try to help you when I’m back from vacation after Oct 17th. Thank you so much for your understanding, Moran