…
The Nina bag crochet pattern is now available in both my Ravelry and Etsy stores and I hope you received the special gift I sent you on the week when it was published. 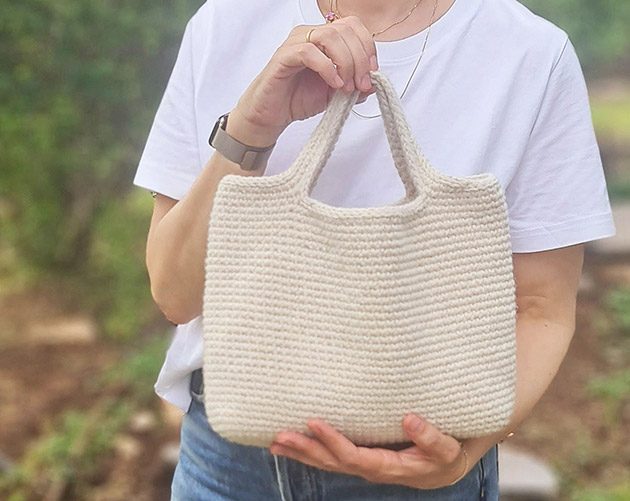 It was so uplifting to see that so many of you used the special code I sent. Thank you so much for showing your love to my new crochet pattern. I though I’ll give you all the relevant info you need to know before you jump right into the making. If you already had the chance to start your Nina bag please leave me a comment down below and let me know if you enjoy it.
Nina bag crochet pattern
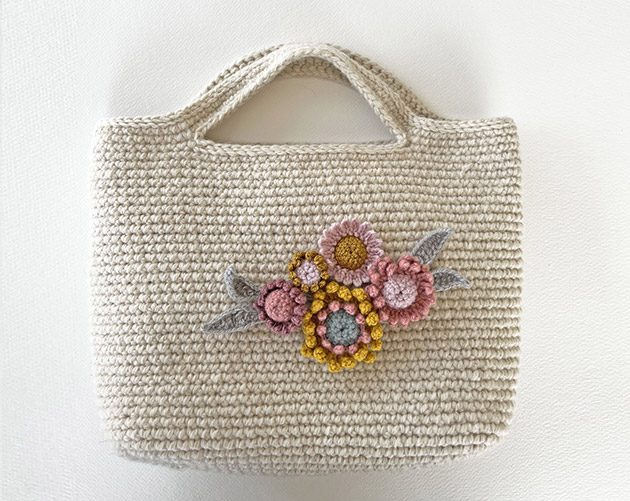
 This bag flew out of my hands in one single evening. I designed this bag to be one of my project bags as well as the bag I grab when I want to add a little personal touch to my outfit. It’s made so you can use it as is or add a floral cluster using the Chamomile & Sage pattern or any other decoration of your choice. Get creative and play with your own unique version of the Nina bag. The bag is worked in the round, from the base up, using the Single Crochet stitch mainly.
Level
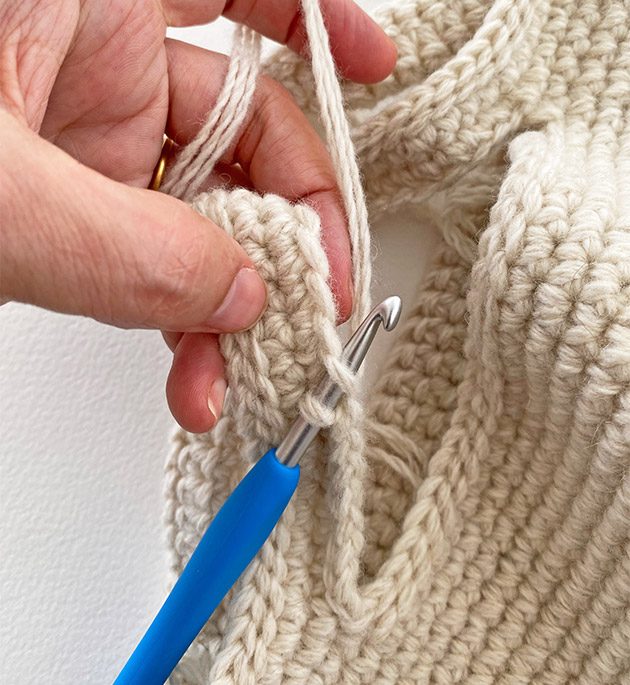
If you know how to Single crochet you will be able to make the Nina bag and I wrote a step by step pattern to make it easier for you to follow even if you are a beginner. As with all my patterns here as well I added a few pictures to go along with the written instructions. I use US crochet terms in my patterns.
Stitches used in this pattern
Chain Stitch, Slip Stitch and Single Crochet. Check out my YouTube channel for stitch support.
Size & Measurements
This is the finished bag size when lay flat: Length from base to top of handles is 34 cm / 13.5″ and the width is 33.5 cm / 13″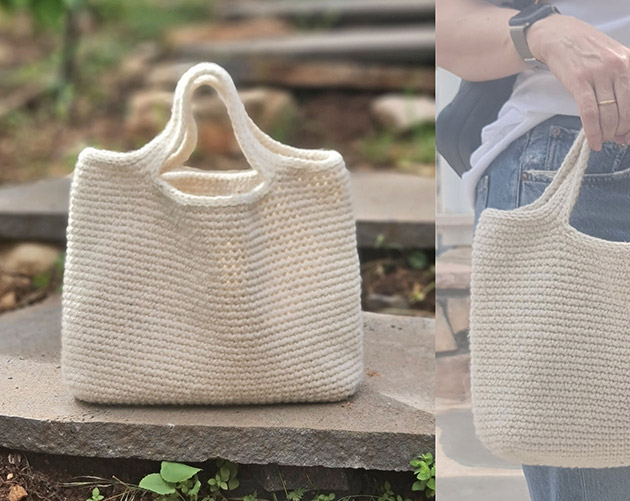 Yarn
Yarn
On my original bag I used mYak Fibers Tibetan Cloud, which is a 100% wool 300 m/ 328 yrd, 100 gr’ per skein. If you like to make the exact same bag, you will need 3 skeins because this bag is worked with 3 strands of yarn held together. I used col Wild Daisy. The Tibetan Cloud is a Sport – Light DK wool so if you like to replace with something similar.
…
I highly recommend to get creative with the Nina bag and try different yarns. Try any yarn you have in stash you’ll need about 300 meters. This pattern is made so you can use any yarn you like. It’s not a garment that needs to be fitted, it’s a fun crochet bag pattern so why not play with it?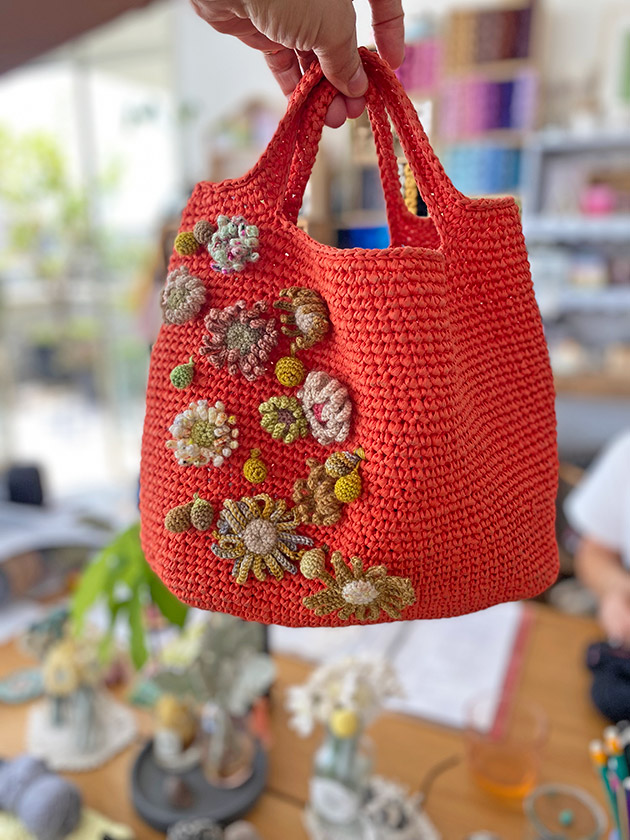 On the above photo you can see a Nina bag made by my student Ruti. She used a Raffia and with tiny bits of sock yarns she added a few Chamomile & Sage flowers. As you can see the Nina bag goes very well together with my Chamomile & Sage pattern. We are all SO in love with it. I think she used a 4.5 mm crochet hook for the bag.
Suggested hook size
I used a 5 mm crochet hook but please use any hook size to obtain gauge. And make sure you use the right hook size if you work with a different yarn. Use a smaller hook than what the yard calls for to create a stiff surface. Because that’s what we want to have with such bags right?
Gauge
14 sts X 15 rows = 4″ / 10 cm measured on single crochet st after blocking.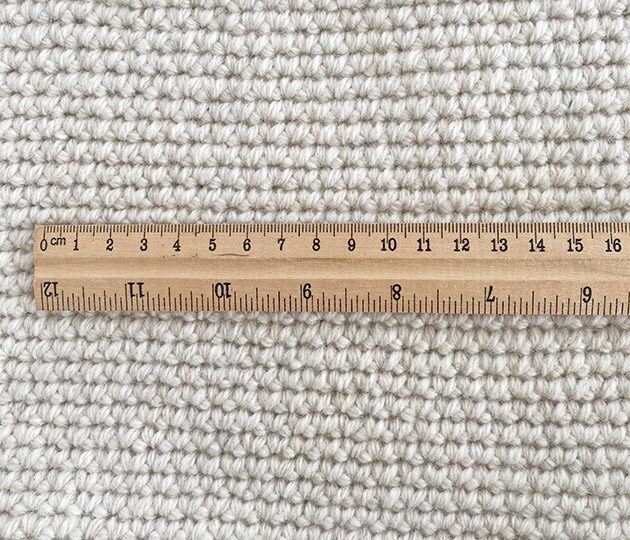
Notions that you will need
I love to prepare my project bag before starting on a new project and I guess if you are here you know exactly what I’m talking about. It’s a special festive little moment for any maker. Here’s a list of what you’ll need to put in your Nina bag project bag / basket and you are good to go.
- a beginning of round removable stitch marker.
- 4 more (same colour) removable markers.
- 2 more removable markers in different colours than the pre 4.
- Tapestry needle for wool
- A pair of crafty scissors
…
Ok so now that you have it all and you know everything you need to know you are ready to start your Nina bag project whenever you feel like. This info will be waiting for you here so you can come back and check it again when you decide to give this project a go.
…
 I hope that whenever you get it on your hook you will enjoy it as much as we enjoy it here in the CrochetObjet weekly spa. It’s really a fun project, uplifting and easy going and I can’t wait for you to join in the making. If you already started your Nina bag crochet project, please share it with us and let us know if you enjoy. Shop pattern here.
Shinjuku scarf workshops
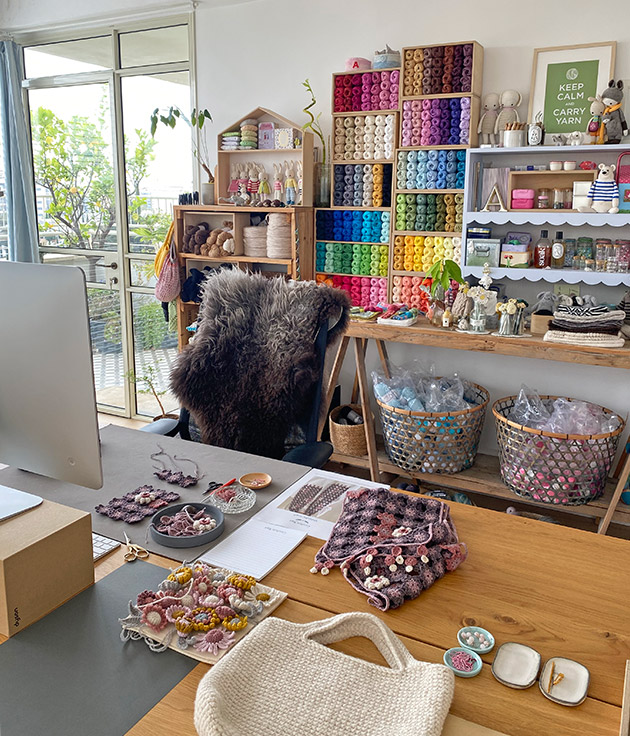 Last Saturday I had the first Shinjuku scarf workshop and tomorrow evening I’ll have the second one. This is the special set up we make in the studio for the zoom class. It’s important for me that the participants enjoy a little bit of colour therapy. I’m so thankful for making these zoom workshops with Paola from mYak-Fibers. She somehow makes the atmosphere so calm and inviting. On the first workshop I thought how to crochet the Wild Daisy flowers. Then I thought how to make the actual scarf and the join-as-you-go. I’m so looking forward for the next one tomorrow. It amazes me what a small village we are and how far away crafters get together in one click. Luckily it was such a nice group of ladies and everything went SO smoothly. It made my heart sing seeing their Shinjuku scarf coming to life. I really REALY love teaching so much.
…
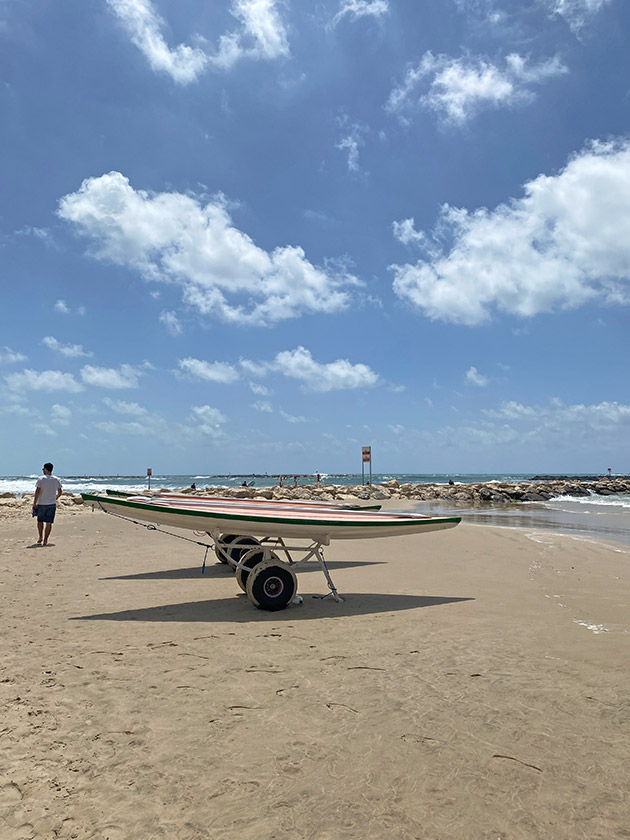 On Friday morning after my studio was all set and ready for the upcoming workshop we drove to the beach. A barefoot beach walk is the absolute gift I could give myself to get my stress levels balanced before the international zoom class. Hope the picture above sends a breath of fresh salty air your way. Now that my blog is ready to be sent to you E will help me to set up the studio for the tomorrows zoom class. If all goes as planed we will drive to the beach later today. Wish you all a lovely weekend and if you have a craft project you’re working on – happy making, xxMo