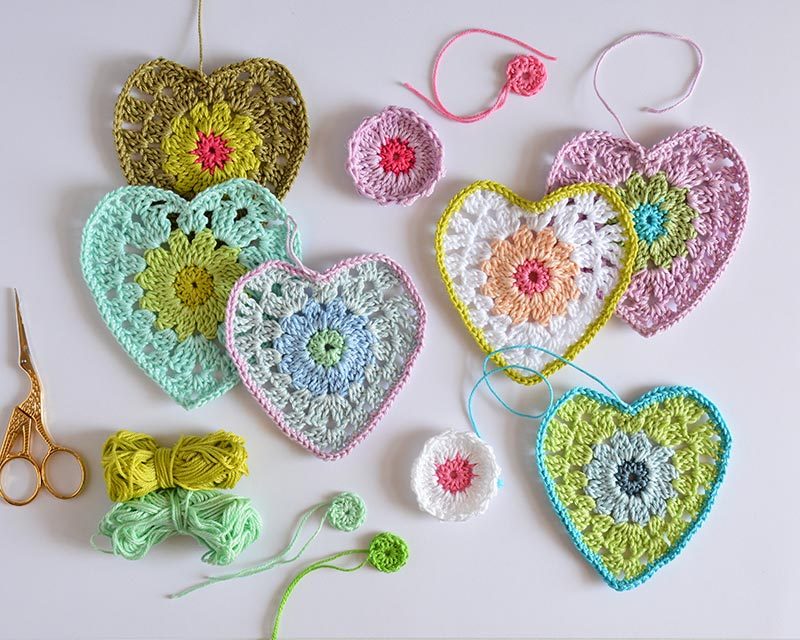
Hello lovelies :: nice to have you here again :: would you like a delicious crochet heart pattern today? :: Is this a right time for you to take a hook and have a little crochet meeting with me? ::
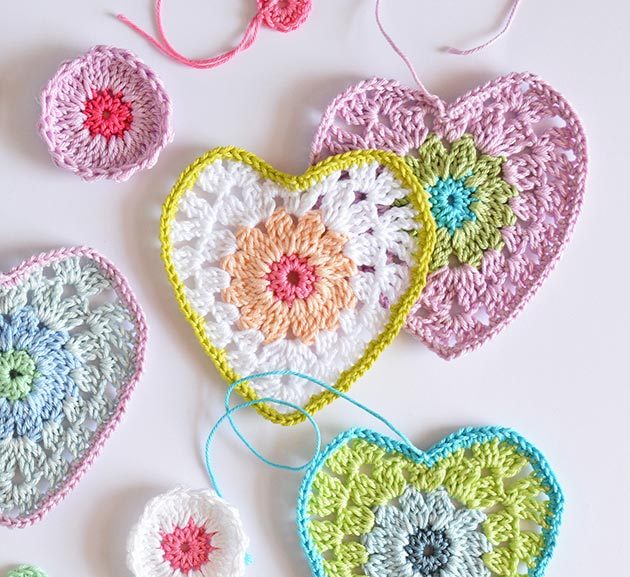
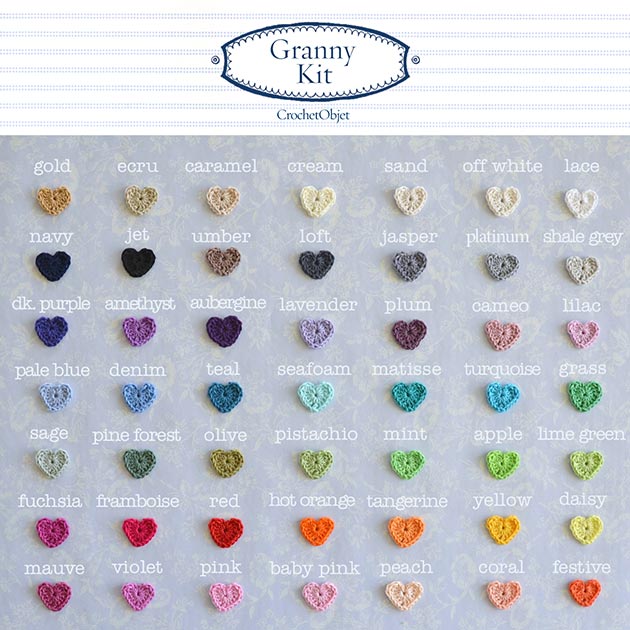
You know how I love crocheted hearts right? :: if you follow me for just a little while you know for sure how much I love them :: remember my first GrannyKit cotton colour card ? it was made by crocheted tiny little hearts :: I love making them :: just 1 round and there you have it :: 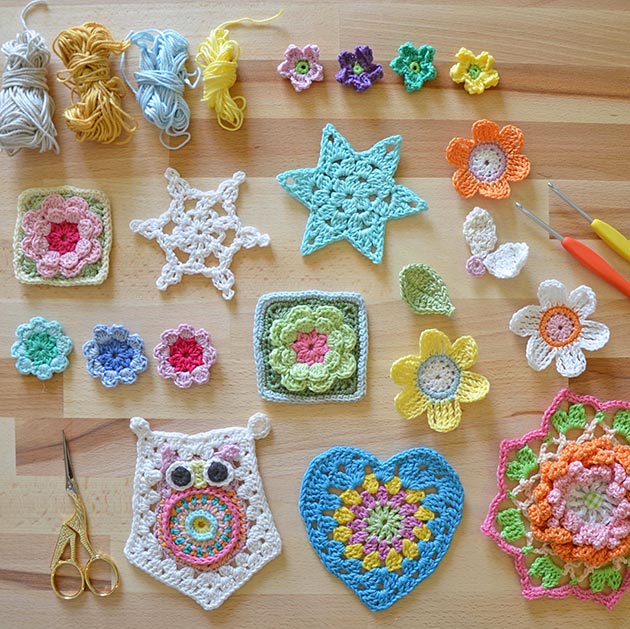
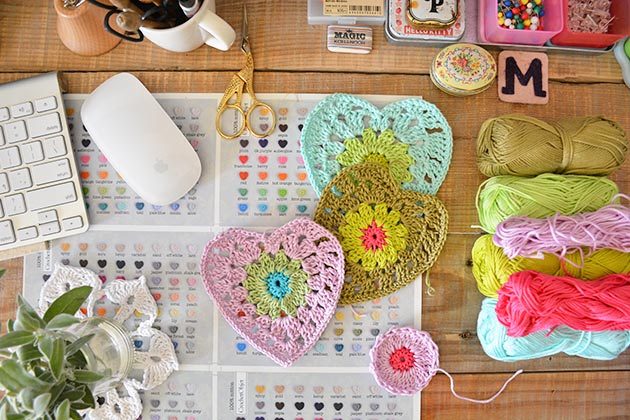
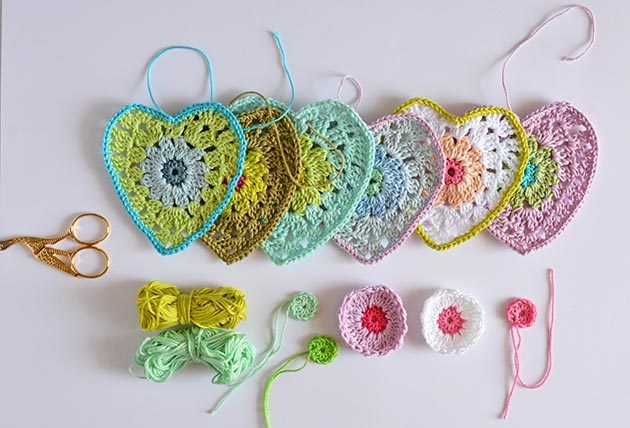
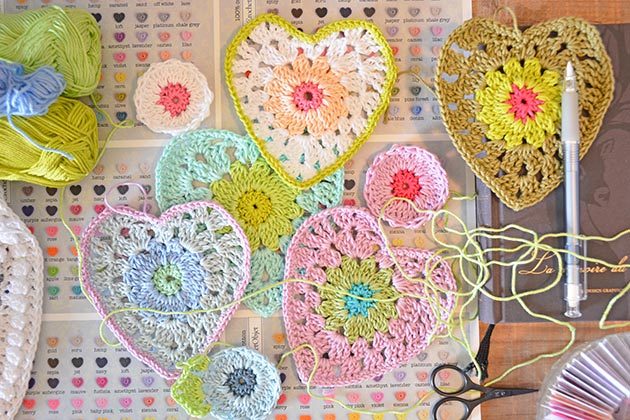
4 different colours of Granny Kit cotton yarn
3.25mm crochet hook (if your hand is too soft on the hook try the 2.75mm it might look better)
Stitches & Abbreviations :: US terms ::
round = rnd
loop(s) = lp(s)
yarn over = yo
stitch(es) = st(s)
chain stitch = ch
space(s) = sp(s)
repeat = rep
sl st = slip stitch = insert hook, yo, pull the lp back through the st and through the lp on your hook.
sc = single crochet = insert hook, yo, pull the lp back through the st (2 lps on hook), yo and pull through both lps on hook.
hdc = half double crochet = yo, insert hook, yo, pull the lp back through the st (3 lps on hook), yo and pull through all 3 lps on hook.
dc = double crochet = yo, insert hook, yo, pull the lp back through the st (3 lps on hook), yo and pull through 2 lps on hook (2 lps left on hook), yo and pull through remaining 2 lps.
edc = extanded double crochet = yo, insert hook, yo pull the lp back trough the st (3 lps on hook), yo, pull through 1 lp (3 lps on hook), yo, pull through 2 lps (2 lps on hook), yo, pull through 2 remaining lps.
tr = treble crochet = yo twice, insert hook, yo, pull the lp back trough the st (4 lp on hook), yo, pull through 2 lps on hook (3 lps on hook), yo, pull through 2 lps on hook (2 lps on hook), yo, pull through remaining 2 lps.
2tr bubble = 2 treble crochet connected in the same stitch = yo twice, insert hook, yo, pull the lp back trough the st (4 lps on hook), yo, pull through 2 lps (3 lps on hook), yo, pull through 2 lps (2 lps on hook), yo twice, insert hook to the same st, yo, pull the lp back trough the st (5 lps on hook), yo, pull through 2 lps (4 lps on hook), yo, pull through 2 lps (3 lps on hook), yo, pull trough 3 remaining lps.
3tr bubble = 3 treble crochet connected in the same stitch = yo twice, insert hook, yo, pull the lp back trough the st (4 lps on hook), yo, pull through 2 lps (3 lps on hook), yo, pull through 2 lps (2 lps on hook), yo twice, insert hook to the same st, yo, pull the lp back trough the st (5 lps on hook), yo, pull through 2 lps (4 lps on hook), yo, pull through 2 lps (3 lps on hook), yo twice, insert hook to the same st, yo, pull the lp back trough the st (6 lps on hook), yo, pull through 2 lps (5 lps on hook), yo, pull through 2 lps (4 lps on hook), yo and pull trough 4 remaining lps.
So now you are ready to start your granny heart ::
TO START make a magic loop :: make the following rnd into the centre of the lp ::
ch2 and hdc 11 into the lp centre. Tighten the lp and leave just a small and aesthetic hole to set the centre of your work. Sl st into the 2nd ch of your initial ch2. Fasten off.
attach your new colour to one of the sts, ch3 and make a 2tr bubble into the same point, now ch1.

attach your new colour to one of the ch1 sps in between 2 bubbles. ch1, hdc, ch1 – all to the same point you’ve just attached your colour. 

into the next ch sp work: 3dc, ch1.
into the next ch sp work: 3hdc, ch1.
into the next ch sp work: 2hdc, dc, ch1.
into the next ch sp work: 2edc, tr, ch2, tr, 2edc, ch1.
into the next ch sp work: 3hdc, ch1.
into the next ch sp work: 3dc, ch1.
into the next ch sp work: 3edc, ch1.
into the next ch sp work: 2edc, tr, ch2, tr, 2edc, ch1.
into the first sp where we started, work: hdc, sc.
DO NOT FASTEN OFF. don’t sl st to close the rnd just keep straight on to the next rnd
into the first ch1 sp work: 2sc, hdc, ch1.
into the next ch sp work: hdc, 2dc, ch2, dc, edc, tr, ch1.
into the next ch sp work: 2tr, ch1, 2tr, ch1.
into the next ch sp work: tr, edc, dc, ch1.
into the next 3 ch sps work: 3dc, ch1.
into the next ch sp work: 3dc, ch2, 3dc, ch1.
into the next 3 ch sps work: 3dc, ch1.
into the next ch sp work: dc, edc, tr, ch1.
into the next ch sp work: 2tr, ch1, 2tr, ch1.
into the next ch sp work: tr, edc, dc, ch2, 2dc, hdc, ch1.
into the last ch sp work: hdc, 2sc, ch1.
slst into the middle of sp1 sts. Fasten off.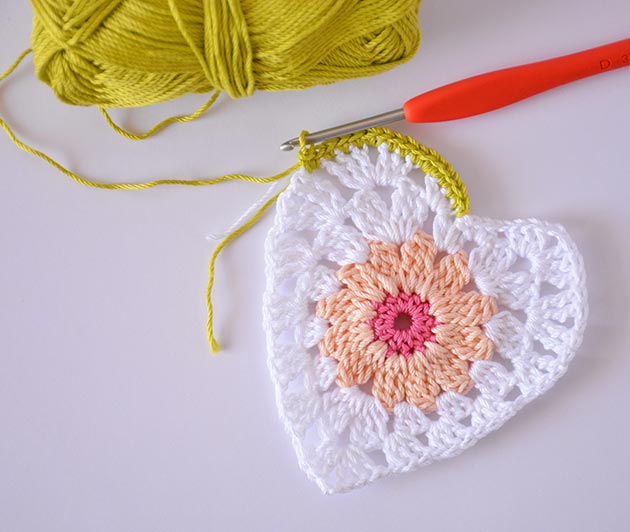
attach your new colour to the same point where you just fasten off.
sc in next 4 sts, sc in ch sp, (sc in next 3 sts, 2sc in ch sp) x2.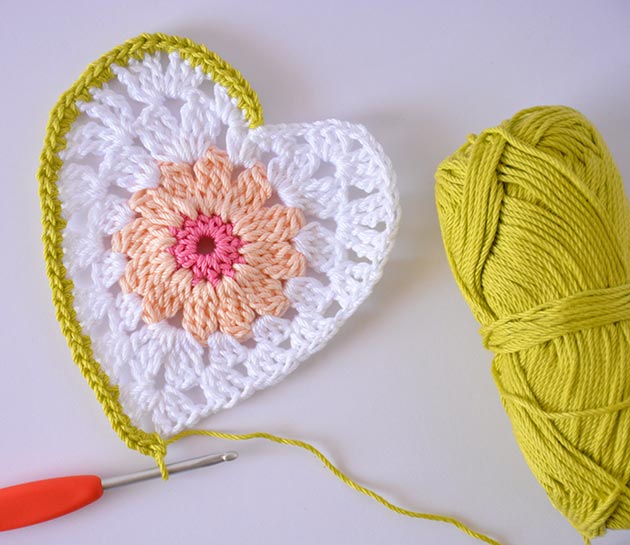
(sc in next 3 sts, sc in next ch sp) x4.
sc in next 3, sc3 in next ch sp at the bottom.
(sc in next 3 sts, sc in next ch sp) x5.
(sc in next 2 sts, sc2 in next ch sp) x2, sc in next 3 sts.
sc2 in ch sp, sc in next 3 sts, sc in ch sp, sc in next 3 sts.
slst in first sc made. Fasten off and weave in tails.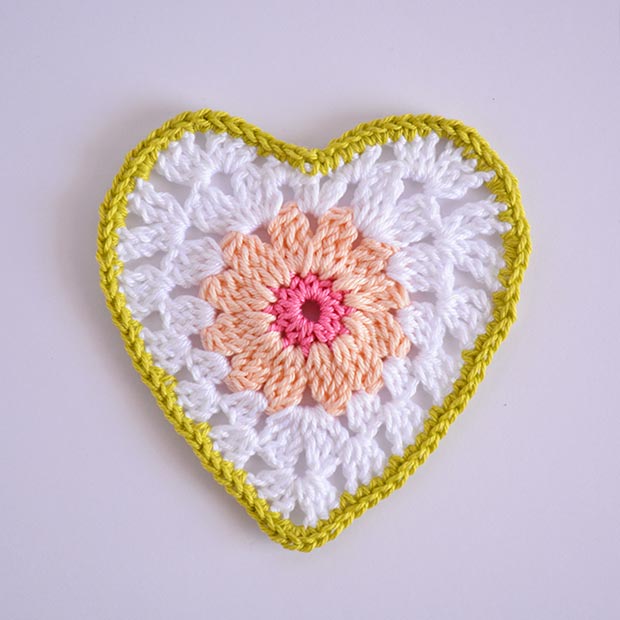



14 comments on Granny Chic Heart
Jane Miller
The hearts are beautiful! Thanks so much for the tutorial!
Mo Malron (author)
Thank you so much, so happy you enjoy it!!
Kamala
Awesome pictures. Yarn color mix very brilliant. Nice tutorial. Thanks for sharing.
Mo Malron (author)
Thank you so much Kamala
Dottie Thompson
I am looking for a pattern to the five pointed star. Have searched but can’t seem to find it. Would it be possible to get it? Thank you.
Mo Malron (author)
Please find it here:
https://www.etsy.com/listing/225536550/diy-pdf-english-crochet-pattern-starfish?ref=shop_home_active_3
Leena
These are just gorgeous. Have you ever thought of making a square pattern with this heart as the center? Like your starfish blanket? I think it would be amazing and I would buy it in a heartbeat!
Mo Malron (author)
This is a nice idea, Thank you Leena
Sandra
Love your heart too! Just in time for Valentine’s Day!
Jean Pratt
I love your crochet. I am new at crocheting more like a beginner. I have a hard time matching colors. I am amazed at your color cards. Do you sell these. Interested in buying one.
Mo Malron (author)
Thank you. Please visit my shop:
https://www.etsy.com/shop/CrochetObjet?ref=hdr_shop_menu
Rose
Beautiful patterns, love the detail and especially the colors! So exciting!
Penny
I like the pattern but I would like to make it larger. My idea is to attach it to a sweater/sweatshirt too wear in Feb. Is this doable? Penny
Mo Malron (author)
Yes it is, you just have to keep increasing in the “corners” – means in the same places you made a corner on previous rounds. Happy making.